After hunting for a large enough dresser for months I finally stumbled upon this one at Goodwill for $30. It was solid wood, had a million drawers and was the perfect size for our bedroom. Even better, it was unfinished which meant a whole lot less prep work.

It was awfully strong-smelling of musty wood and thrift store scents so I cleaned it really well, about three times, with a strong vinegar/water mixture, and let it air out for a while. Probably a few weeks – mostly because we didn’t get to this project until then.

The scrolly detail on the bottom wasn’t quite our style, so we removed that and replaced with a 2×4 to give it a straight line. Al cut the 2×4 to fit the front and then created a base around the bottom interior of the dresser so we could add legs to it.


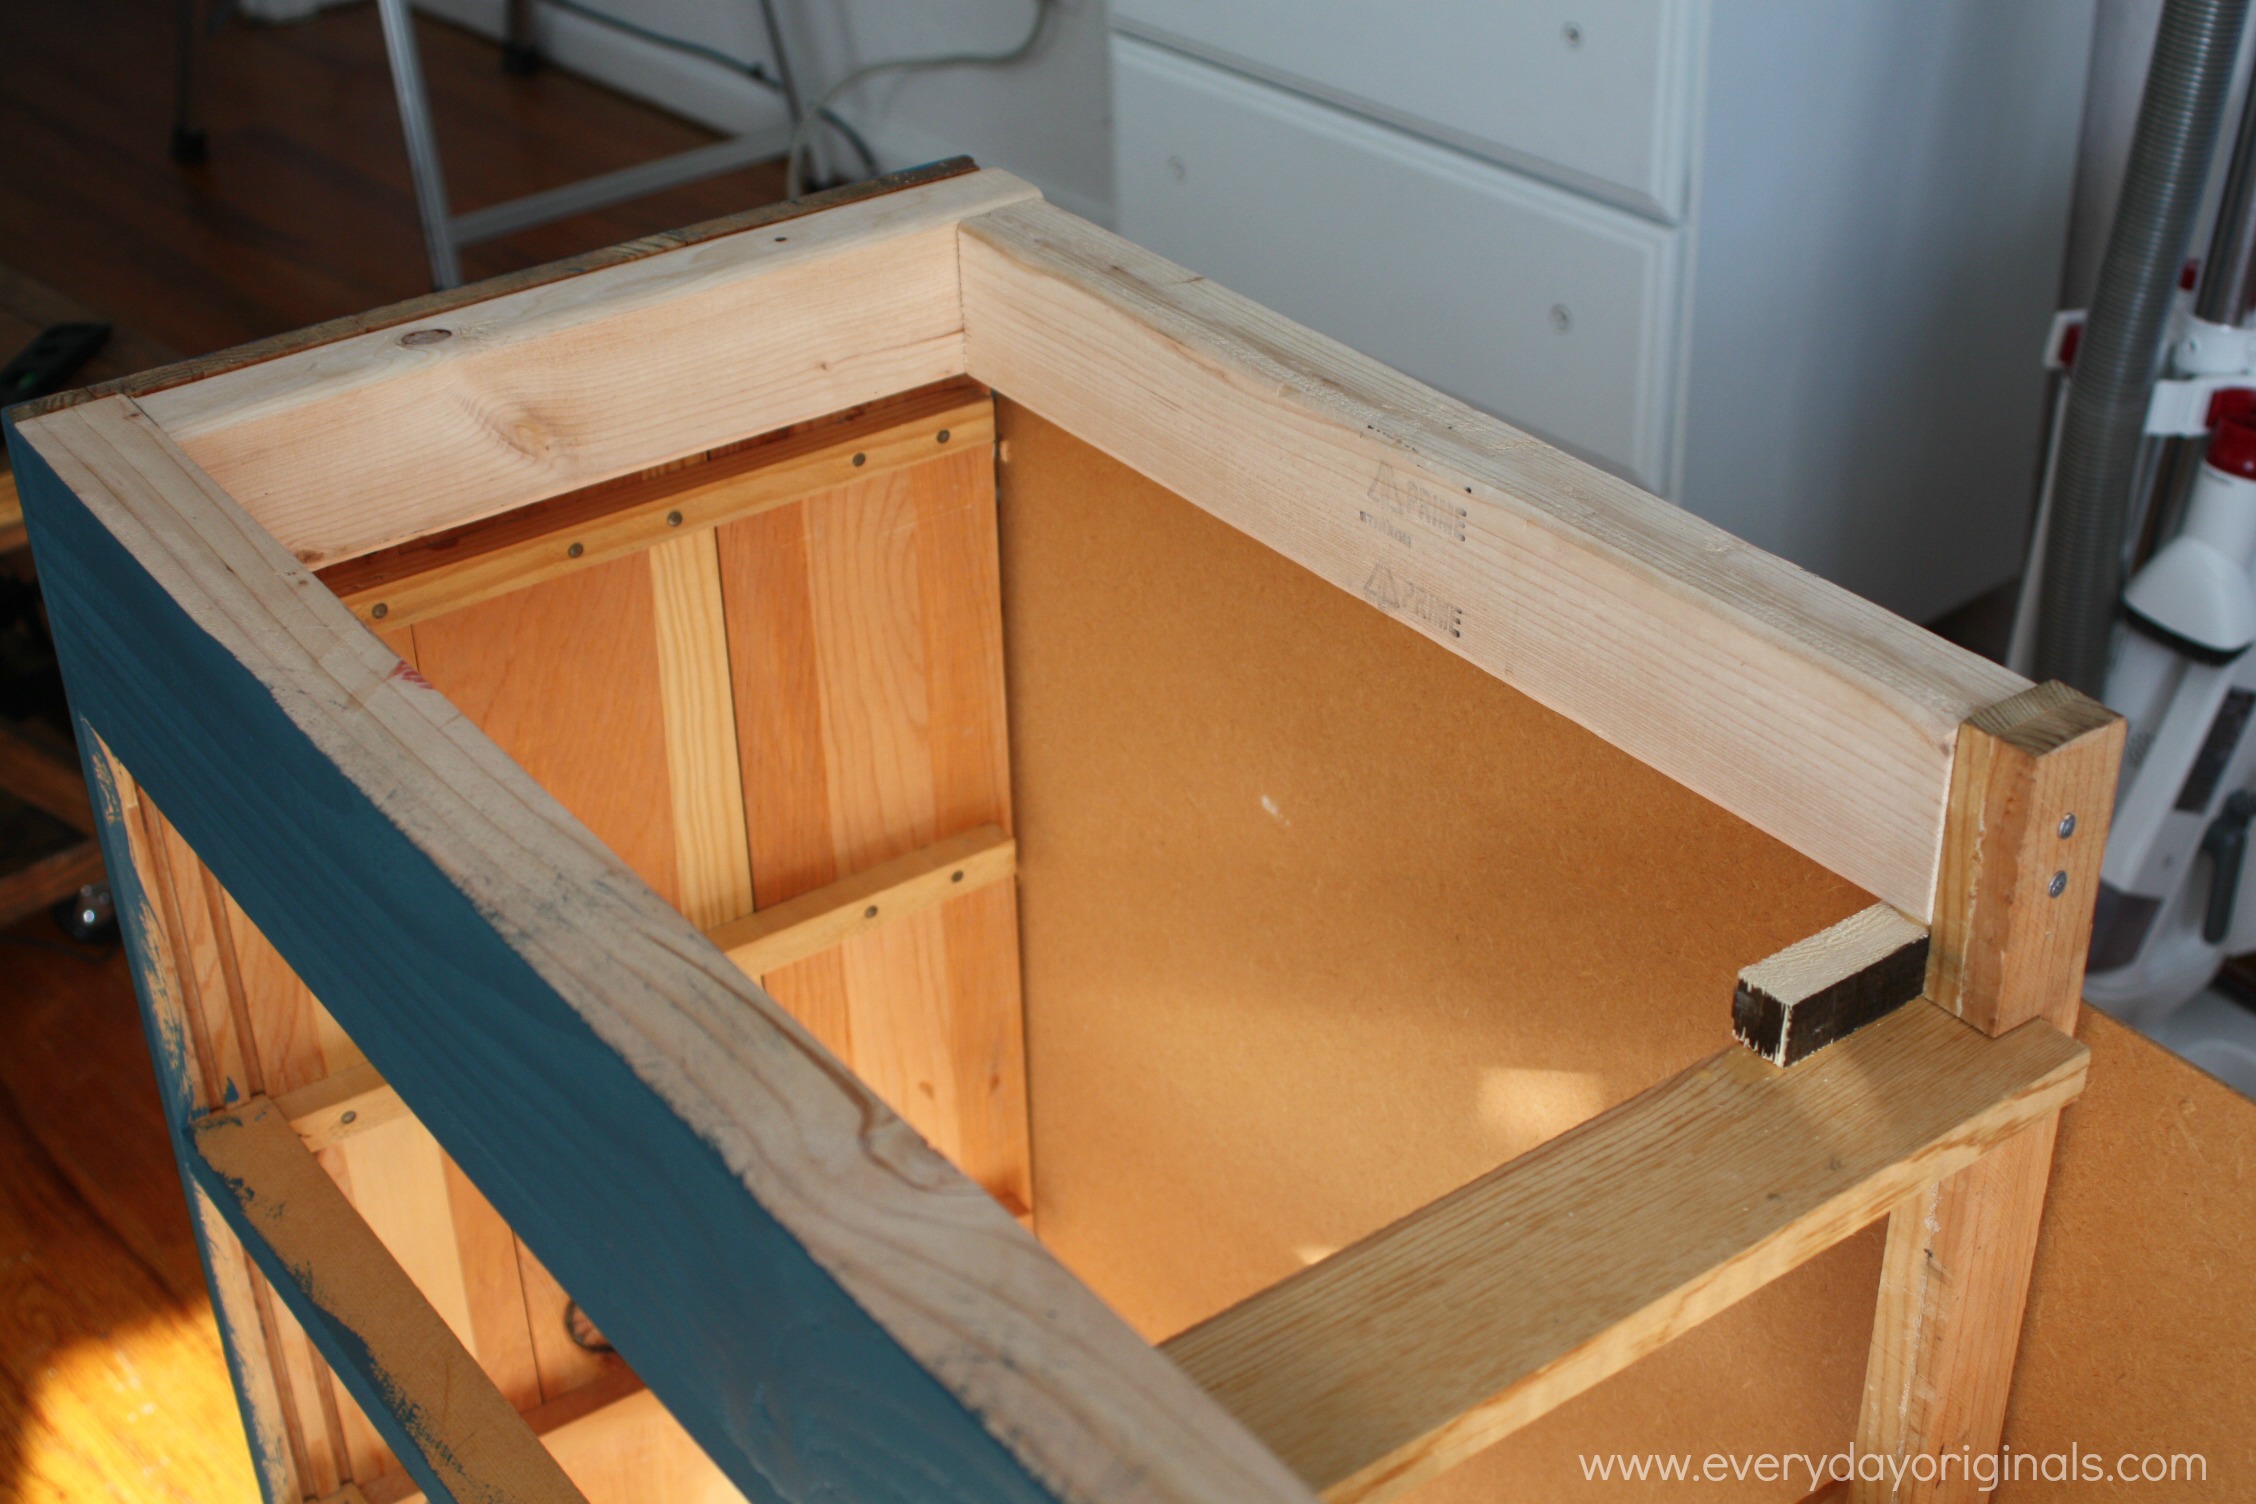

We picked up furniture legs at Lowe’s for about $6 each and added those. I think the legs alone make the whole piece look completely different and more modern.After wood filling some holes, some light sanding and prep work we got to painting. The color we used was Valspar’s Perfect Storm and it came out just how I envisioned. It took two coats of paint and then some touch ups after that to get the finished product.

For the drawer pulls, I found these on super sale at Home Depot, at $5 for an 8 pack. That’s a screaming deal on drawer pulls! I wouldn’t say I love them on this piece, but I do like them.

I want to see how the rest of the room comes together before deciding to switch them out. I’m working towards mixing metals in our bedroom and I do love the finish of them, so I want to wait it out. And, with 14 knobs that costs a pretty penny, so the $5 steal might be here to stay!

I love the way this piece came out. It’s perfect for our needs, has the right amount of drawer space and my favorite is that it’s narrower than your standard dresser, which makes the rest of the room feel a whole lot larger. The rest of the room is a hot mess right now, so we’re going to stick to dresser photos only.

The final cost breakdown was:
Dresser: $30
4 Furniture Legs: $24
Paint: $15
2×4 to replace scrolly piece: $4
Drawer Pulls: $10
For a total of $83, which for a 12-drawer, solid wood dresser, is pretty amazing! What do you guys think? How about one last before and after…


Wow, beautiful! Nice job guys!!!
Your dresser turned out beautifully! You have inspired me to attack a dresser that has been languishing in my basement!
Thanks Bren! You should definitely tackle it, the outcomes are amazing!
Wow that is a beautiful dresser. Job well done, worth every penny
Thanks Cyrina!
Have you ever used chalk paint?
Yes! In 2015 I had a partnership with Country Chic Paint which is a chalk paint company started in Canada. I loved all of their paints and continue to use them in our projects as I have so much of it! Here are some of those posts: https://lindseythomason.com/?s=%22country+chic+paint%22
Great job! Thanks for sharing how you did your’s, you made it seem less daunting.