I made this hopscotch mat as a Christmas gift for the girls I was nannying for before we moved to CO. And when I say for Christmas I mean that I just mailed it to them a week ago. It’s the thought that counts, right?
The end result was super cute but I ran into a lot of sewing issues during the process which is why it took me so long to get it to them. I have to un-sew it like at least 5 times. But let’s start from the beginning.
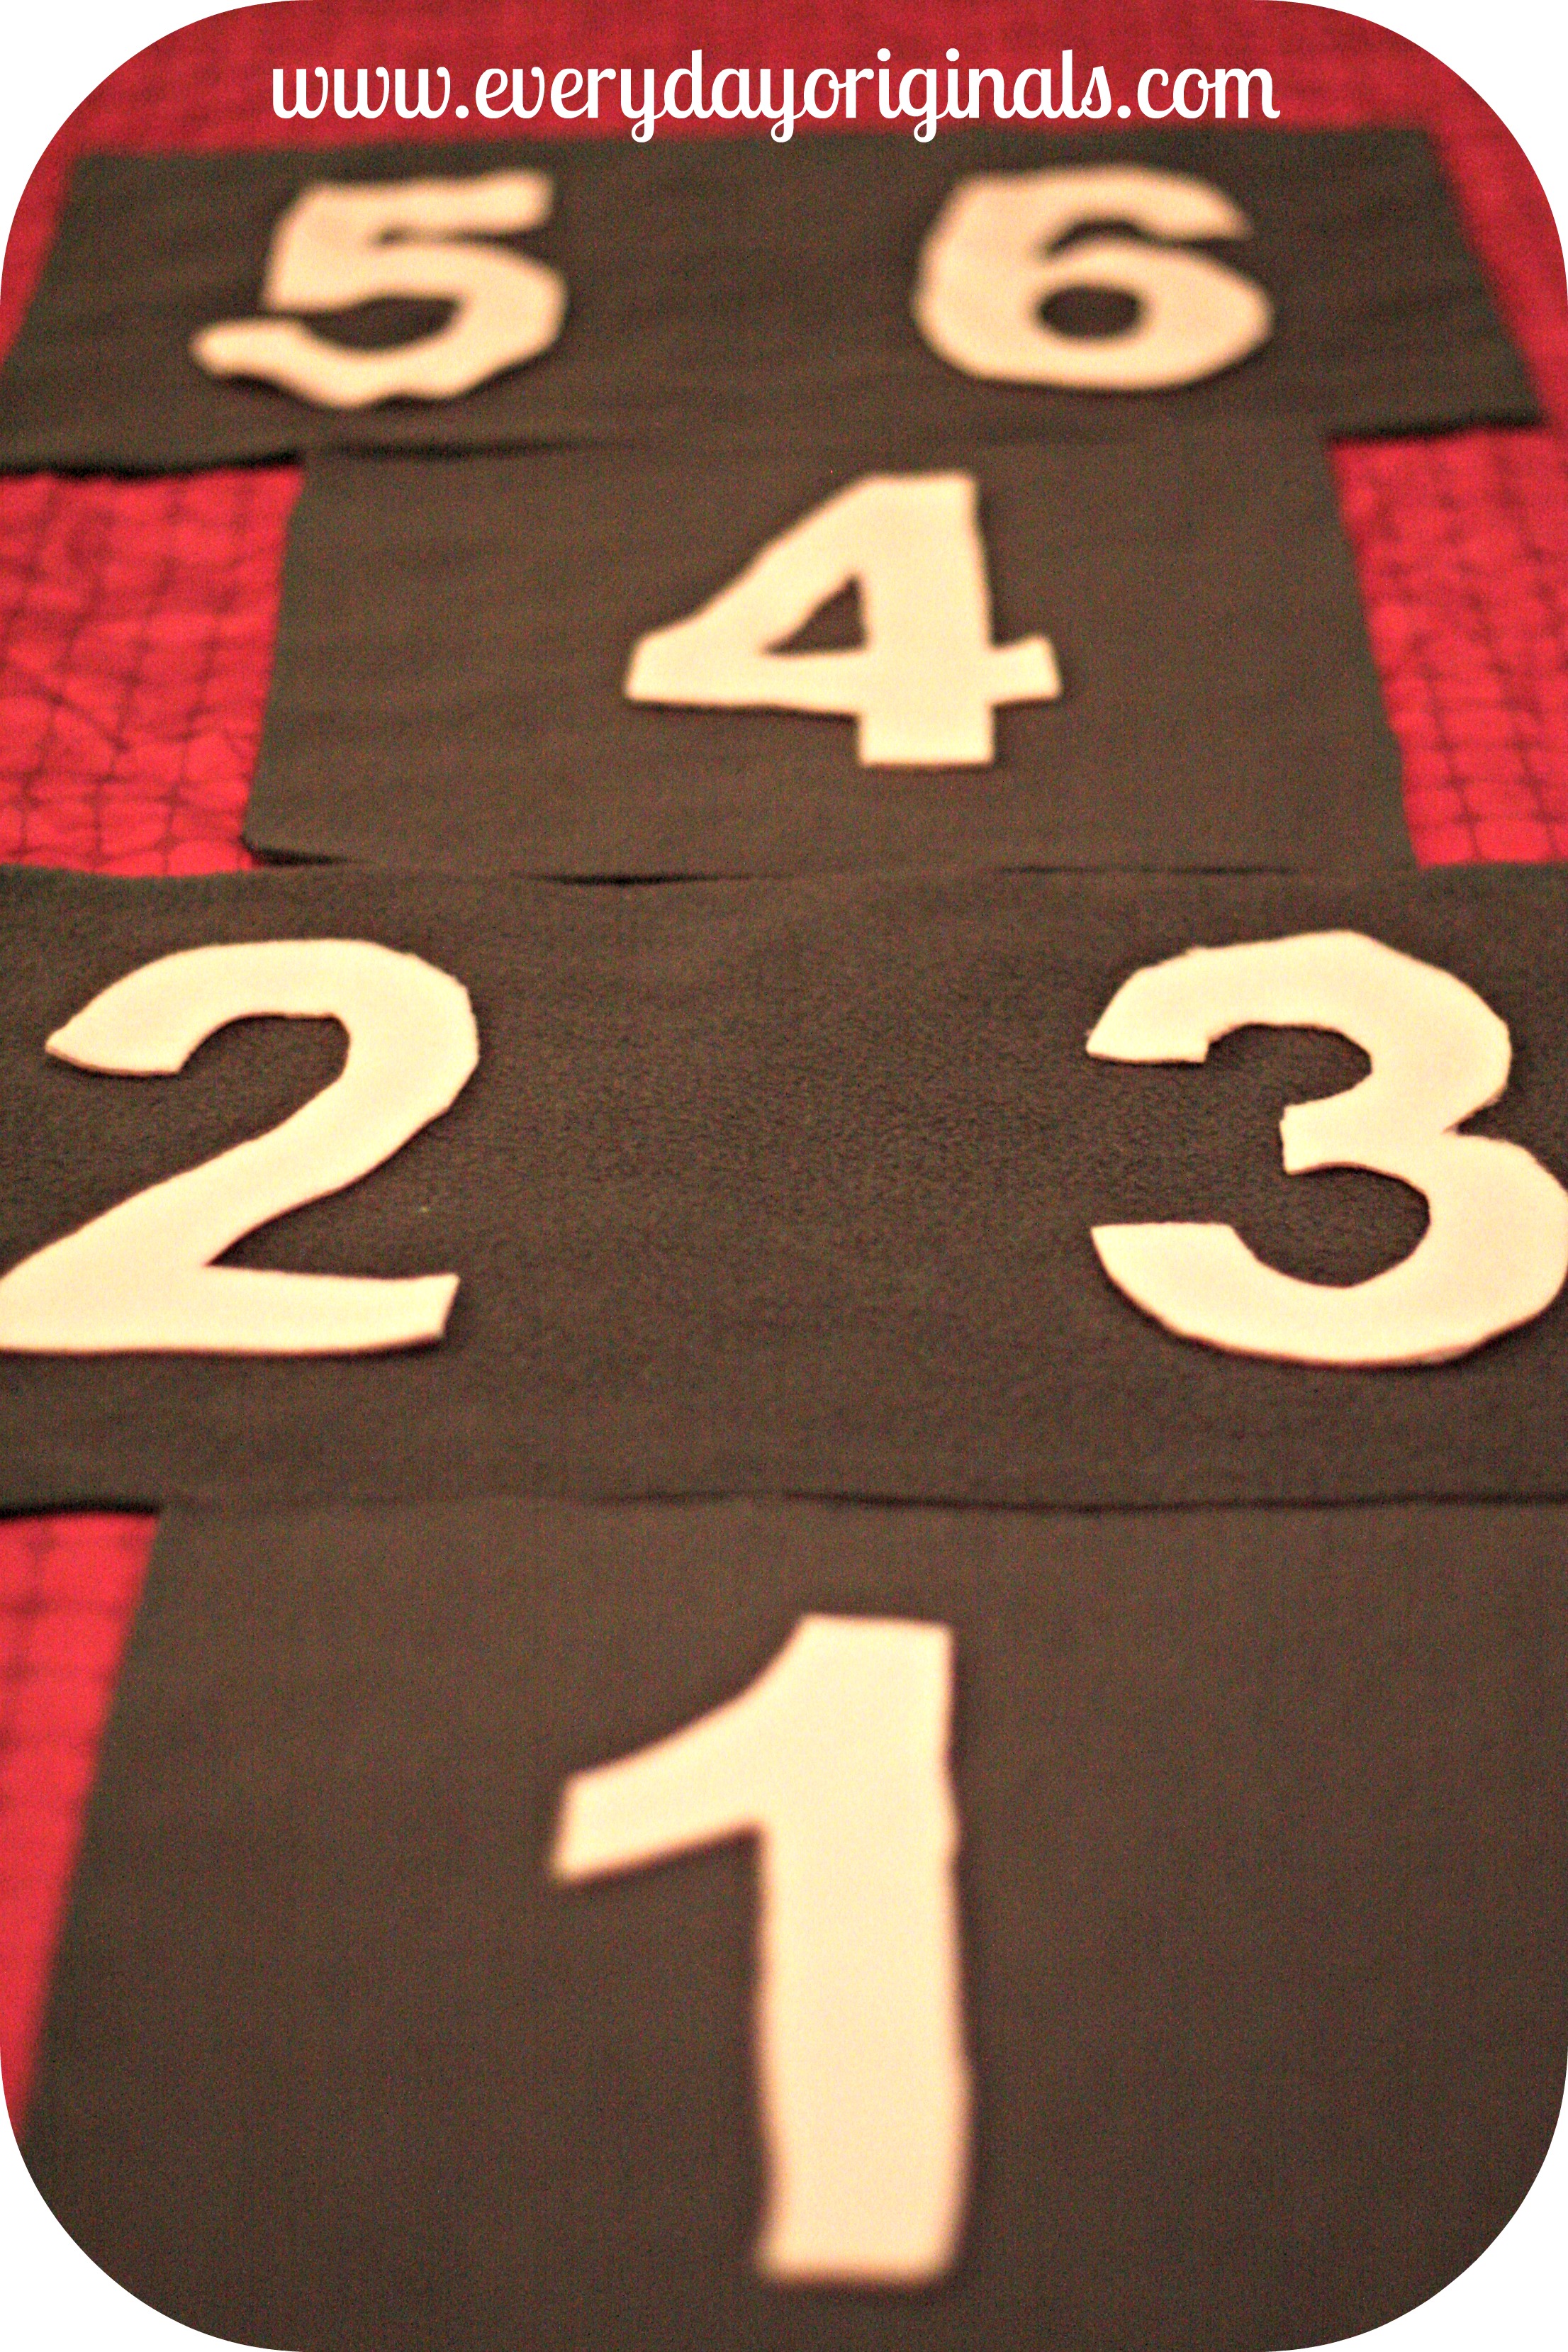
First, I bought two colors of fleece (with a coupon!) from Joann fabrics. I cut out the size of the mat and the size of each hopscotch square. For numbers 1 & 4 I cut the same sized squares. For 2/3 & 5/6 I cut out the same sized rectangles. And then for number 7 I cut out half of an oval.
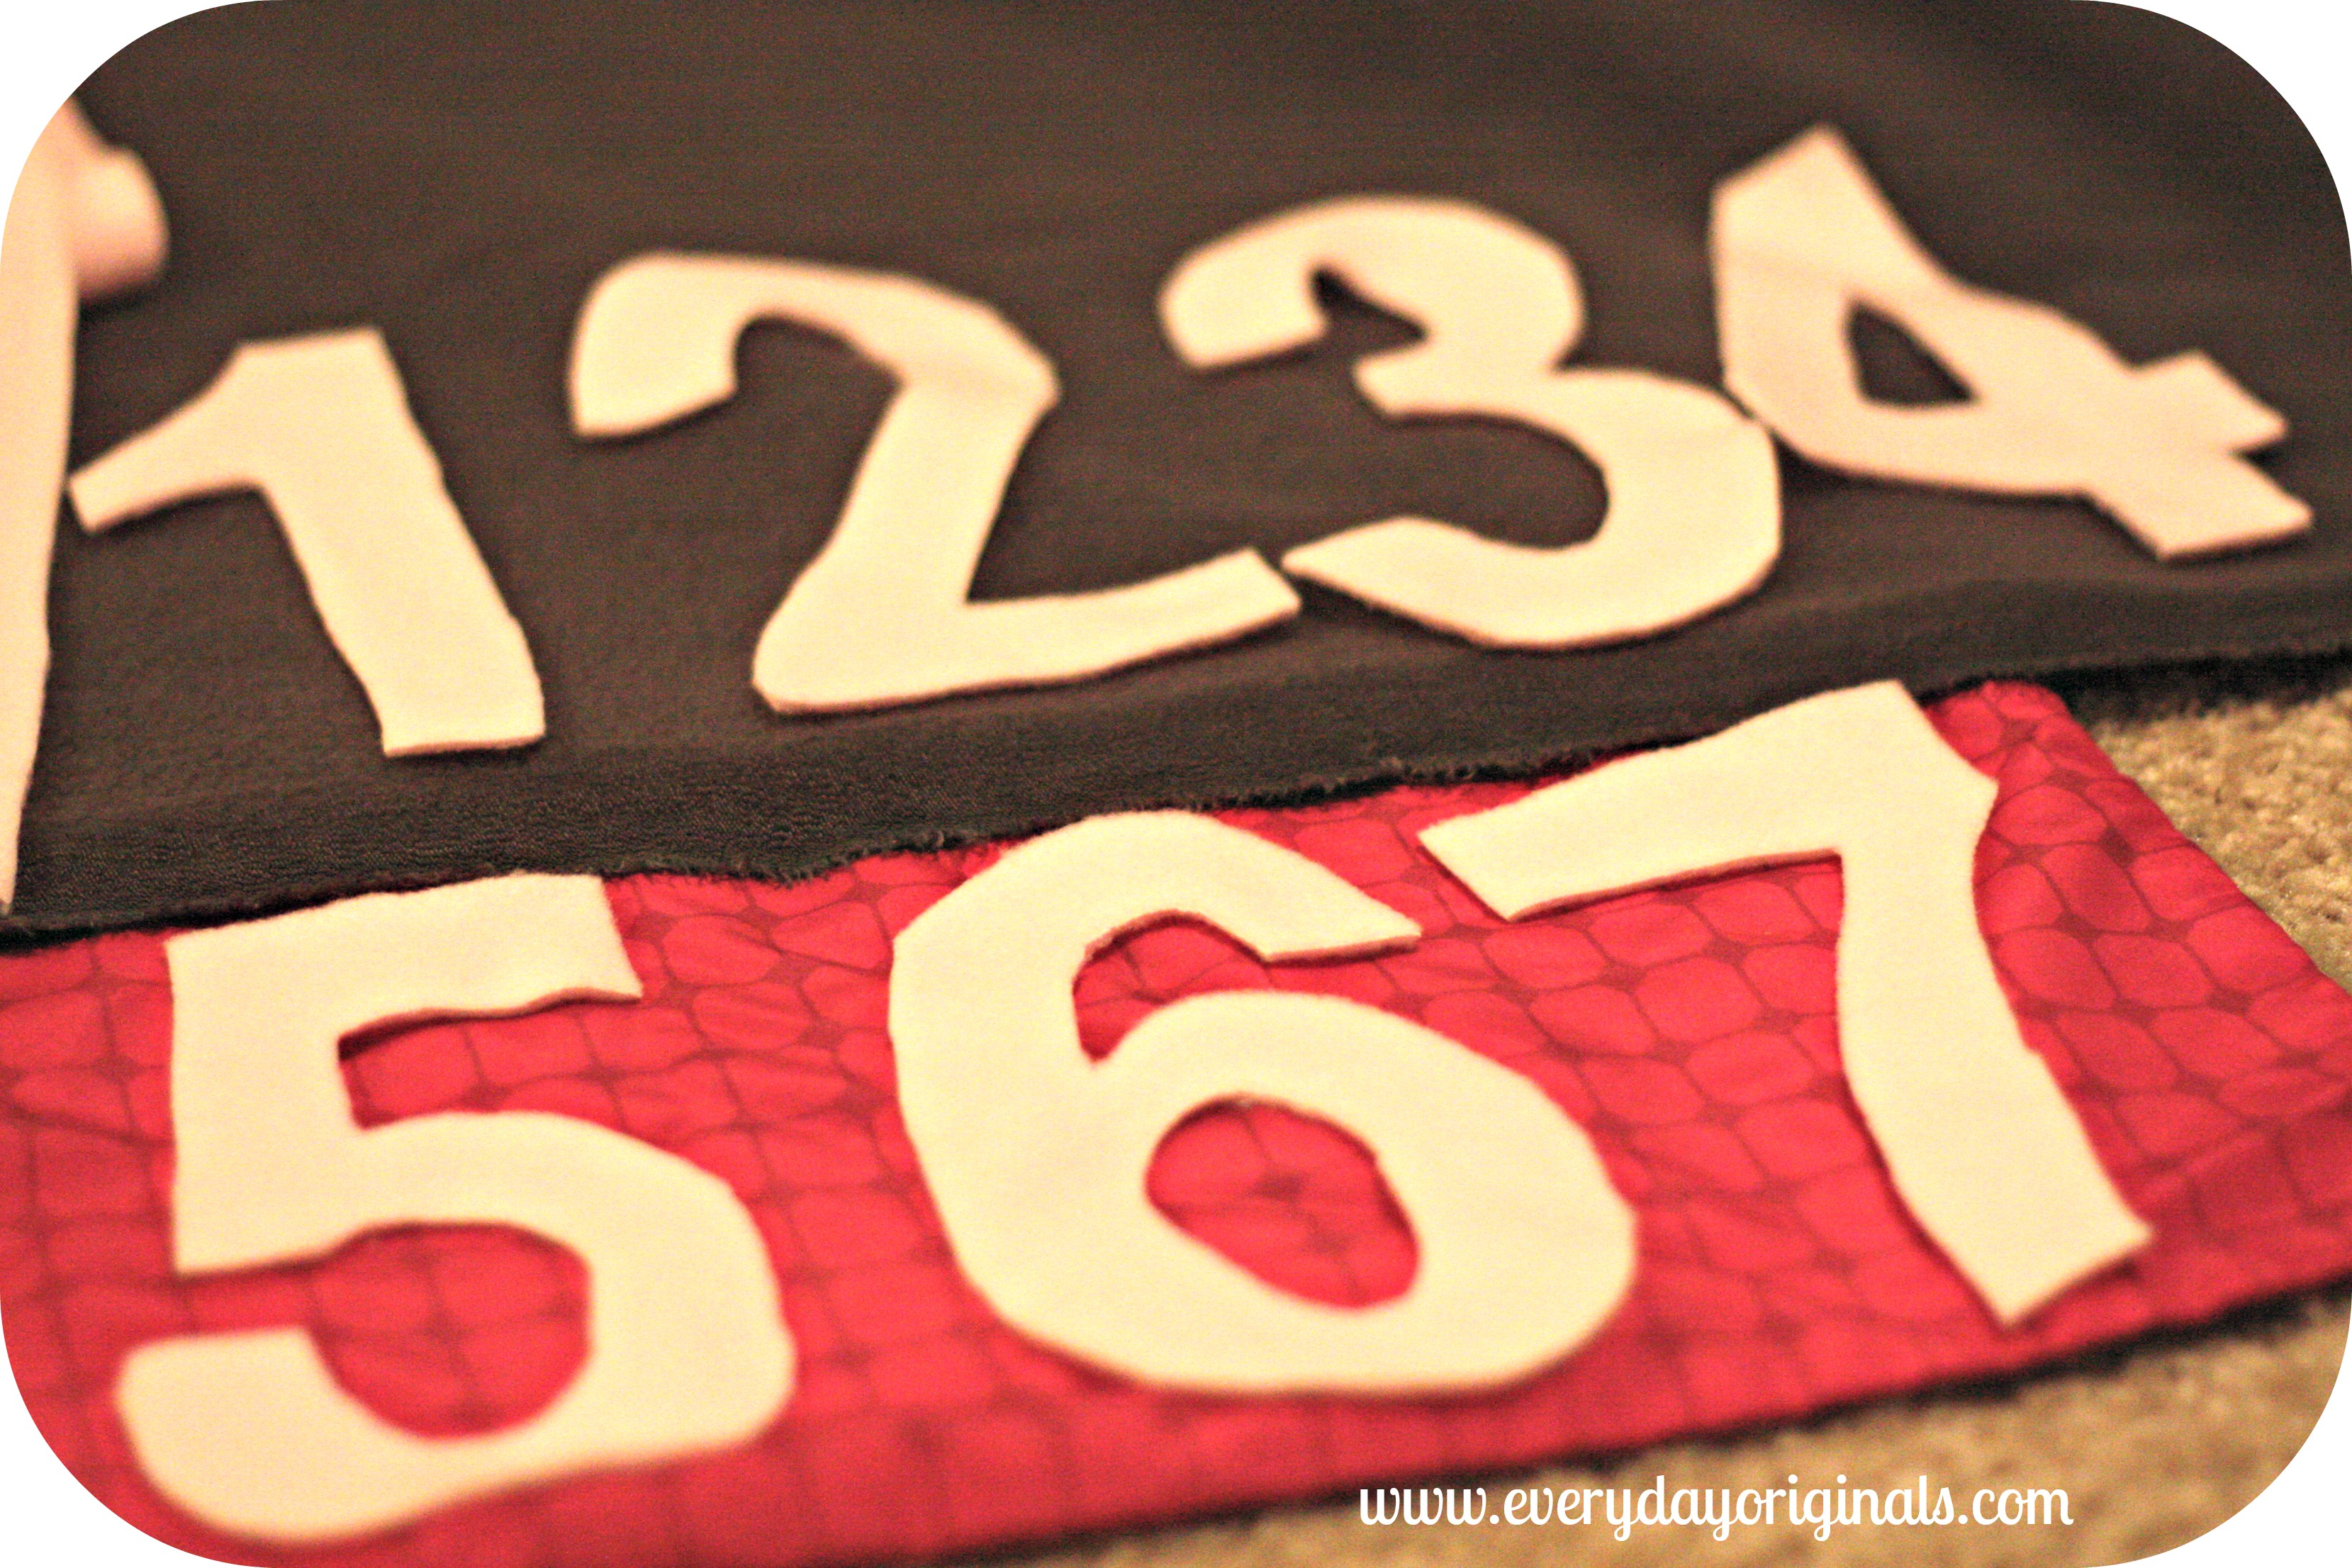
After I had my pieces cut out I then printer on the computer the numbers 1 through 7. I made them large enough to fit each grey shape I had cut out. I apologize that I don’t have any exact dimensions or the exact font size. You know me, I’m not good at tracking those details. I need to get better at it. Anyway, I printed the numbers and then cut each out. I pined each number to the light pink fleece and cut them out again. So then I had all seven numbers cut out in the pink fleece.
I pinned each number to its respective grey piece of fleece and I very carefully and slowly sewed each one on. Surprisingly this step was the easiest of this whole project. It took me a little while but as long as I was taking my time and watching what I was doing it was quite easy to sew the numbers on.
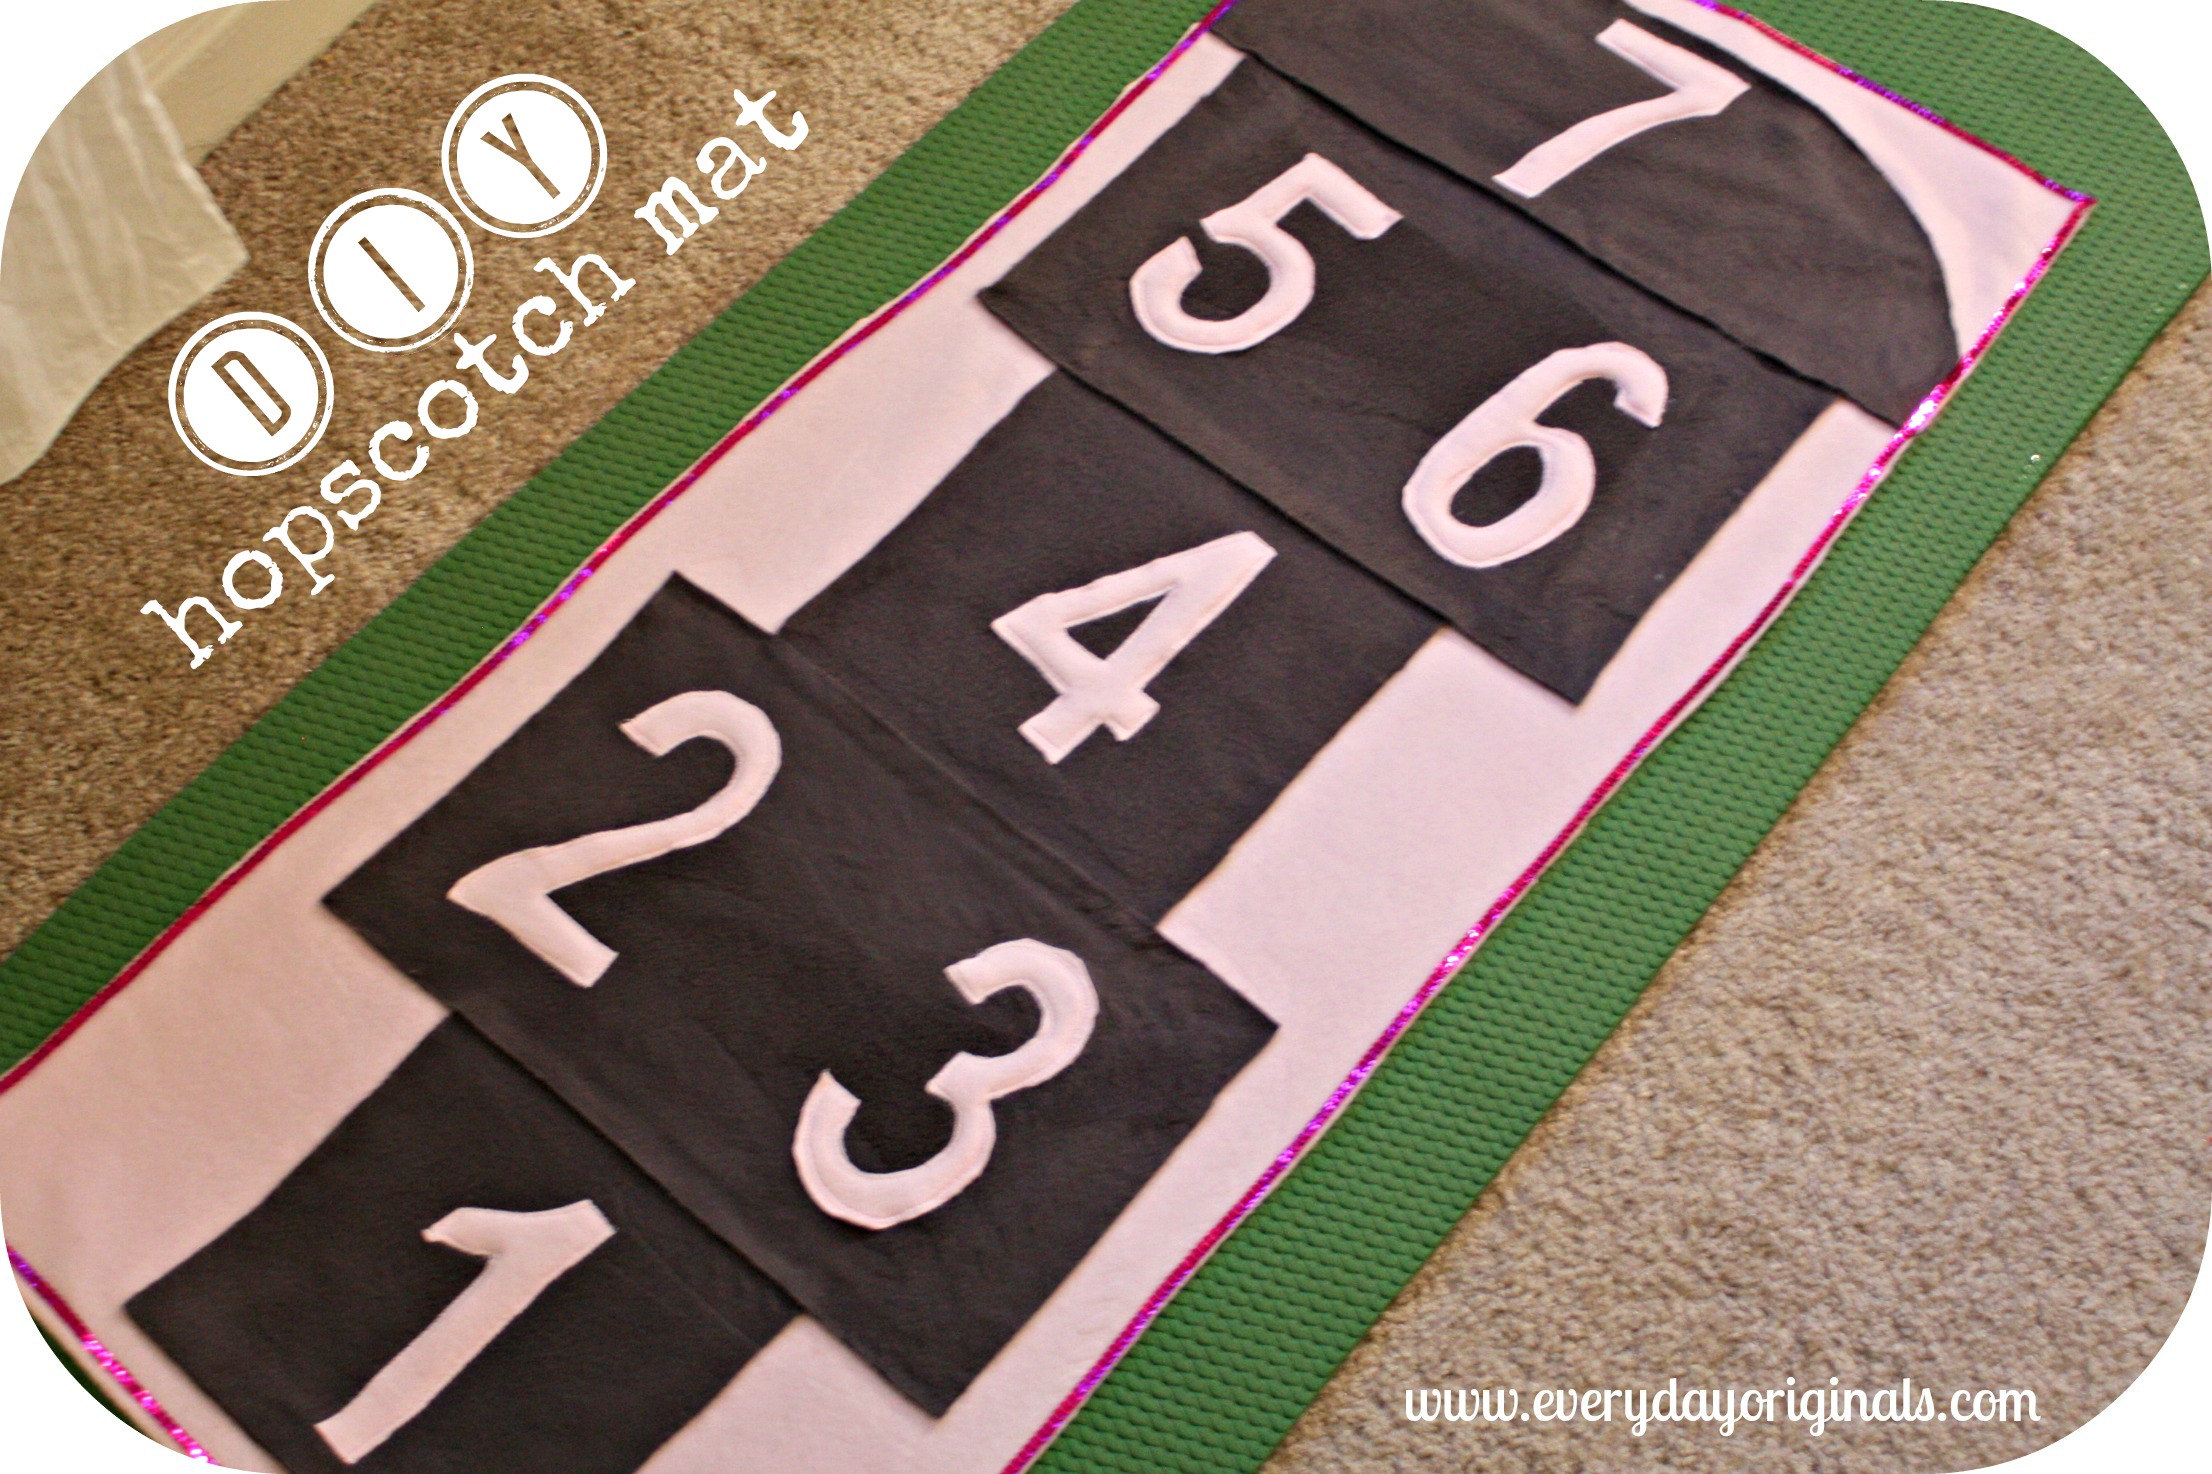
Once I had all the numbers sewed on I positioned each grey piece onto the pink and pinned them. This is where the horror started. The fleece kept stretching every time I tried to sew the pieces together. So no joke at least 5 times I tried sewing it and then I would un-sew it every time. So after weeks and months of getting so frustrated I was ready to give up. But then obviously superman Al swept in and was all encouraging and was all maybe there’s a different way you can make it.
So I resorted to the iron on tape. I positioned all the pieces the same way and I used the heat bond tape to secure them all. It worked fine, but I had all these cute visions of a zigzag stitch outlining each hopscotch piece. After all was ironed together (I simply followed the instructions on the heat bond package) I let it settle for about a day. Then I picked up some sequin ribbon in the dollar section at Target. I hot glued that around the entire perimeter of the mat.
Once it was complete I thought it looked really cute. I rolled it up, wrapped it with a bow and mailed it off to the girls. I only hope that it stays together. Darn fleece on fleece sewing!
Have you guys been sewing up anything cute lately? Having a better experience than I am?!


you need a surger. it is adorable .
a surger, eh? i’ll need to google that!
Hey Lindsey! This is so cute and I love that you can roll it up and reuse it! I hope it stays together – kudos to your hubby for encouraging you!
Thanks Ruth!