My friend Alison is our guest blogger for today, check out her post and awesome DIY notecards below!
———————————-
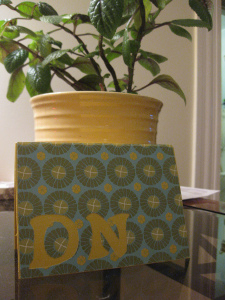
This year, I decided to do a couple of Christmas presents DIY style. I find the sharing more exciting when gifts are hand-made, and not to mention budget friendly. I tried a project I have been thinking about for a while- simple monogrammed cards.
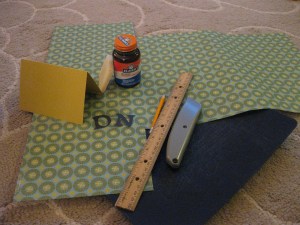
List of supplies:
rubber cement with rubber cement eraser
ruler
pencil
decorative paper
blank cards
envelopes
box cutter
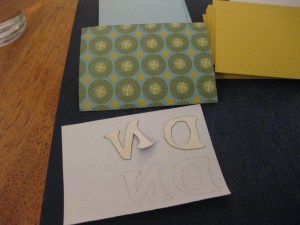
First, I traced the size of the card onto the back of the paper and cut it out. Then trace the initials you are monogramming onto the back of the cut out-backwards. Using the box cutter, carefully cut out the initials. I recommend using a thicker stencil because it makes the cutting much easier. Slather the rubber cement onto the back of the paper and press it onto the front of the card. When it all dries use the eraser to take off the excess.
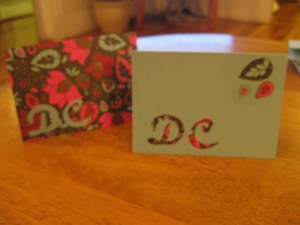
Some things I learned along the way: Use a thicker font, it is much smoother and easier to cut out your stencil. Pace yourself, it takes some time so don’t expect to whip up 20 cards in one sitting. Keep the cutouts of your letters and make some extra cards using just the stencils. Try using leftover scrapbooking paper or even recycle wrapping paper to save some cash.
———————————-
Aren’t these great?! Such a perfect gift for anyone and a great use of leftover scraps of paper. Good job Alison!


Lindsey, you’re adorable. I can’t believe you come up with all these great ideas.