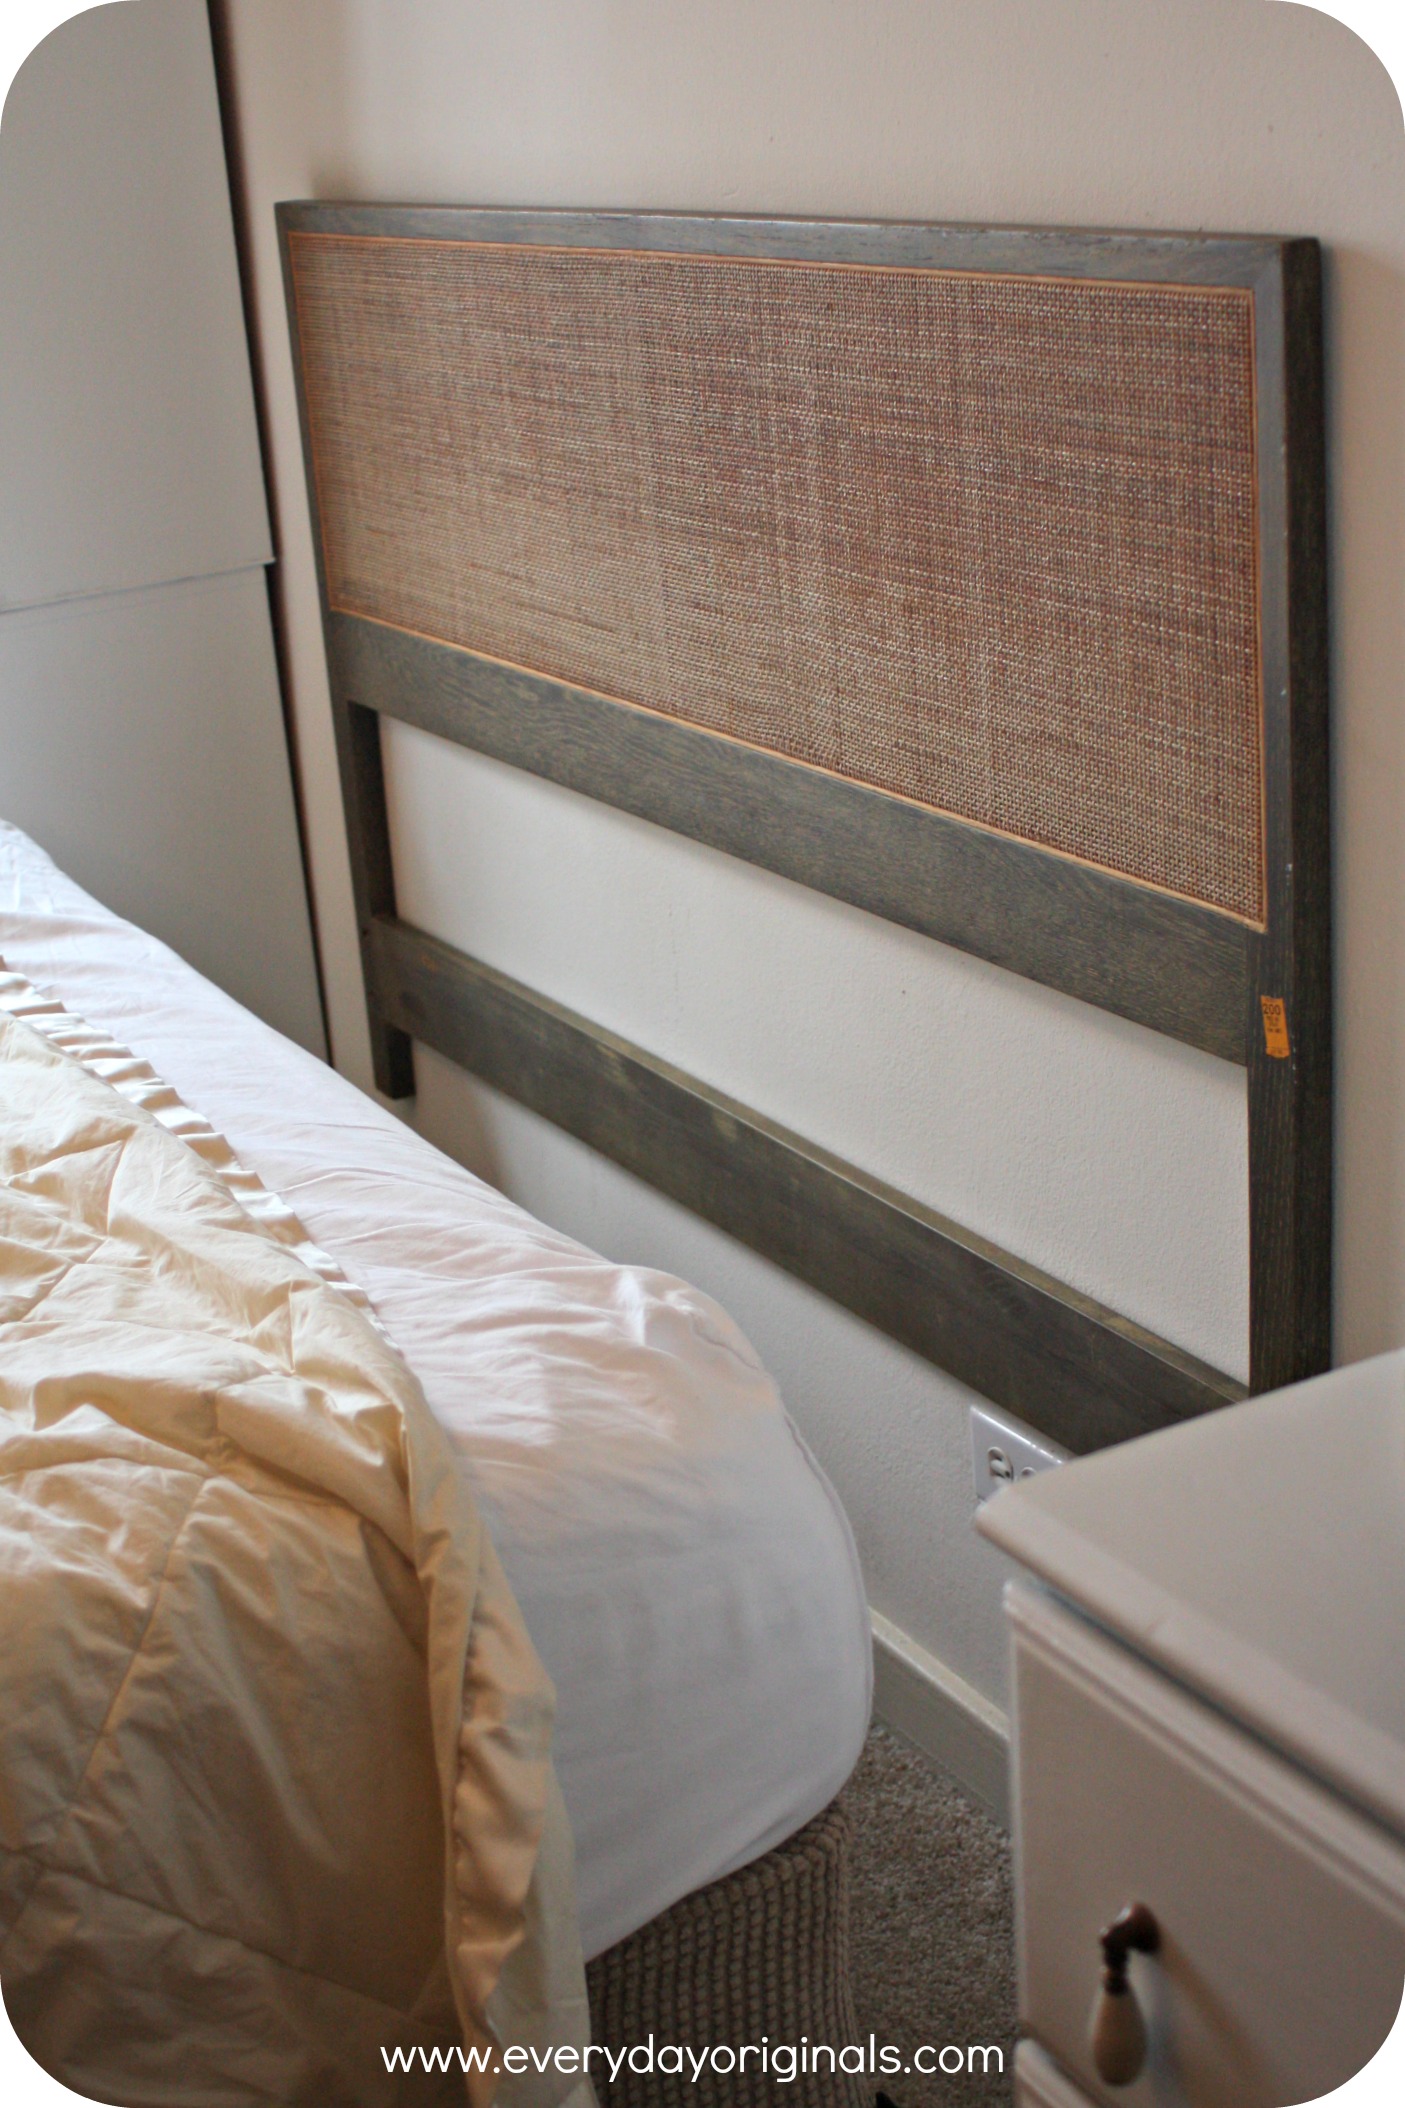
The headboard saga in our apartment has come to an end. Finally. But, let me back up. Way back in the winter I was doing my usual Sunday morning Craigslist perusing when I came across a cane headboard that was in perfect condition. I think it was 20 bucks or so and I needed to have it. So I convinced Al to get in the car and go get it now. It was the worst blizzard we’d had in Colorado thus far but it didn’t matter, we had all wheel drive. So we set out.
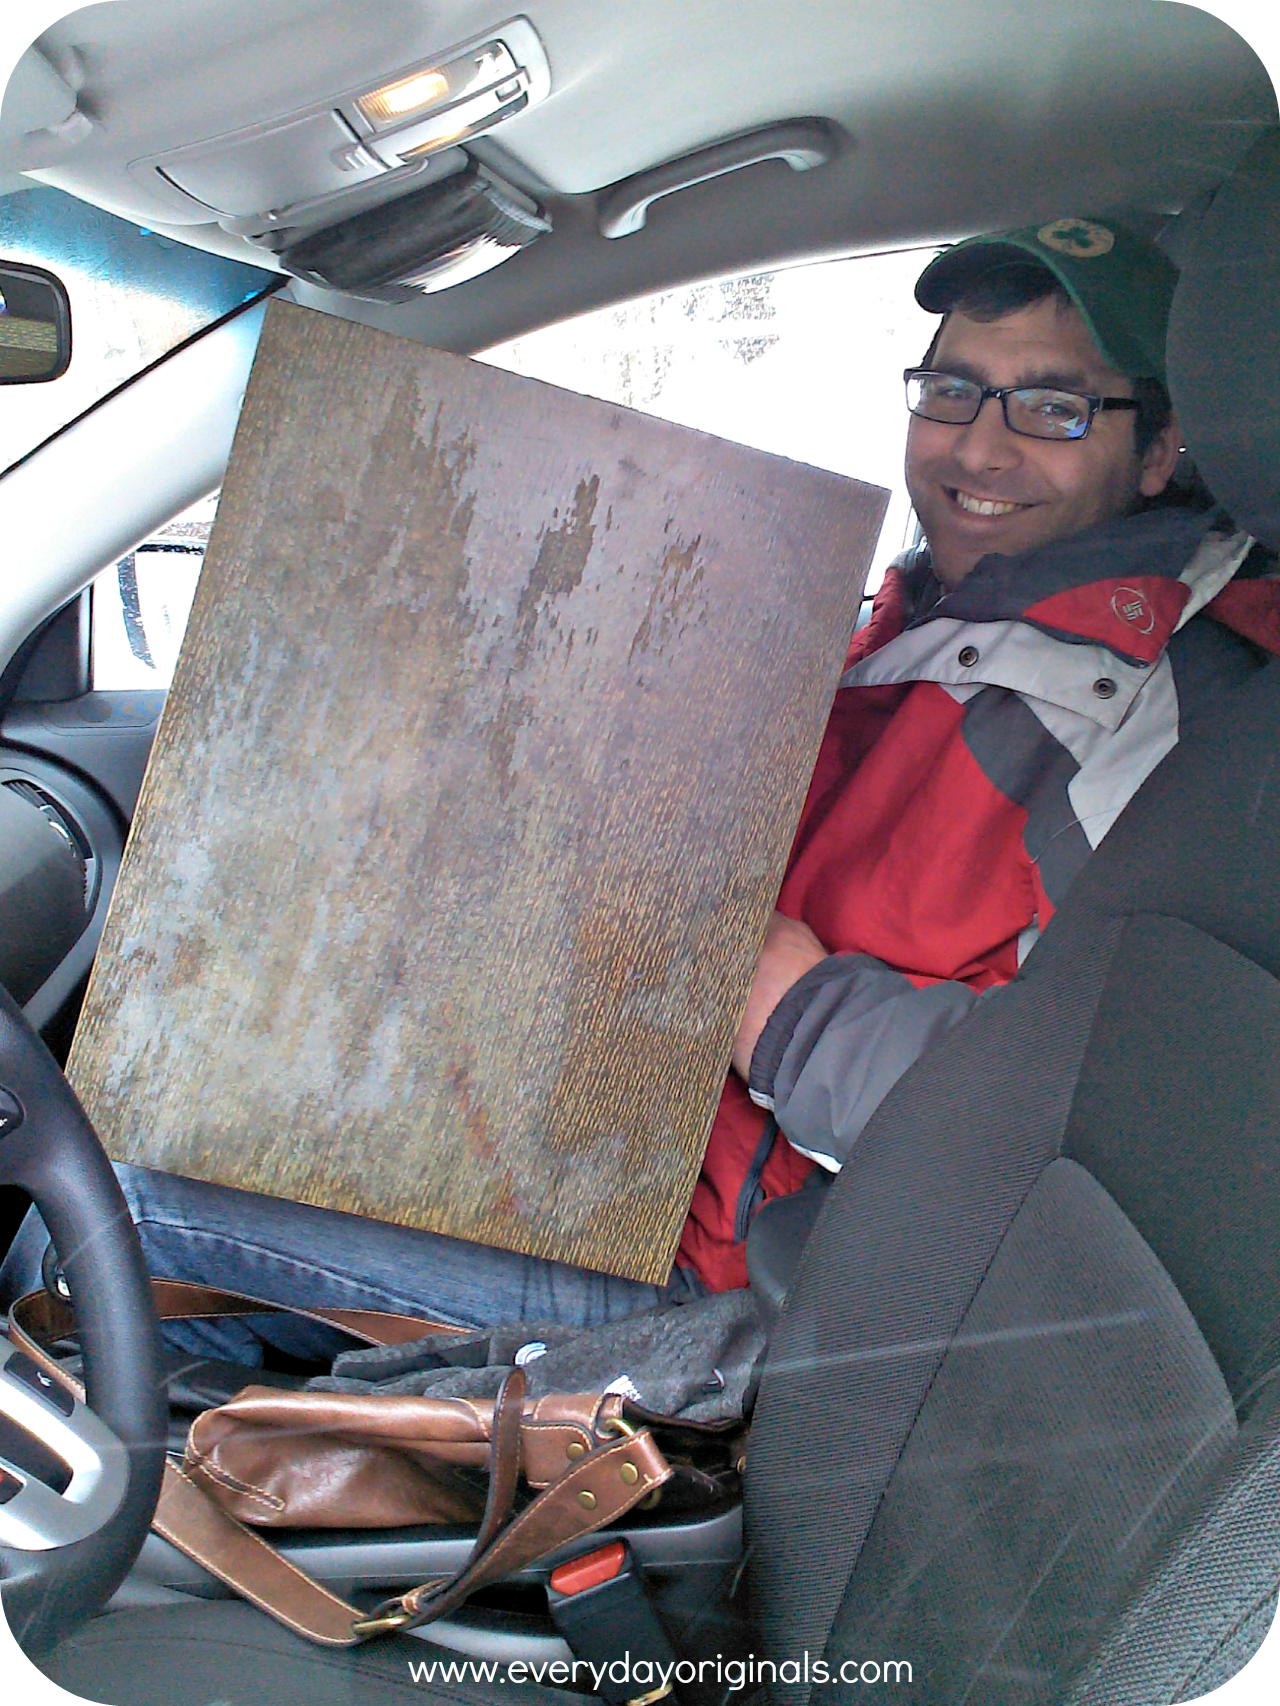
It took us over an hour to get 20 minutes away and when we got there it looked as pretty as it did in the photos. Perfect condition, clean straight lines, t’was perfect. When we got there the seller told us we could take the whole bedroom set for the same price of the headboard. Of course I jumped on it. We also got a great desk lamp thrown in (more on that later). Well, it wouldn’t all fit in the car and the driver seat had to be pushed all the way up to fit most of the pieces so I had to drive. So Al ended up like this:
He’s such a champ. Love that kid. However, the headboard no longer lives in our apartment. Nor does the rest of the furniture. Yes, that’s right. It ended up being too small for our bed despite it being a queen sized headboard and the rest of the pieces were too large for our space. It was too tiny and quaint and it pained me to sell it but it just wasn’t working. So, with that we sold the whole set on Craigslist and were back to the drawing board.
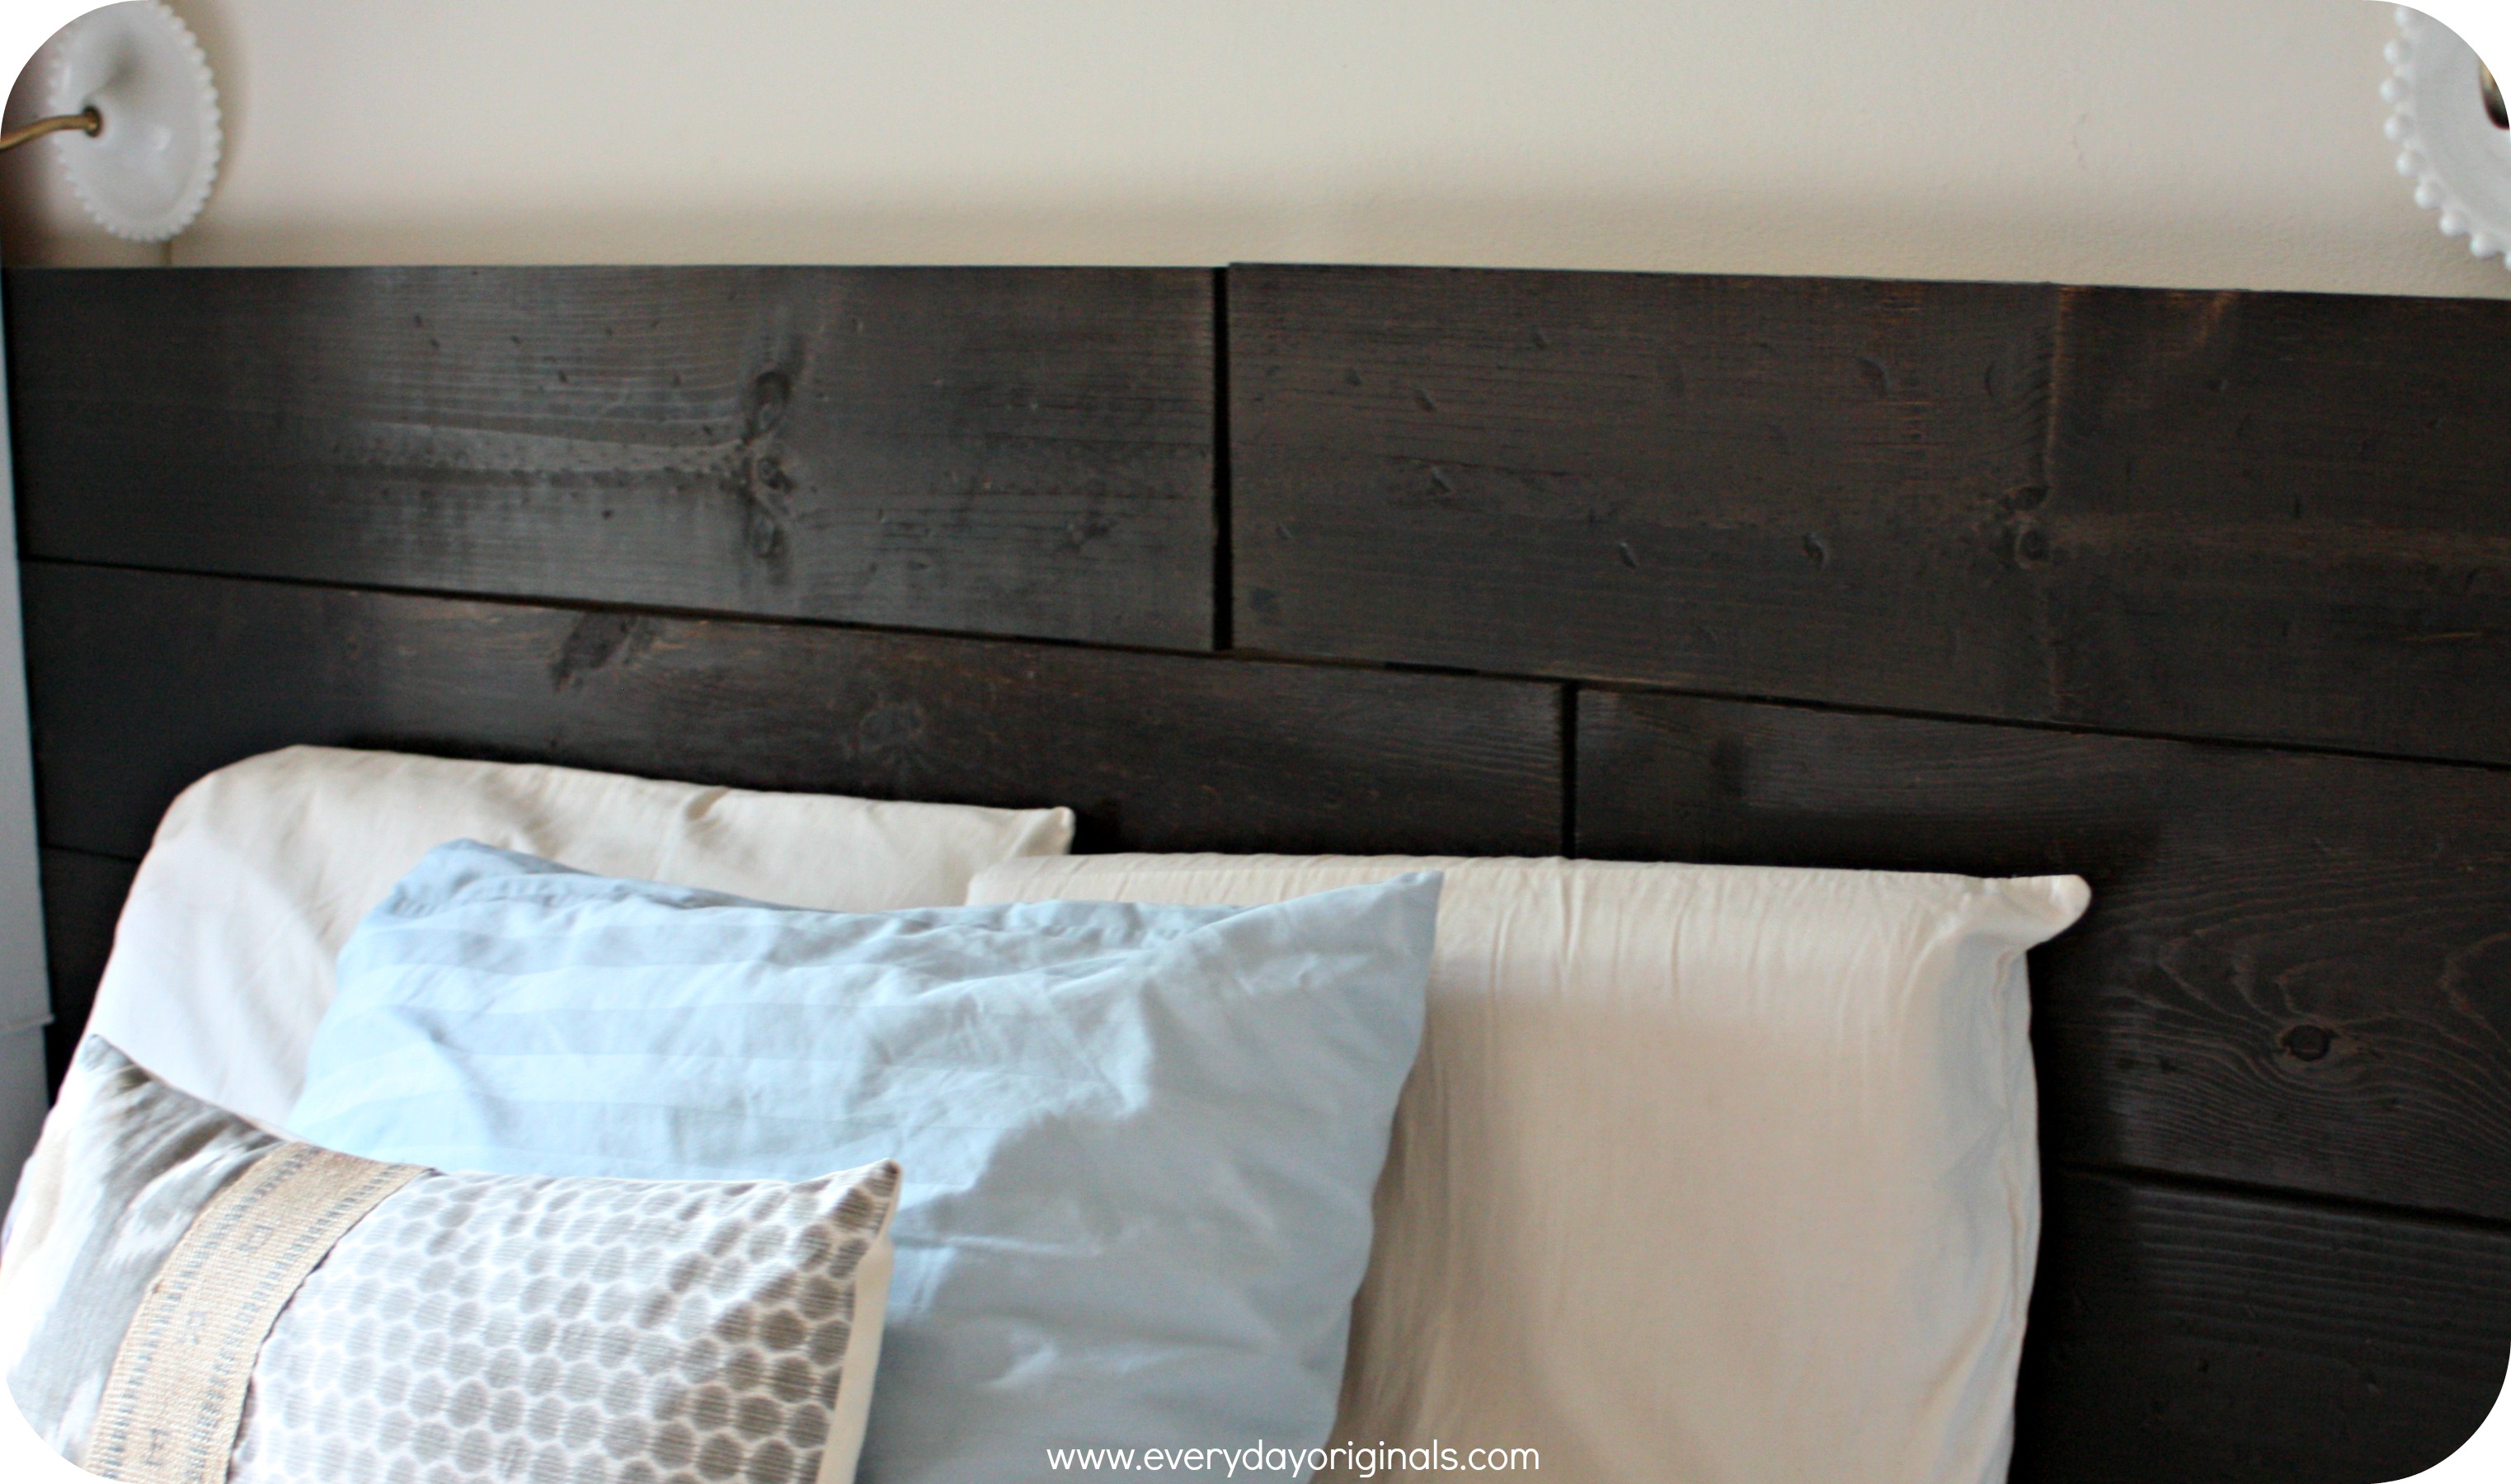
After searching for months for something that we liked and would work I gave up and made a plan to build one. The process of building this was so easy. We purchased three, 6’x6”x1” pieces of wood and had them cut right there at Home Depot. When I had each piece cut I had them all cut at different places so it would look like the pieces were askew.
We also grabbed two, 4’x3”x1” pieces to use as stilts to hold the entire thing up. Kind of like we did way back when with our antique door headboard. I started by using a hammer, screwdriver and pry bar to ding up the wood and make it look worn out. We just went to town hitting it and marking it up. After that Al stained each piece of wood using Minwax Jacobean. The easiest way to stain pieces of wood like this is to use a rag. With a brush the stain goes on too thick and takes two weeks to dry. We learned that the hard way.
Once the wood was completely dry I placed all the pieces together to make each piece look misaligned. We flipped each piece over and Al hammered the slats into the wood using normal wood nails. Once complete we stood it up, placed it behind the bed, secured the slats to the wall with long screws and voila, had a lovely new headboard!
I love the look of it and the way it brings the side pieces and bed altogether. It came out a bit darker than we’d hoped but as I said, it’s because we missed the part about using a rag. Even though it’s dark I still think the contrast with the crisp white pieces is fabulous. I need to get some colorful pillows and something to hang above the headboard and then we’ll be set.
The total cost for the wood and the stain was right around $30, which really is a steal for a queen sized headboard!


Amazing. I did see some great benches made out of old headboards and my friend bought one, so next time you could make a bench.
Gretchen! I want to see a picture of this bench you speak of!