Does this seem like the never ending bathroom reno? It’s real life people, these things don’t happen overnight. We’re in the home stretch, which is nice, because I won’t lie, I’m getting a little bored of talking about bathrooms.
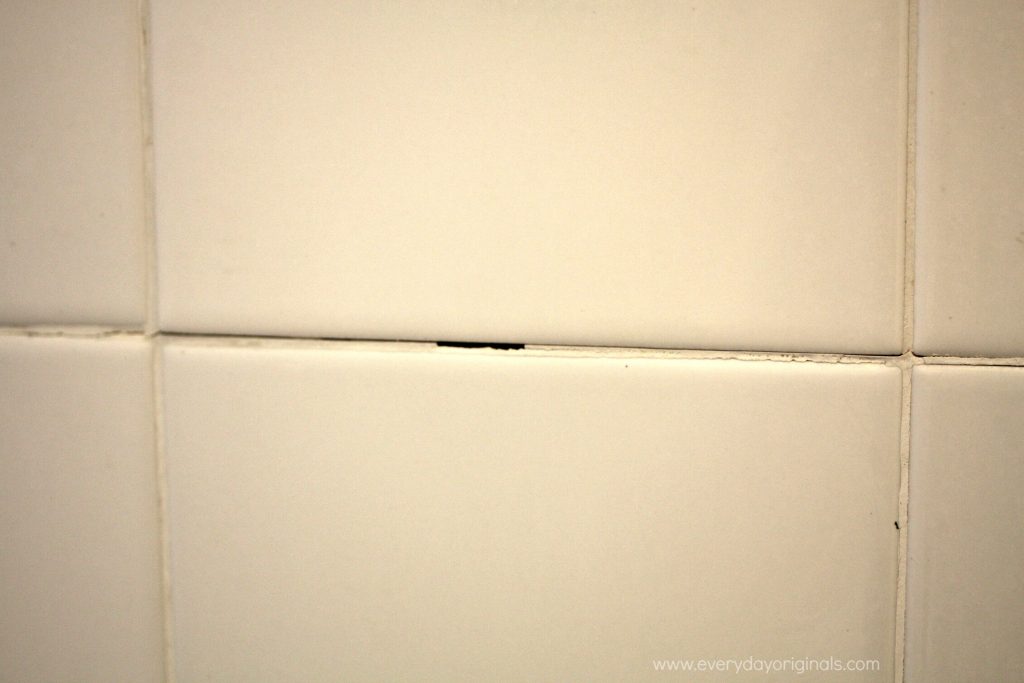
The grout in your tub is especially important to prevent water damage, mold growth and other problems. Our tile is in perfect condition, but the grout was peeling and chipping in many places. While I would love to have some beautiful subway tile in our tub, it wasn’t really necessary since the tile there is just fine.
Fixing up the grout didn’t take long, I started at about four in the afternoon and I think finished around ten that night. It doesn’t take long, but my goodness it takes muscle. I started this when Al was at work, which are my favorite kind of projects because he walks around the corner with this look of, “what the heck are you doing” and then bursts out laughing when he sees his five foot tall wife balancing on the edge of the tub and reaching two feet above her head with grout. #girlpower
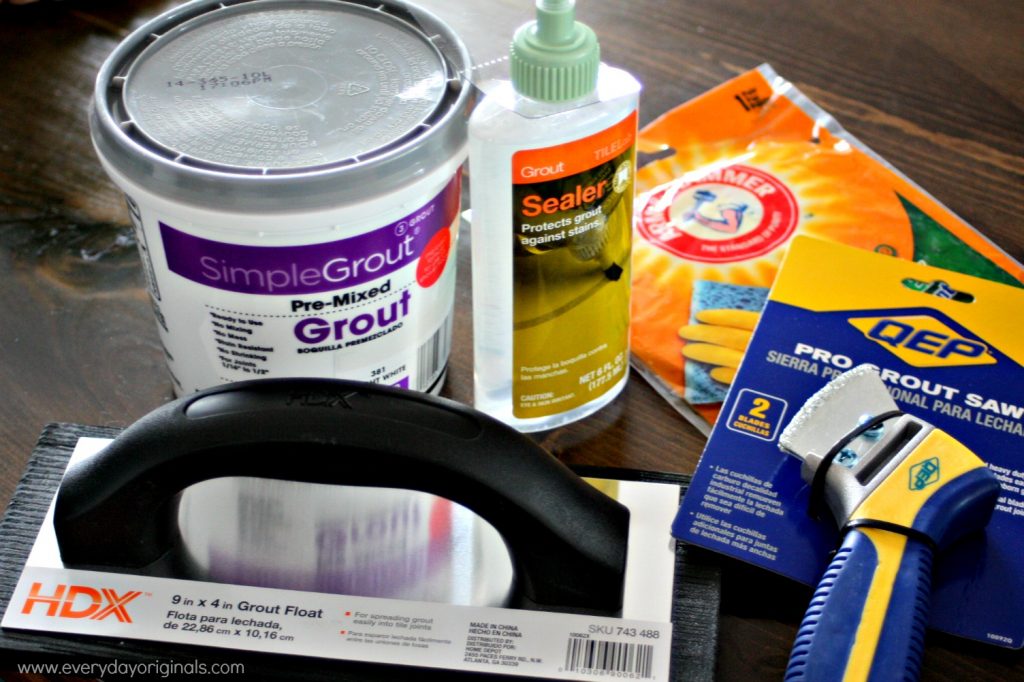
Supplies Needed:
Grout Saw
Rubber Gloves
Grout Float
Pre-Mixed Grout
Grout Sealer
Large Sponge
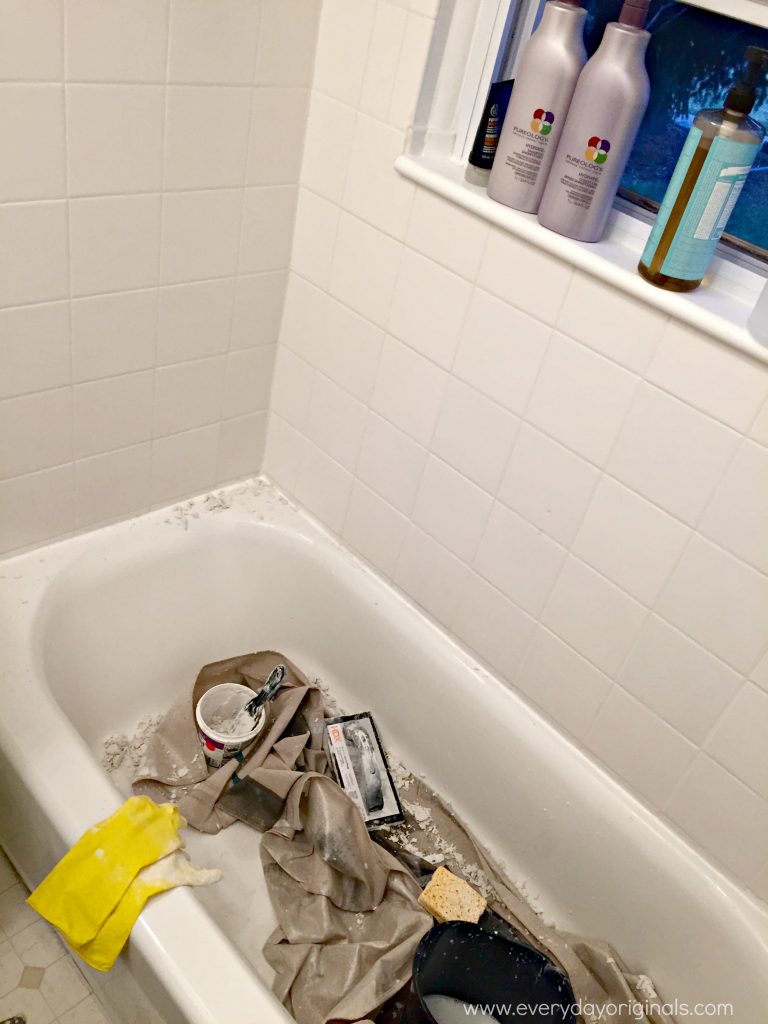
As a reminder, here’s where we started:
- Start by cleaning the tiles really well. I used a 1:1 water and vinegar mixture.
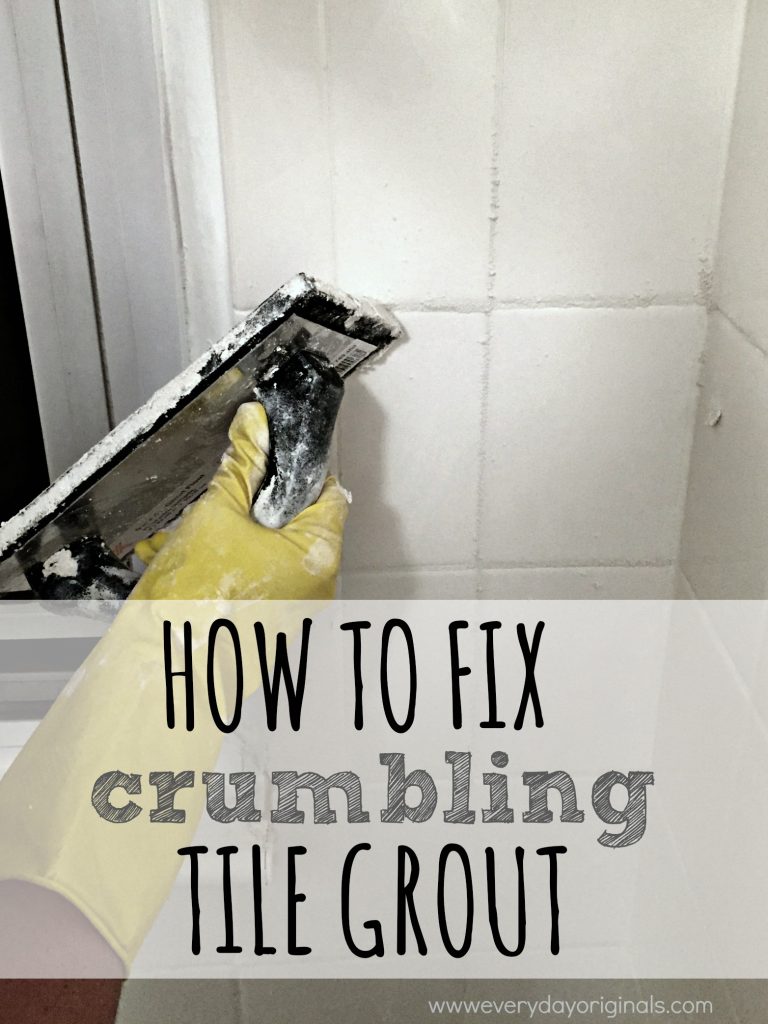
- Using the grout saw remove any loose or damaged grout. Be careful to not chip the tile. Don’t get all aggressive with your grout saw.
- I used a pre-mixed grout because the nice guy in the grout aisle of Home Depot said to. He said it’s easier to use on walls and that he wouldn’t recommend it on floor tiles. So I gave it a shot. Using the grout float I spread the grout, filling the joints in, and scraping the excess using the float at a 90 degree angle.

- I would grout about a 2’ x 2’ area and then remove the excess with a damp sponge. Rinse your sponge between cleanings.
- Once I grouted the entire space I let it set for I don’t remember how long. I followed the instruction on the container, which I don’t have anymore. I think it was 24 hours.
- After it was completely set and dry I sealed it using grout sealer. If I were to do this again I would have used a spray sealer instead of this one that you brush on. It made a HUGE mess. It sealed very well, but the mess it made from dripping all over the tiles was brutal. It leaves a haze that doesn’t just wipe off. It took four Mr. Clean Magic Erasers to clean all the tiles.
- Let the sealer set, again, according to the directions on the package and then give one last clean using your regular bathroom cleaner.

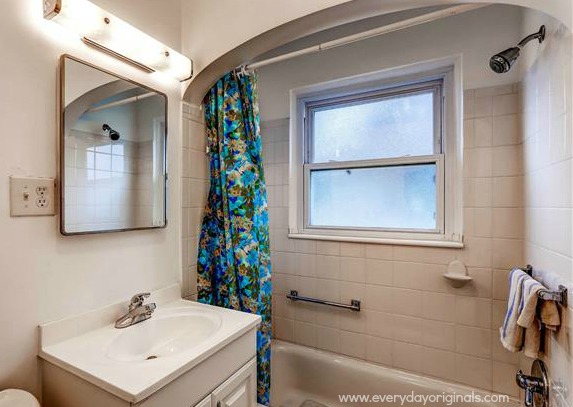
I know that’s a thrilling image above. But it’s a world of difference compared to the one with the cracking grout earlier in the post!
It’s amazing how different it looks. We also removed the multiple towel bars that were in the tub. With the refresh of grout and the lack of towel bars it looks so much bigger and brighter. If you see any grout chipping from your tub make sure to address it sooner than later. I figure a day or two of HARD work is worth it to prevent water damage and mold in the future.
Thanks for sharing. I have been watching a cracked grout line grow in my practicaly new bathroom floor. I’m sure I could get the contractor come back, but I don’t want the hassle or associated costs. Your post certainly helps tremendously. I’ll pay a visit to my local Home Depot and purchase the necessary tools. I am going to try and locate the remaining grout the contractor left behind. There are probably two or three bags of leftover grout in the garage from different tiling projects we had done in last 3-4 years. Wish me luck. Thanks again.
Good luck! And I agree – almost easier to do it yourself than deal with contractors :)
Hi there. Could you please tell me if you removed all of the grout in your shower in order to re-grout or did you only remove where it was crumbling? Can you grout over existing grout that is fine? Thanks!
I only removed the grout where it was crumbling or cracking and I did grout over the existing grout. However, I “roughed” up the grout a bit first with the grout saw so that the new grout would hold. It’s not a permanent fix, it lasted about 2 years for us, but that’s all we needed until we remodeled the entire bathroom. If you are looking for a permanent fix my suggestion would be to remove all of the grout to ensure it adheres better. Good luck!