Adding a drum shade to a ceiling light fixture is the easiest way to update the lighting without needing to re-wire anything.
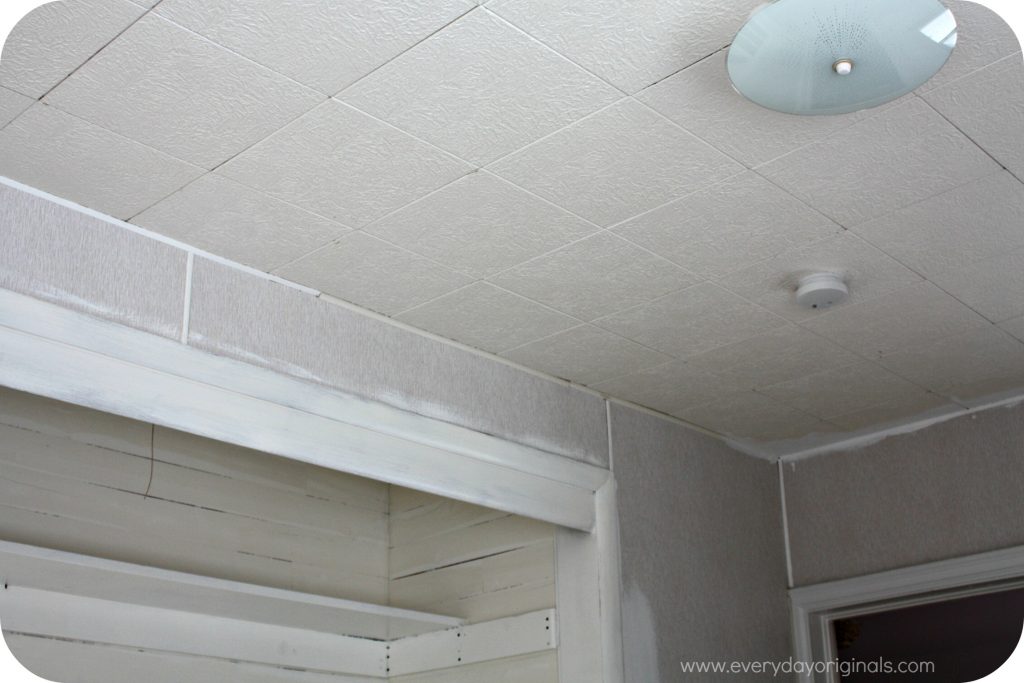
I had planned on making a drum shade but when I found this one on clearance at Lowe’s for $6 I jumped on it, as I wouldn’t have been able to make one for less than that. Here’s the before of our guest room lighting situation:
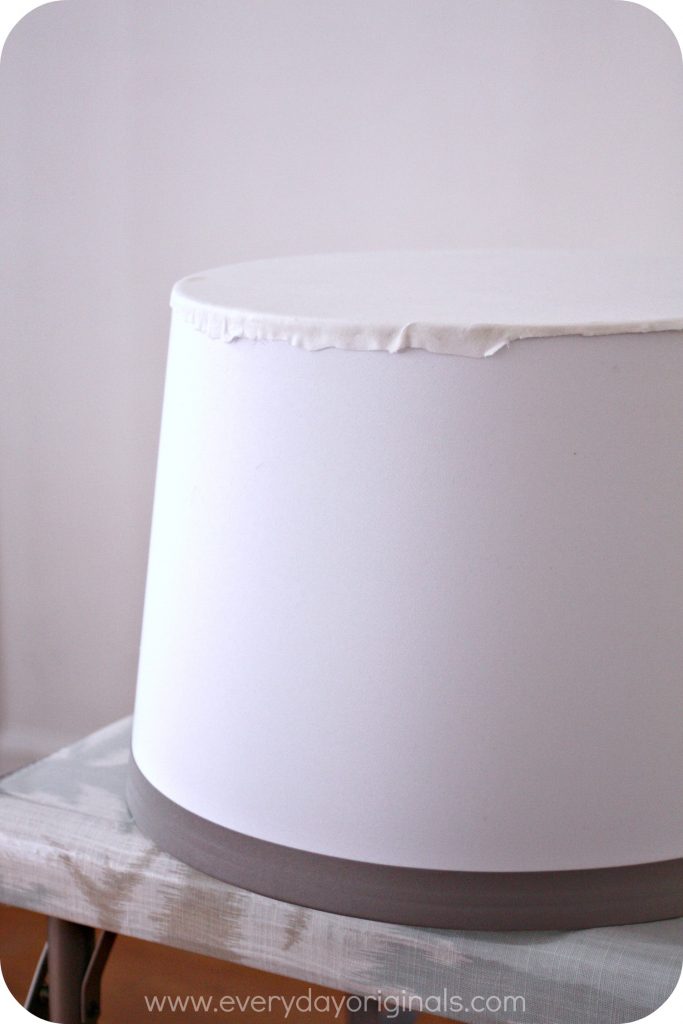
I don’t like when you can see right into the drum shade and then get blinded by looking directly at the light bulbs, so using some leftover white fabric I had I added a bottom, if you will, to the shade.
I started by cutting the fabric into a circle that was a tad larger than the shade. I then carefully removed the gray finishing tape (on most shades that tape is just lightly secured and is easy to remove) and hot glued the fabric around the shade. I pulled at the fabric as I glued to ensure it was tight.
Once finished gluing I added the gray tape back on. It stuck perfectly with the stickiness it already had and I just added a dot of hot glue at the end to keep it all together.
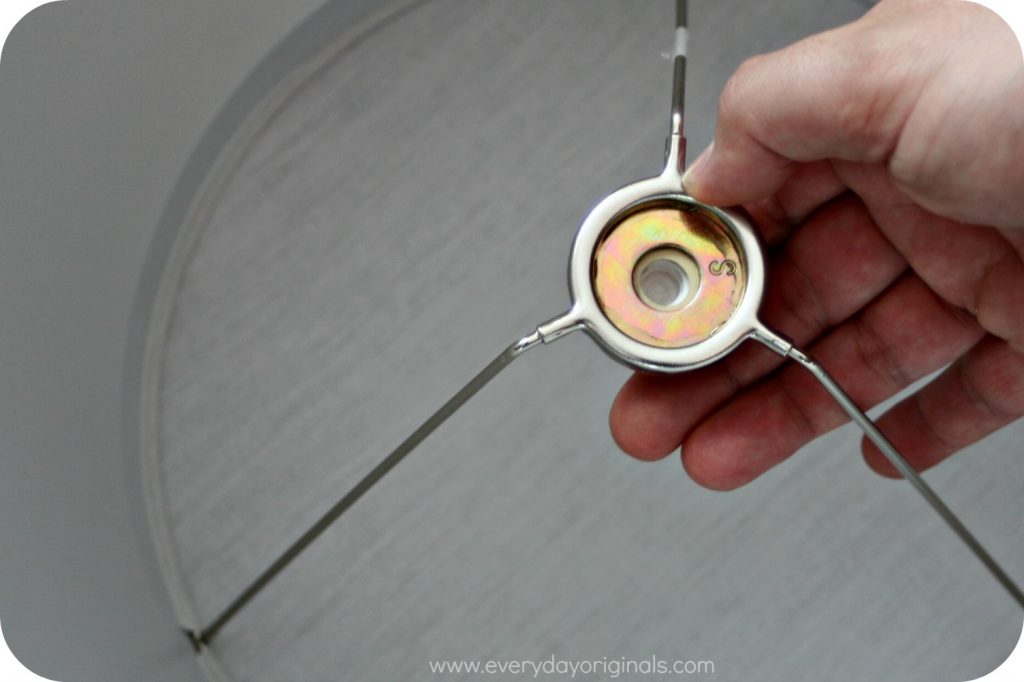
The way you hang your drum shade will vary depending on the style ceiling light you have. For ours, we were able to superglue a washer to the middle of the shade and then glue the little piece that held the old light fixture on to that.
So we were still securing the light fixture the same way, we were just swapping out a 20-year-old glass piece for a drum shade. Once that was secured we could easily spin the whole contraption right on to the light fixture.

It’s hard to explain, but I’m hoping the photos make it easier to understand!
This was the easiest way we could come up with for hanging the shade. Once it was screwed on it was complete and looking a whole lot more modern.
The best part is that it’s not a pain to remove and re-hang for when we need to change the lightbulb!


Leave a Reply