The problem with moving into a house that is three times the size of the last place you lived in is that you have nothing to furnish it with. While we’d love to run out and buy lots of wonderful things right now, that’s just not our style.
So we took it upon ourselves to build our dining table which resulted in saving a fortune, a lot of fun and the satisfaction of knowing we built it every time we sit down to eat. And it really was quite simple. {Click here to see Phase 2 and here to see Completed Project!}
Supplies Needed For a 5′ x 3′ Table
- (3) 1″ x 12″ x 5′ select pine boards
- (2) 1″ x 2″ x 8′ select pine boards – 2 cuts at 57″ and 2 cuts at 33¾”
- (be sure to get select pine as they’re better cuts of wood)
- (1) 1″ x 3″ x 8′ rough pine board – 4 cuts at 24″ each
- (this piece is for the under table support so a rough pine will suffice)
- wood glue
- 2 bar clamps
- (60) 1¼” wood screws
- power drill
Method
If you’re good at math you’ll notice that the calculations don’t all add up. That’s because when you buy wood they’re not actually the size you think you’re buying. They’re always a tad off. For instance, the 1″ x 12″ x 5′ boards are actually only 11¼” wide. Such a scam, right? 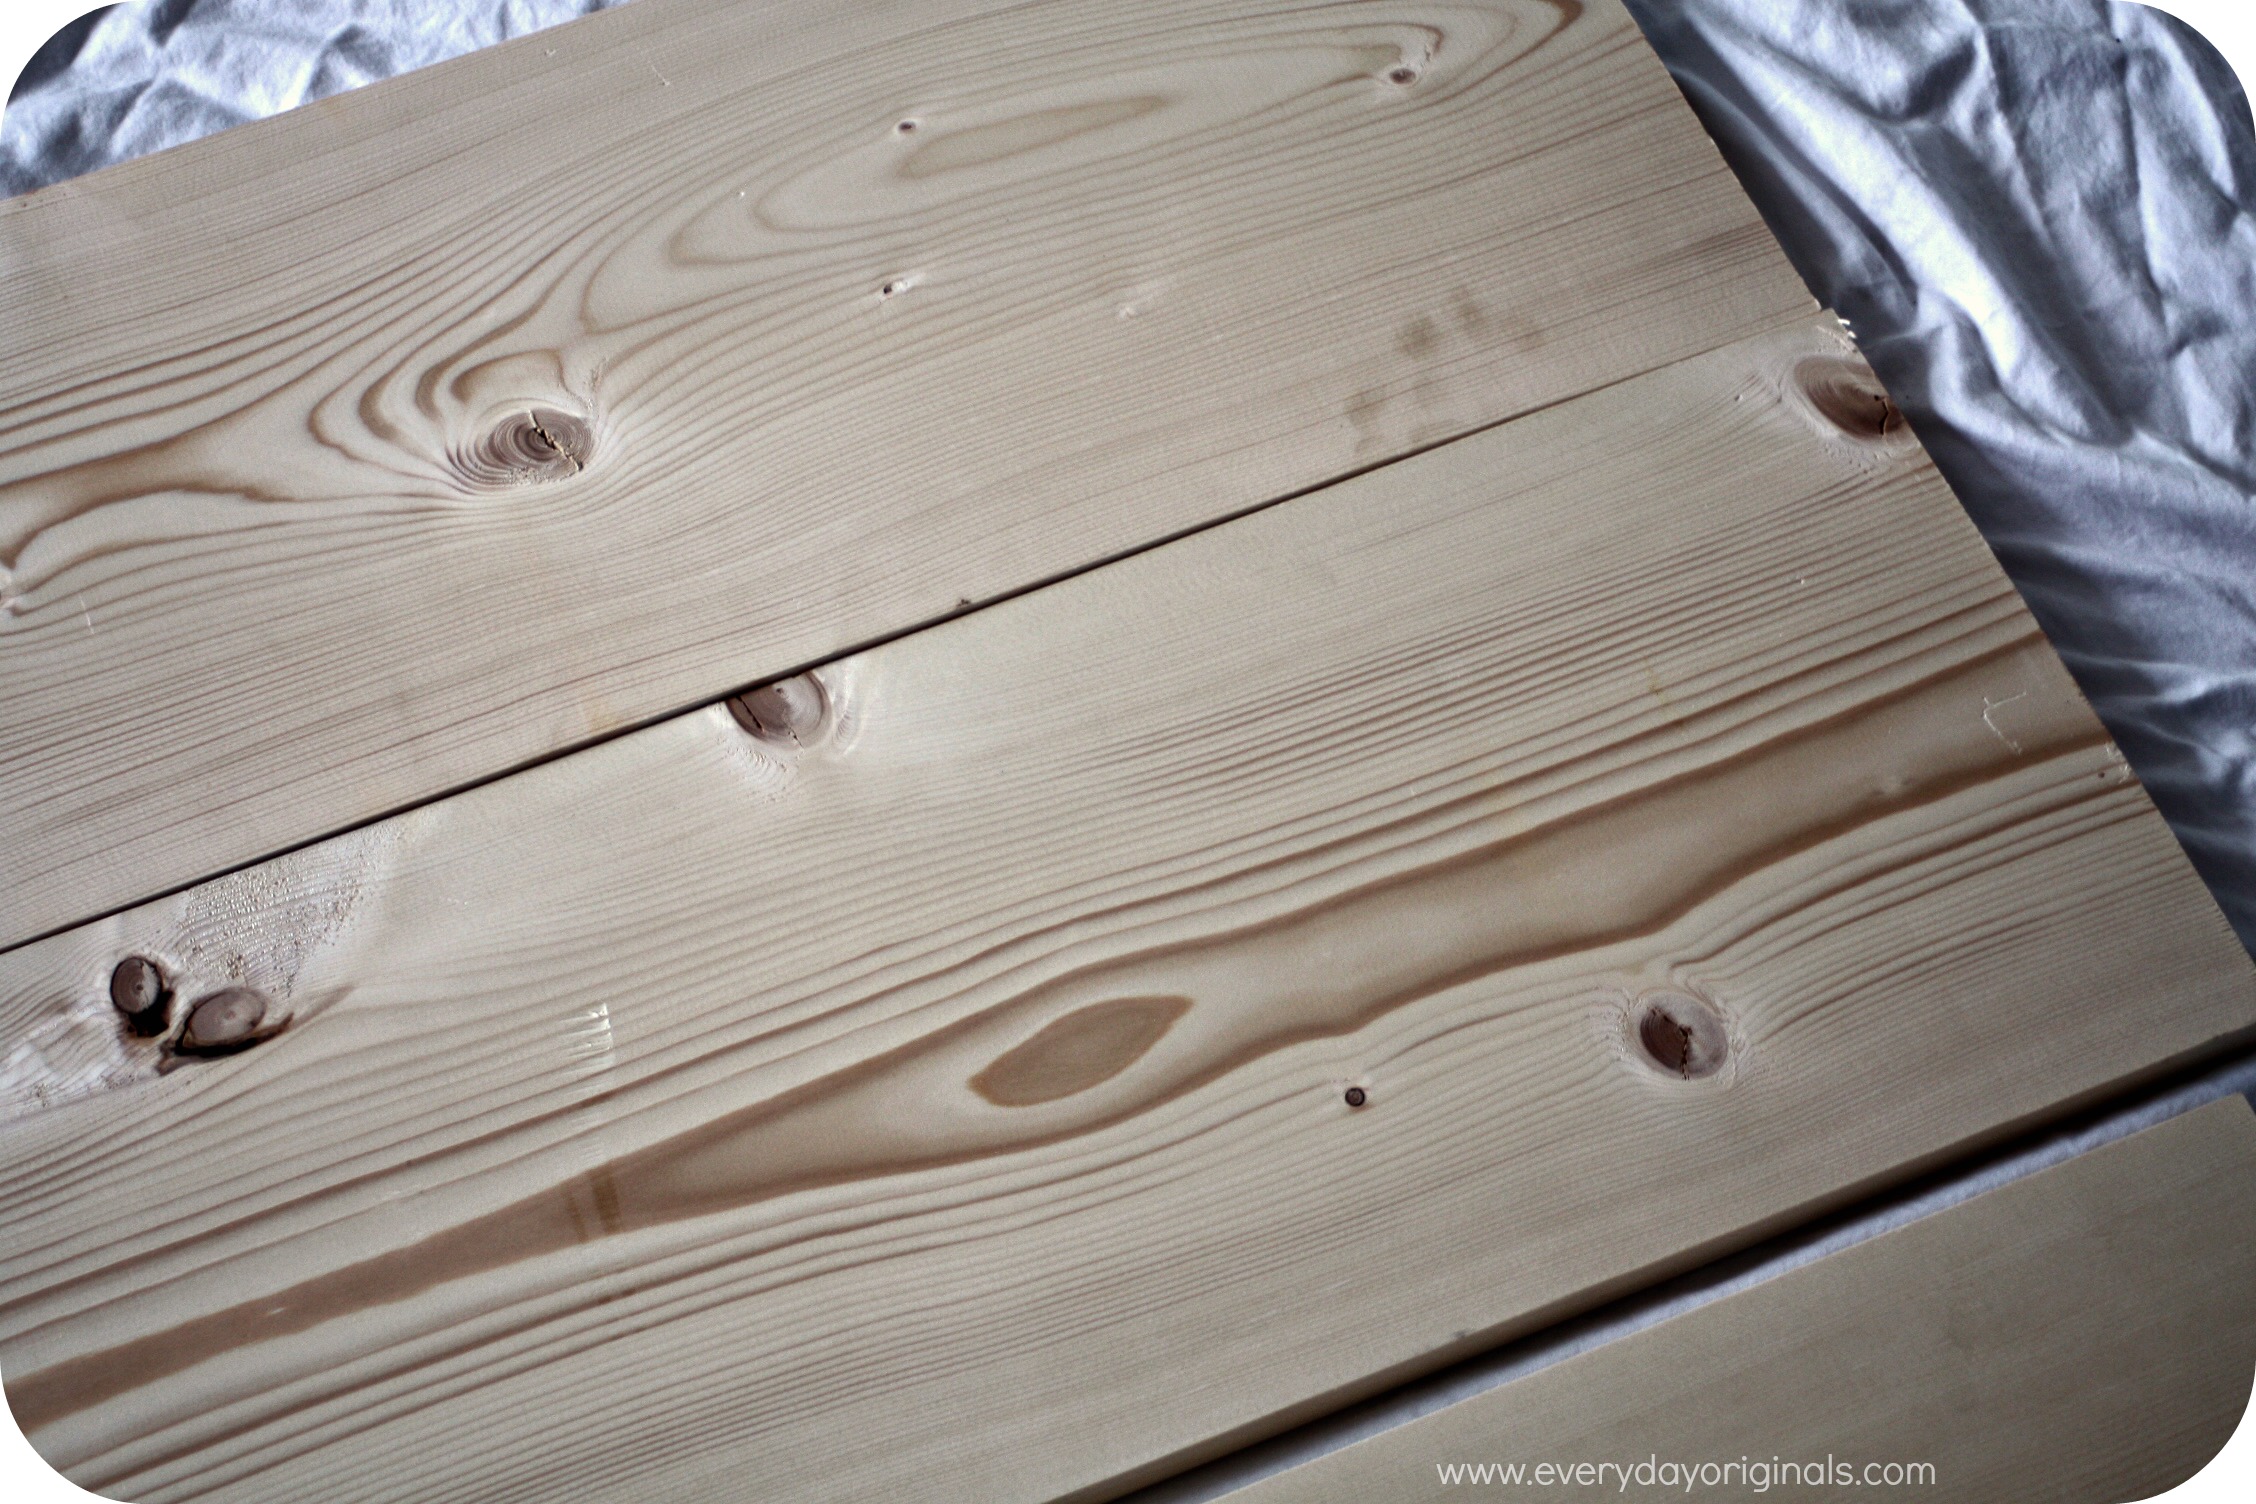
Don’t ask me why, because I have no clue, but it makes for tricky measurements, which is why you need the trim pieces cut at 33¾” instead of 36″. Make sense? Alright, let’s get to this.
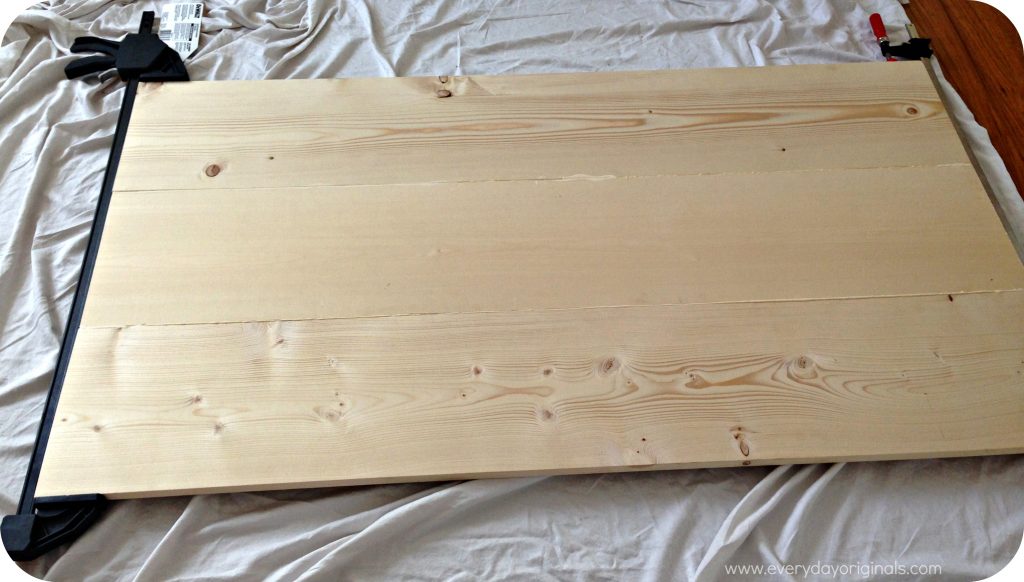
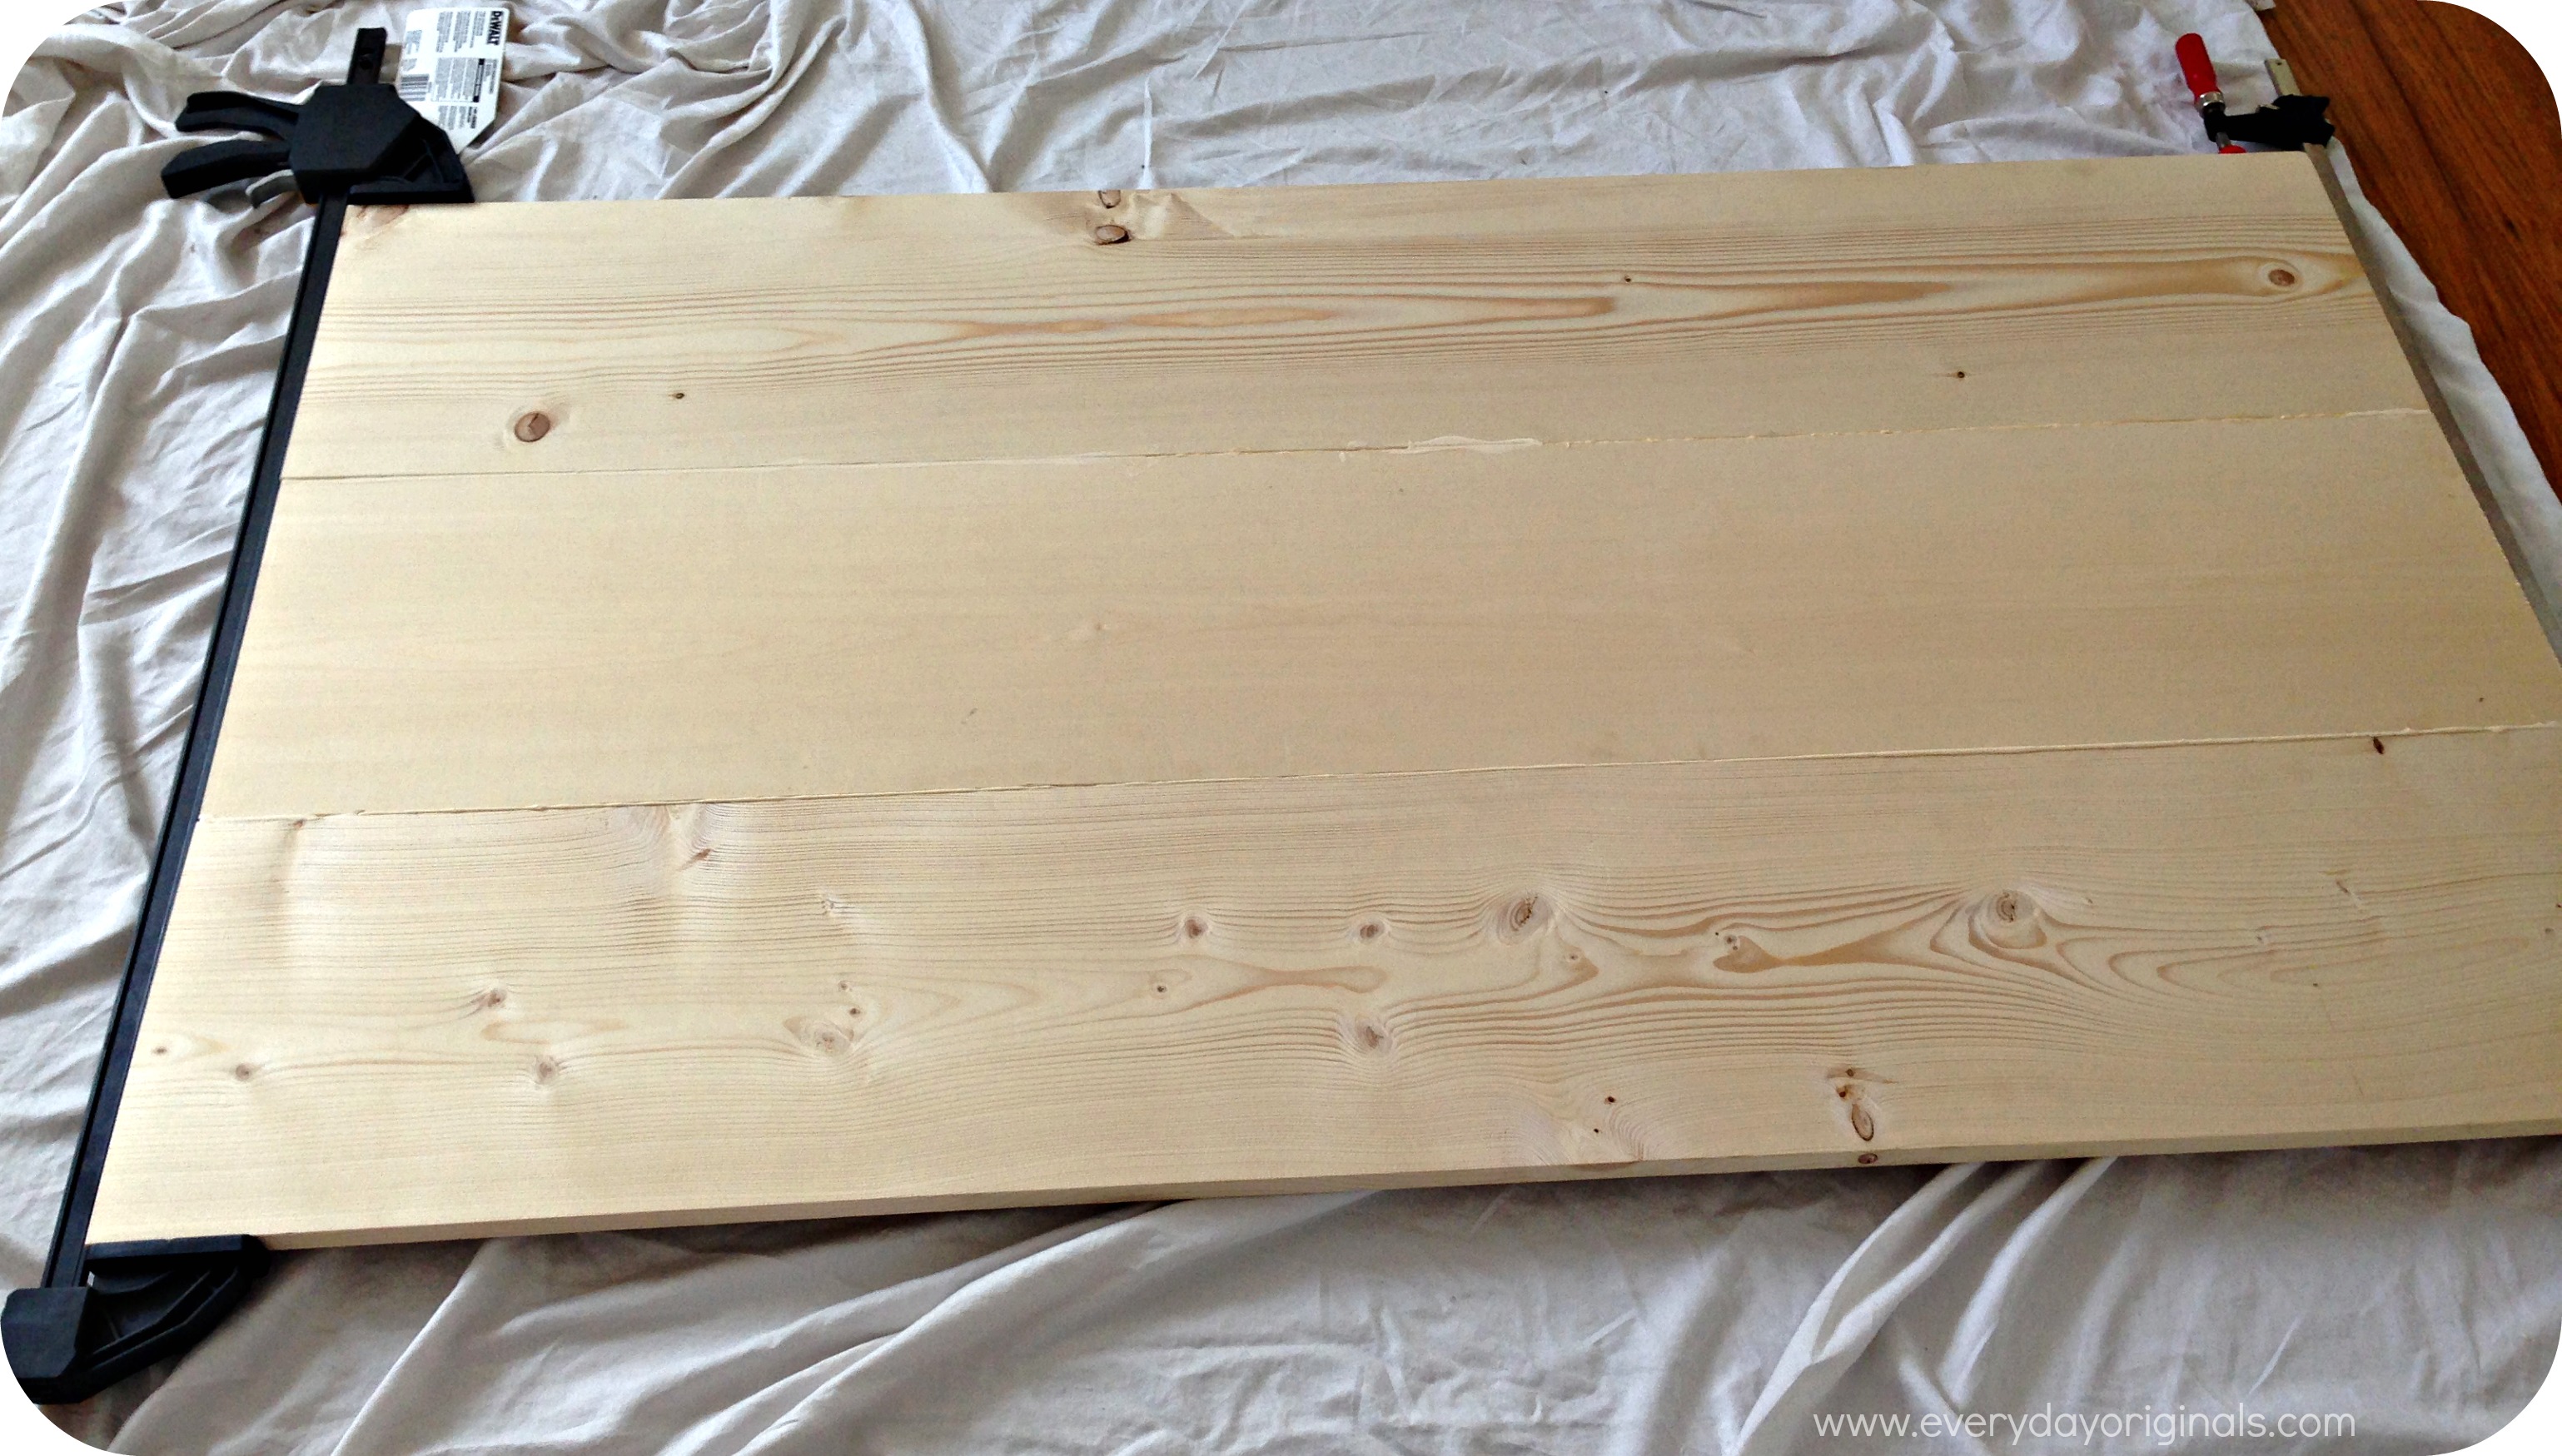
- Find a decent workspace, and if that means indoors, be sure to use some sort of drop cloth to protect your surface. Apply a thin layer of wood glue to secure two of the 5′ boards together. Using the bar clamps, tightly squeeze the wood pieces together for about an hour to allow the glue to set. Wipe off any excess wood glue right after clamping.

- After the hour, go ahead and glue the third board to the two that are already secured. Clamp again and wait another hour. As you can see, we added a few pieces of scrap wood to let the table sit on so it wouldn’t stick to the drop cloth.
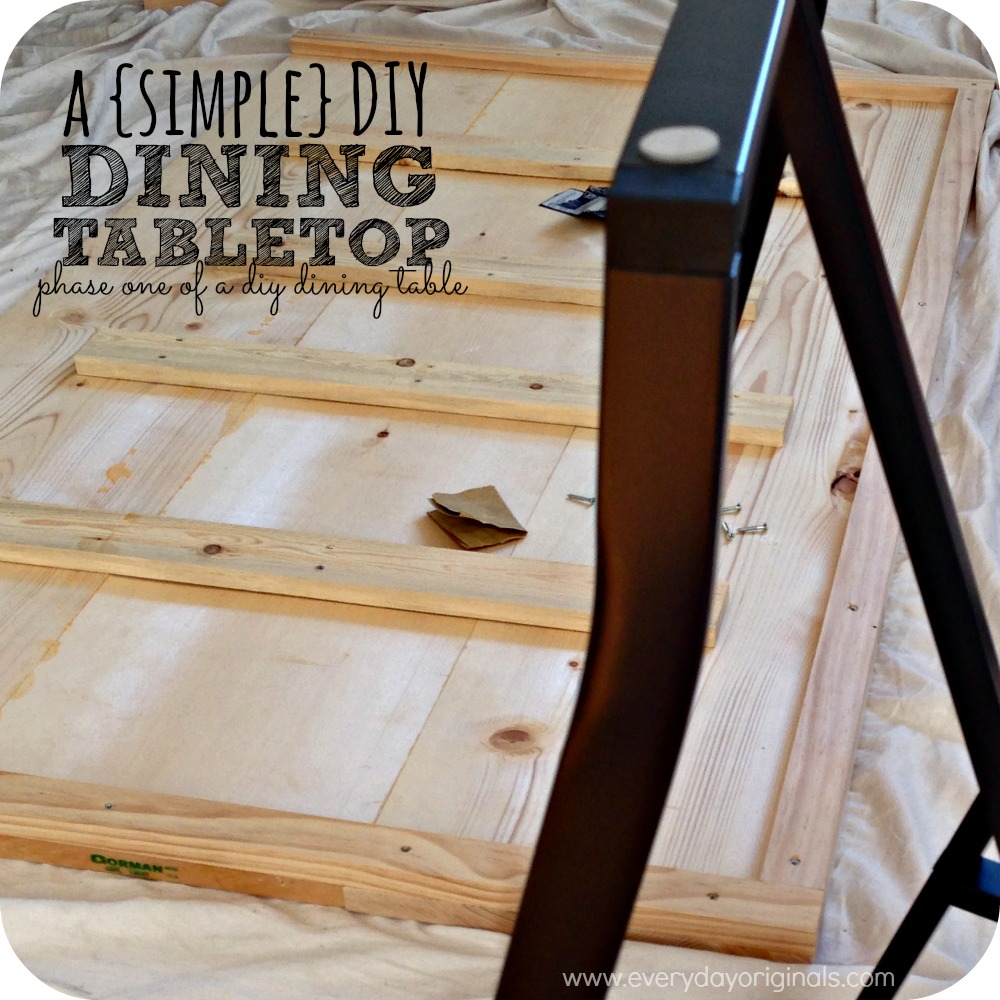
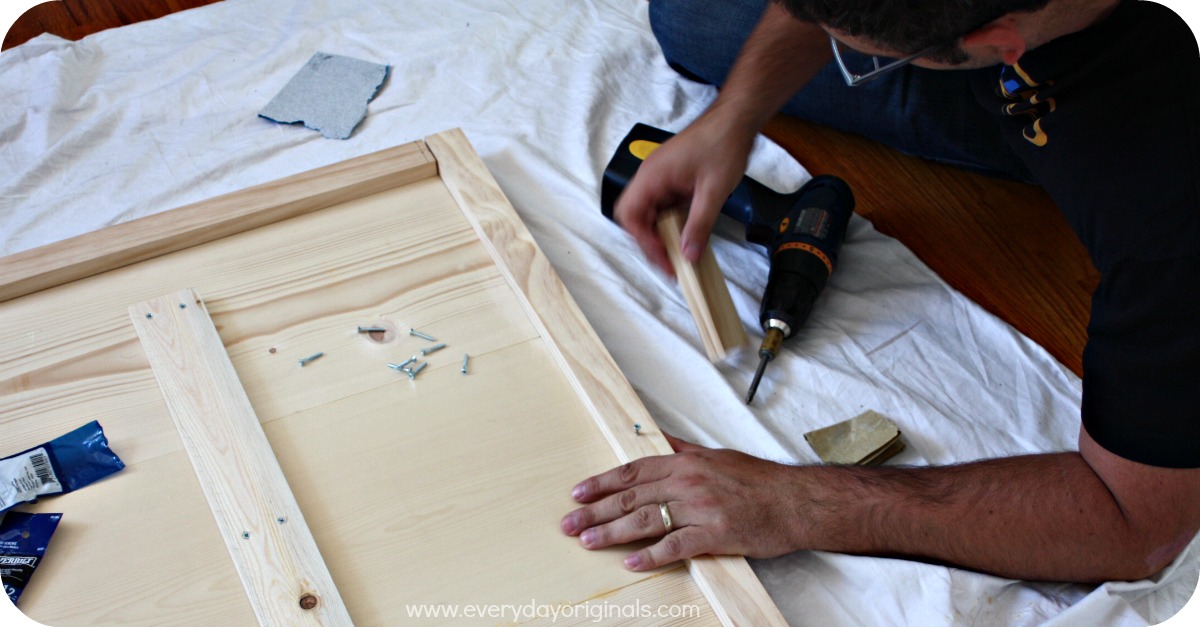
- Once the boards are securely together you can go ahead and attach the support pieces. You can positions these four pieces about 6″ apart, ensuring they cover some portion of all three long boards. Go ahead and add 6-8 screws in each.

- Last step of building the table top is securing the trim pieces. We did so using lots of wood screws, each about 6-8″ apart along all four trim pieces. Best to have your power drill charged up, because you’ll be using it a lot.

- You should now have a simple, sturdy table top! Stay tuned for our staining process as well as our leg decision!


How timely! We are moving into an apartment and our current oval table is not meshing well. I was considering how to build one! I will be watching the rest of the series in hopes it will give me the courage to try it myself. :)
Hi Michele!
You should definitely try this out! The great thing is that you can adjust it to whatever size you need. Stay tuned for the rest, and if you do decide to make one, I’d love to see it!