Last week I shared with you guys how to make the tabletop for our dining table. Today I’m showing you the original set of legs we purchased (and why they didn’t work) and the staining process. {Click here to see Phase 1 and here to see Completed Project!}
The legs we decided on were the Lerberg table legs from IKEA – at $10 each, they’re very reasonable. However, once we secured the legs to the table we realized that they were much too short and didn’t really flow with the look of the table or the look we were going for.
So while we went ahead and continued on with finishing the table we knew we’d likely be changing out the legs as some point, but was worth seeing what they looked like with the tabletop complete.
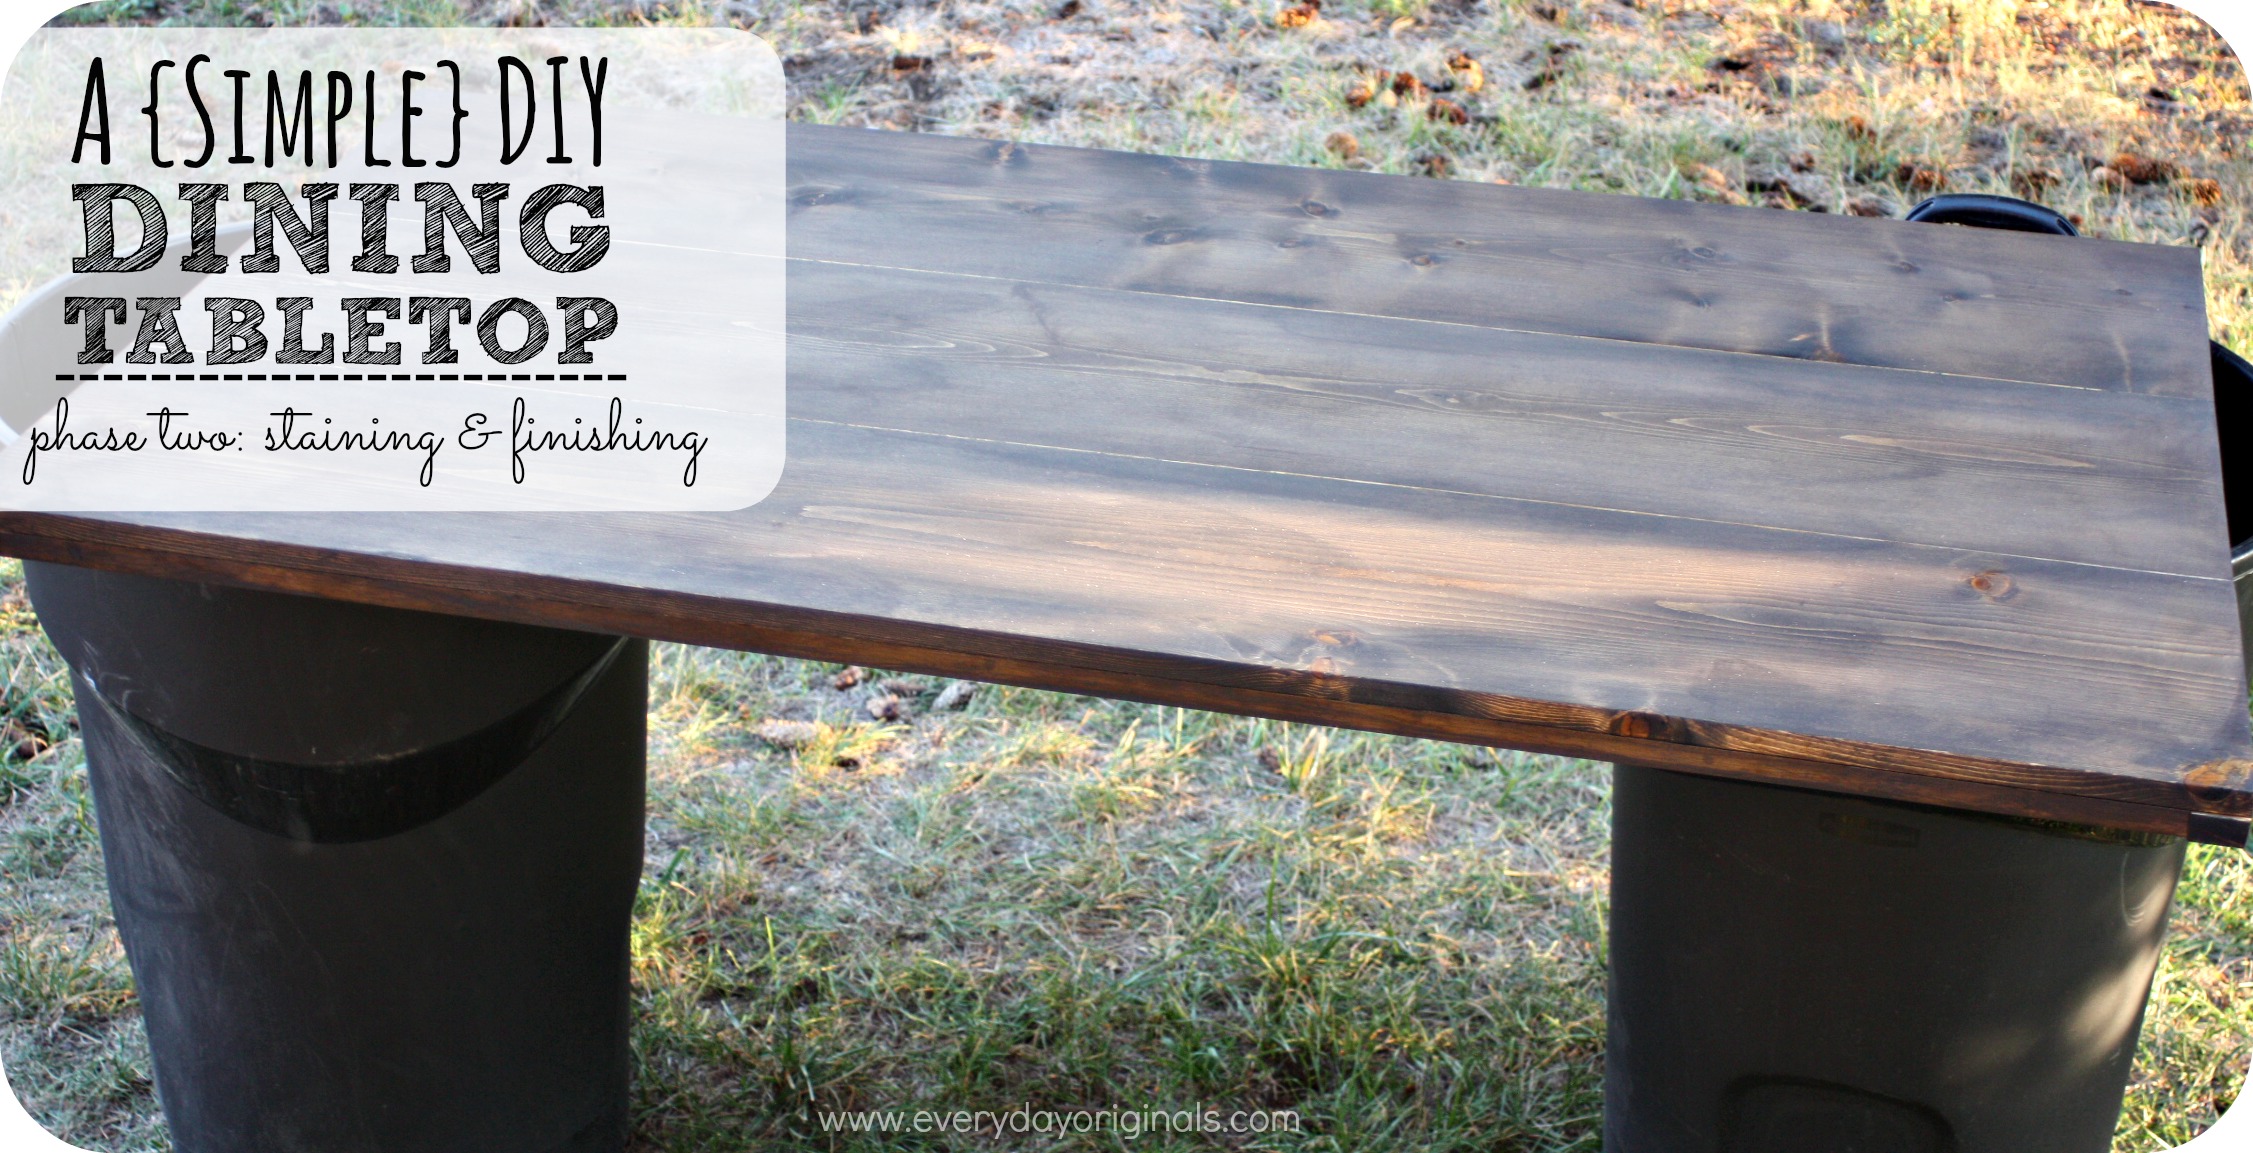
Next up was staining and finishing the table. We have quite a stock of paint and stains so we chose to just use what we had on hand, which was Minwax Jacobean.
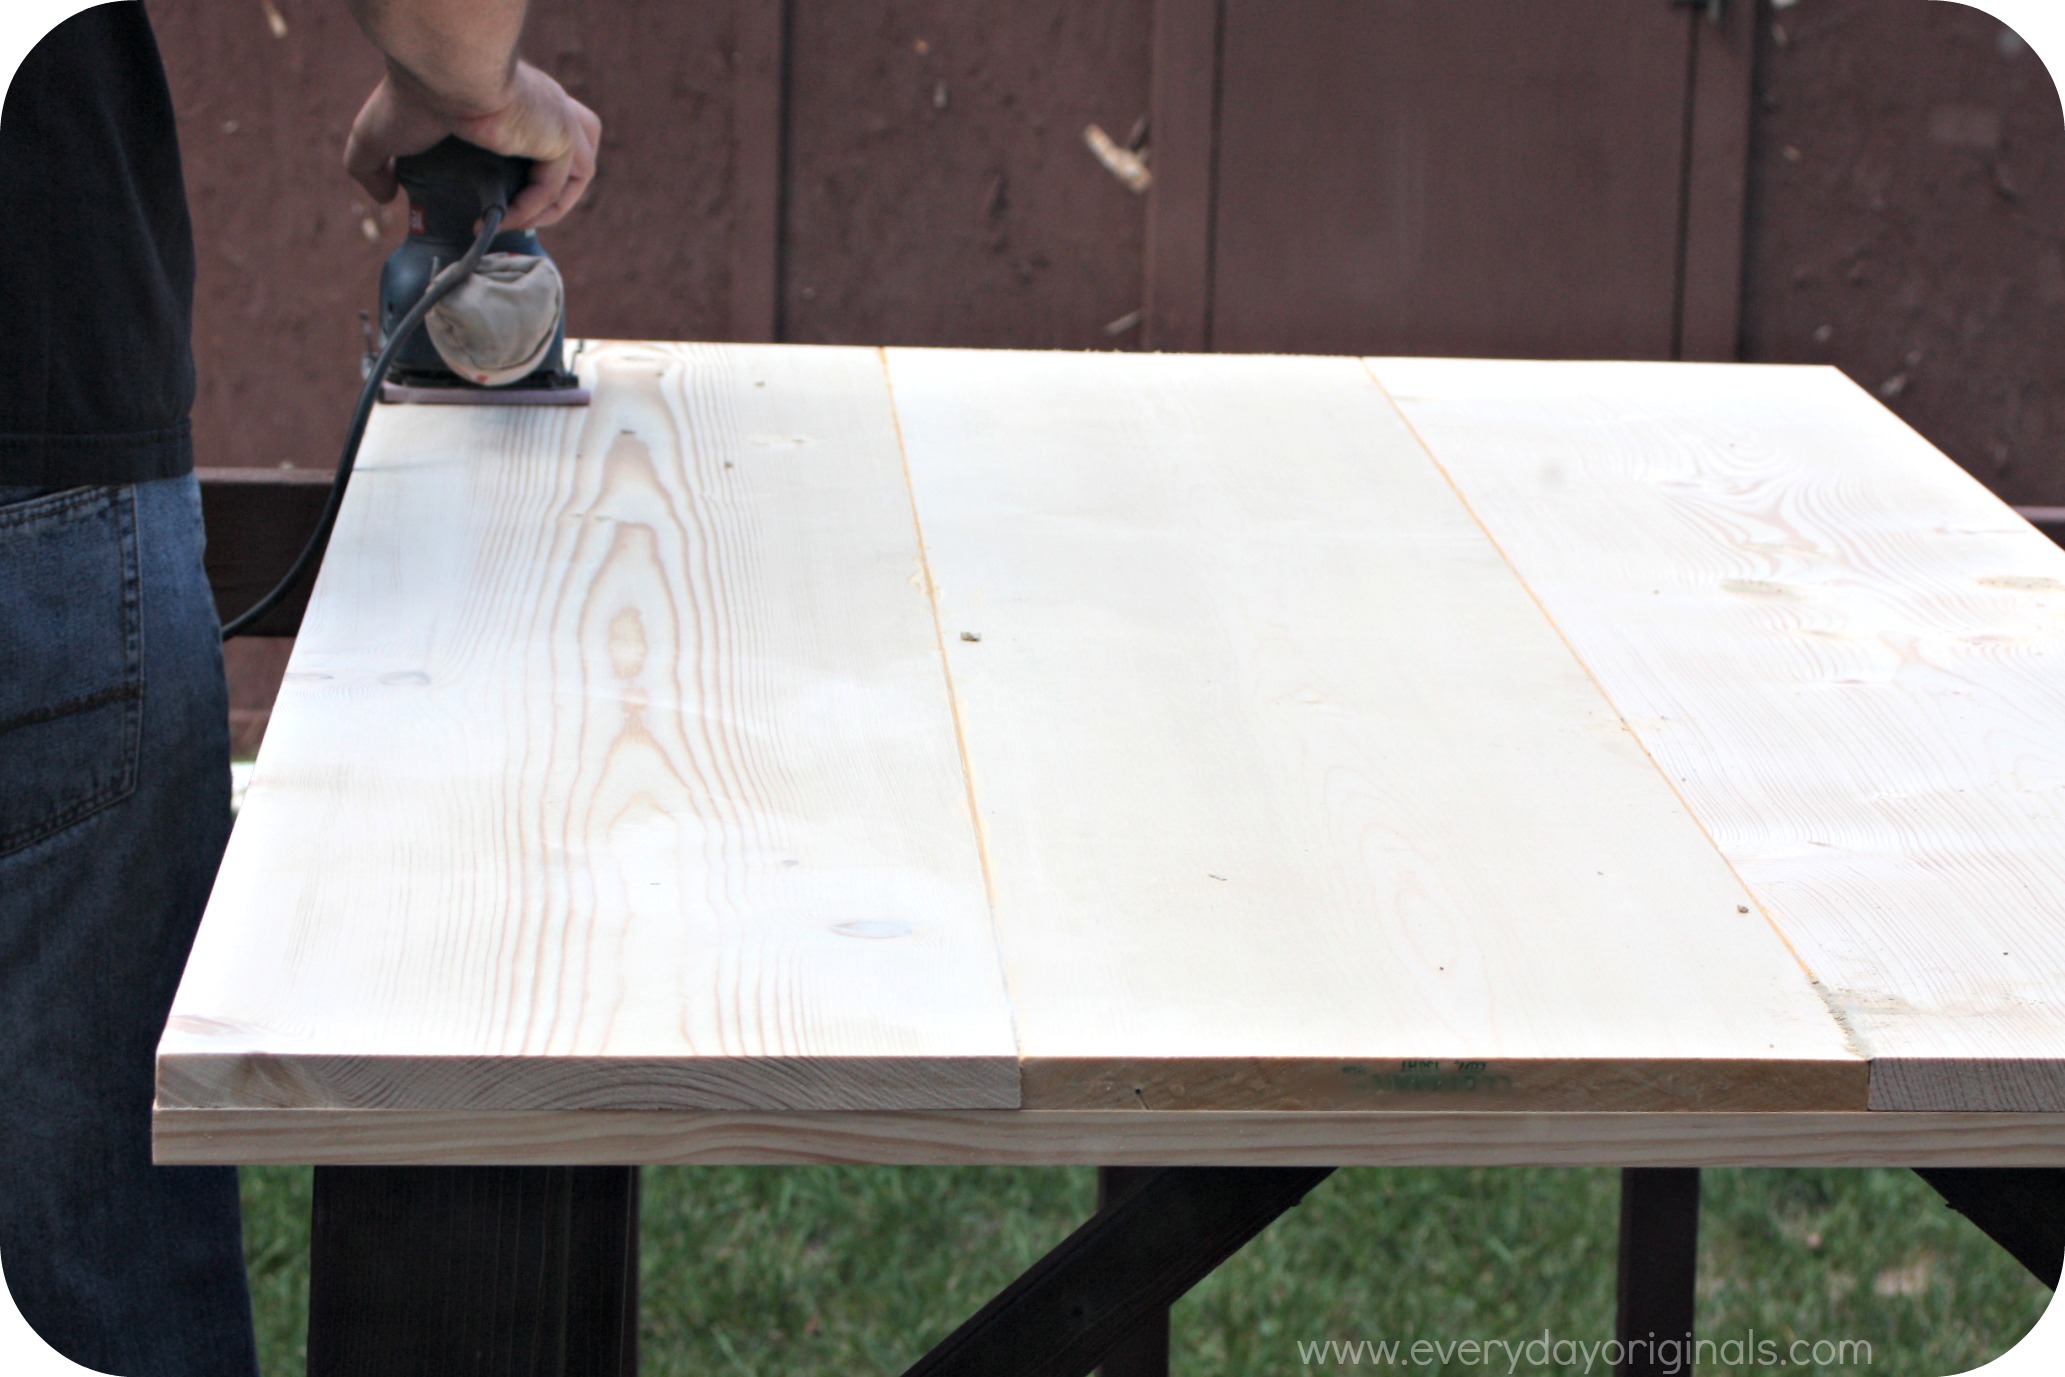
First we sanded the table incredibly thoroughly. It probably took about 60-90 minutes. We then pre-treated the wood with pre-stain conditioner (also from Minwax), and followed by staining the wood with a rag, making sure to rub the stain in one direction. We let that coat dry and added a few additional coats.
Truthfully, easiest thing to do is follow the instructions on the can. That’s the process we followed, why complicate things, ya know?! Once we allowed the stain to fully set, I think we let it sit for a day or two, we then finished the tabletop with a protective finish, again, following the instructions on the can.
It came out pretty darn great. We love the color of it and the way in incorporates with the open space of our living and dining room. The legs, however, were still not doing it. So we decided to go a different route, which was an amazing one. Stay tuned for the final outcome…is the suspense killing you? It is me. Just kidding, I already know what it looks like. And it’s awesome.


Leave a Reply