I wanted to make a few of these notebooks for gifts this year. However, though incredibly cute, it was so time-consuming to make, so if I was going to make seven of them I would have need to started weeks ago. So instead, I just finished up this one for myself. And, to be honest, if I was only making one or two I wouldn’t have minded the time commitment, but seven was too many.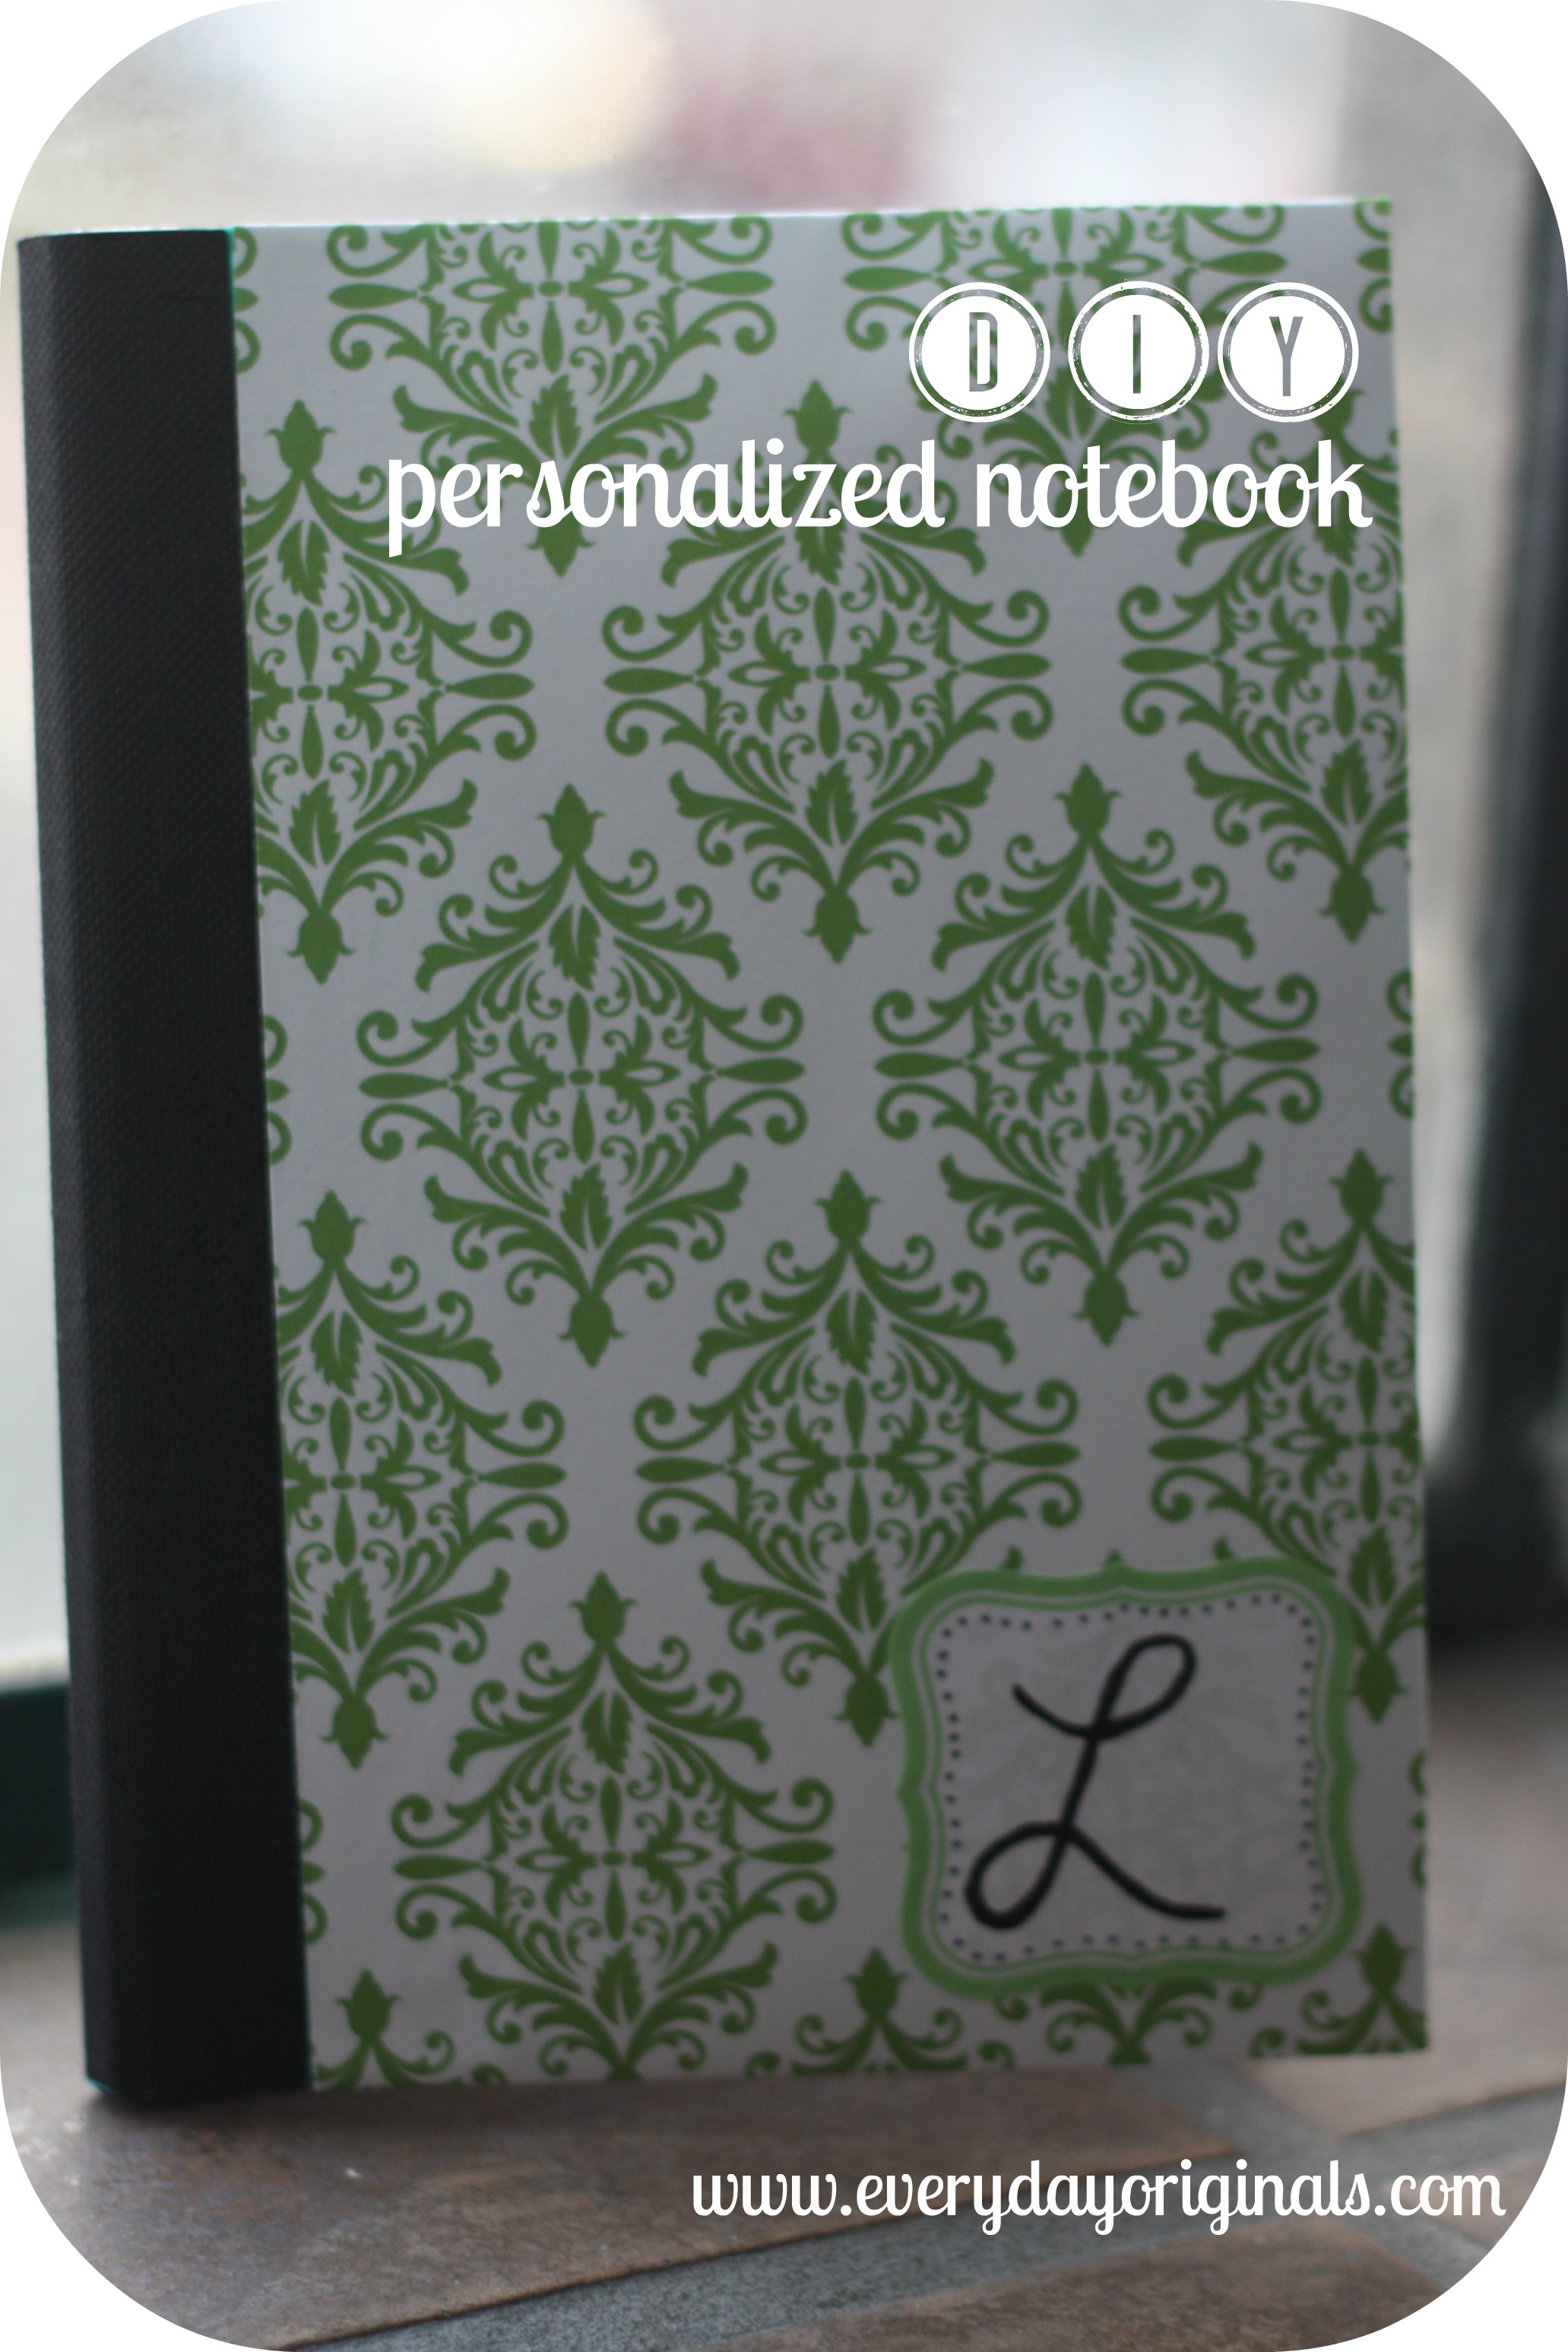
I started with a five-star brand, small notebook. The one I used had the plastic material for the front and back. I do think this would have worked better with a notebook that had a cardboard front and back. Hey, DIY is all about trial and error, right?
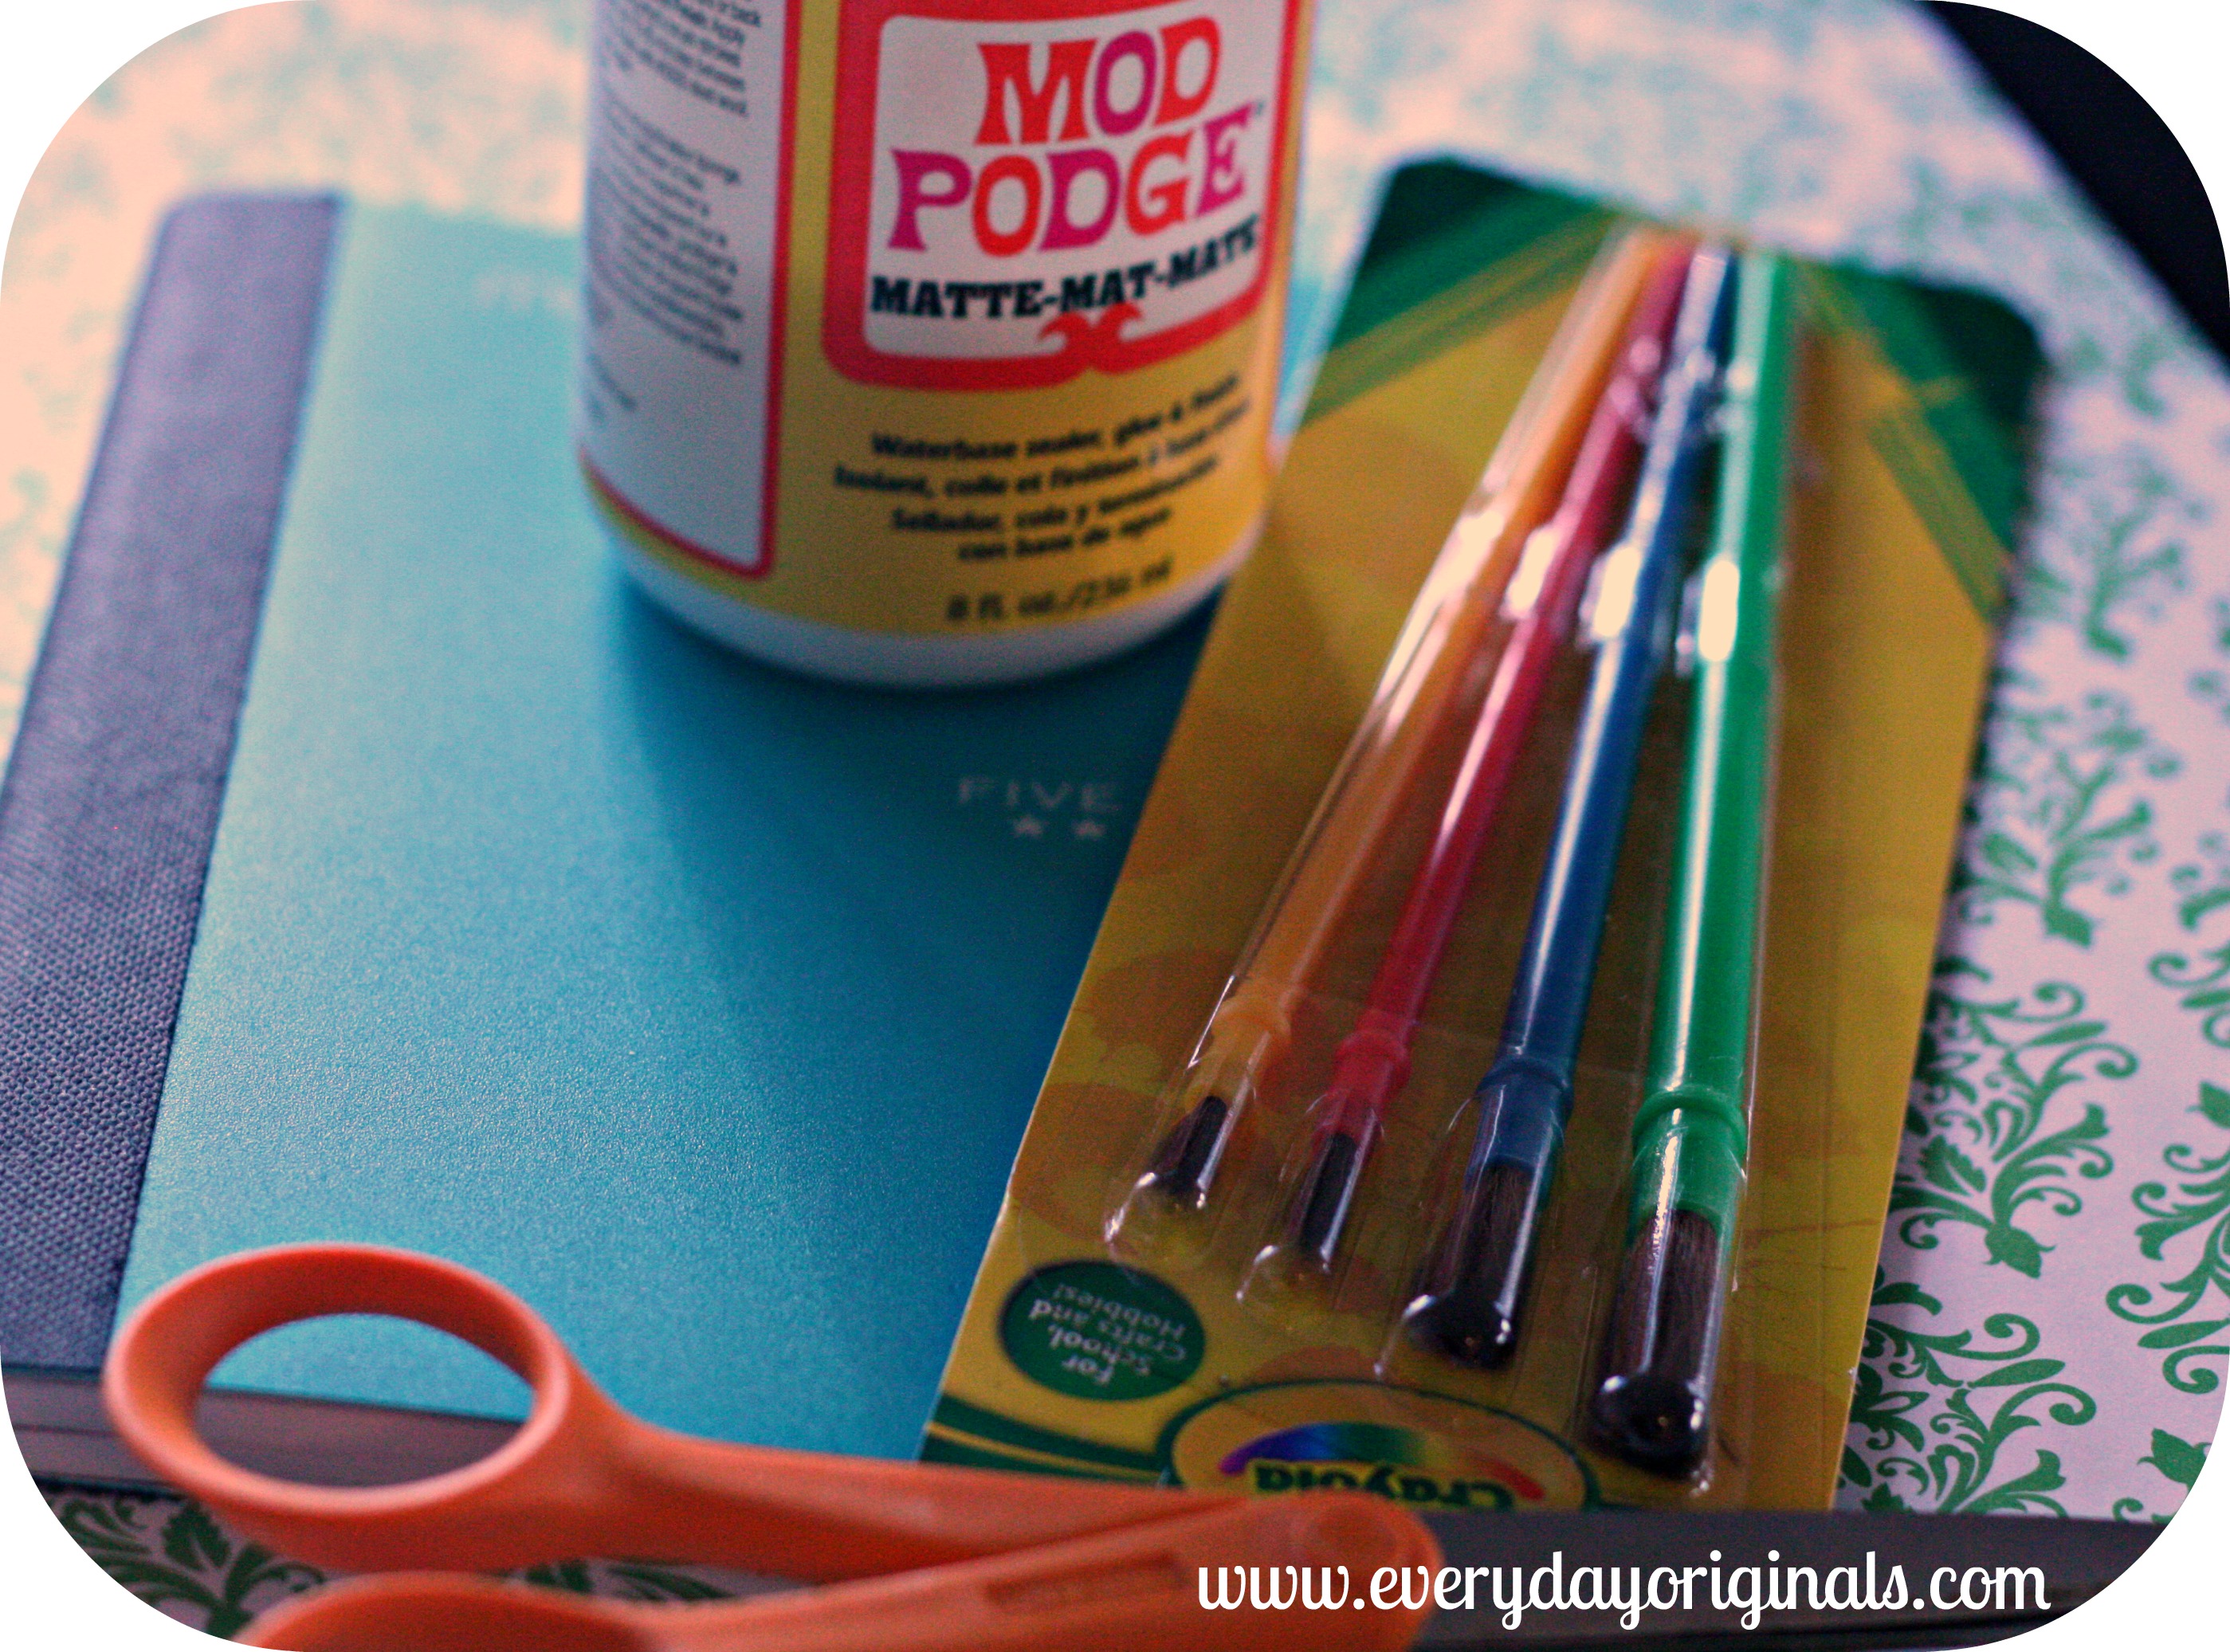
So, I gathered my supplies: 1 notebook, mod podge, scrapbooking paper, paint brushes, scissors.
I first cut a strip of paper to fit the front side. I decided not to cover the black binding because I liked the look of it. I cut the strip of paper a tad longer than the actual cover. I painted a thin layer of mod podge on both the notebook cover and the back of the paper. I then “wrapped” the cover, folding over the extra. I didn’t glue the inside of the front cover, I let the glue that was already on the paper do its thing.
I pressed really hard on the paper to get all the air bubbles out, then I set it to dry for a few hours. After it was completely dry I glued a piece of card stock on the inside of the front cover to cover up the edges of the paper. Does that make sense? I hope so because I forgot to take a photo of that part.
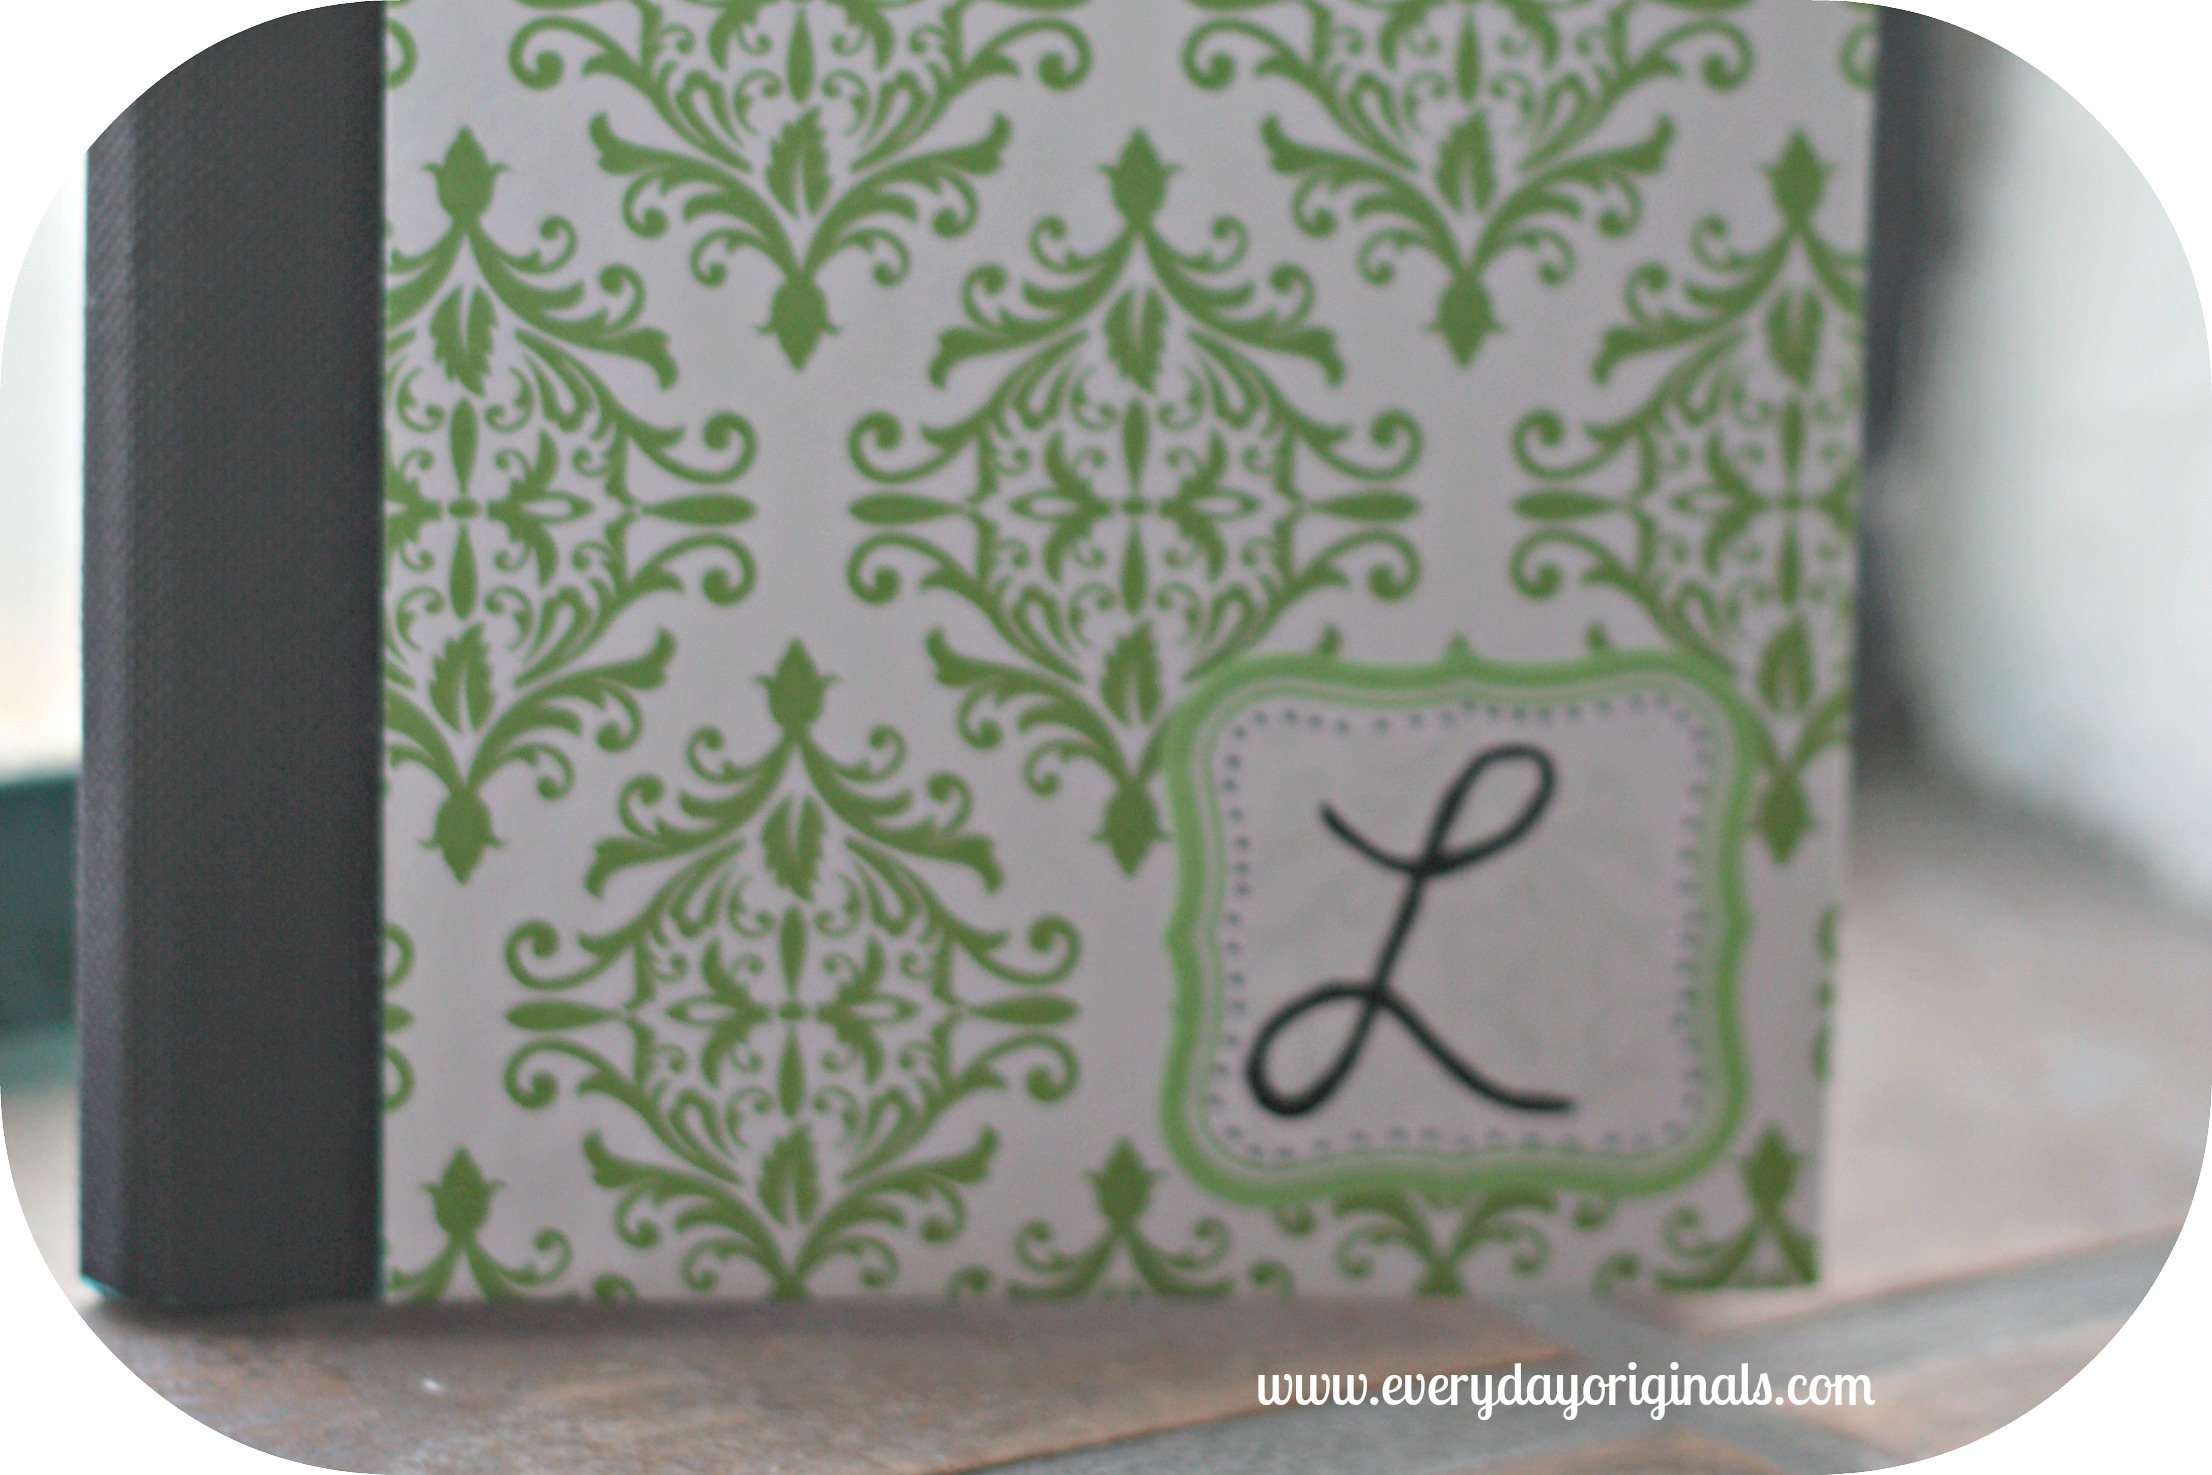
Once it was completely dry (don’t rush the drying stage, be patient) I added a cute Martha Stewart label (found at Staples, they’re my favorite, she knows nothing about me I just like her products) and drew the letter “L” to personalize my notebook.
I was happy with the way it turned out and since I always have a notebook in my bag with me this will be great once the one I’m using is through. Like I said, a bit time-consuming, but a cute way to personalize an inexpensive notebook. The notebook itself was $1.98 and I had all the other supplies. If you needed to buy all the supplies it would be a bit more. Not bad though!

Leave a Reply