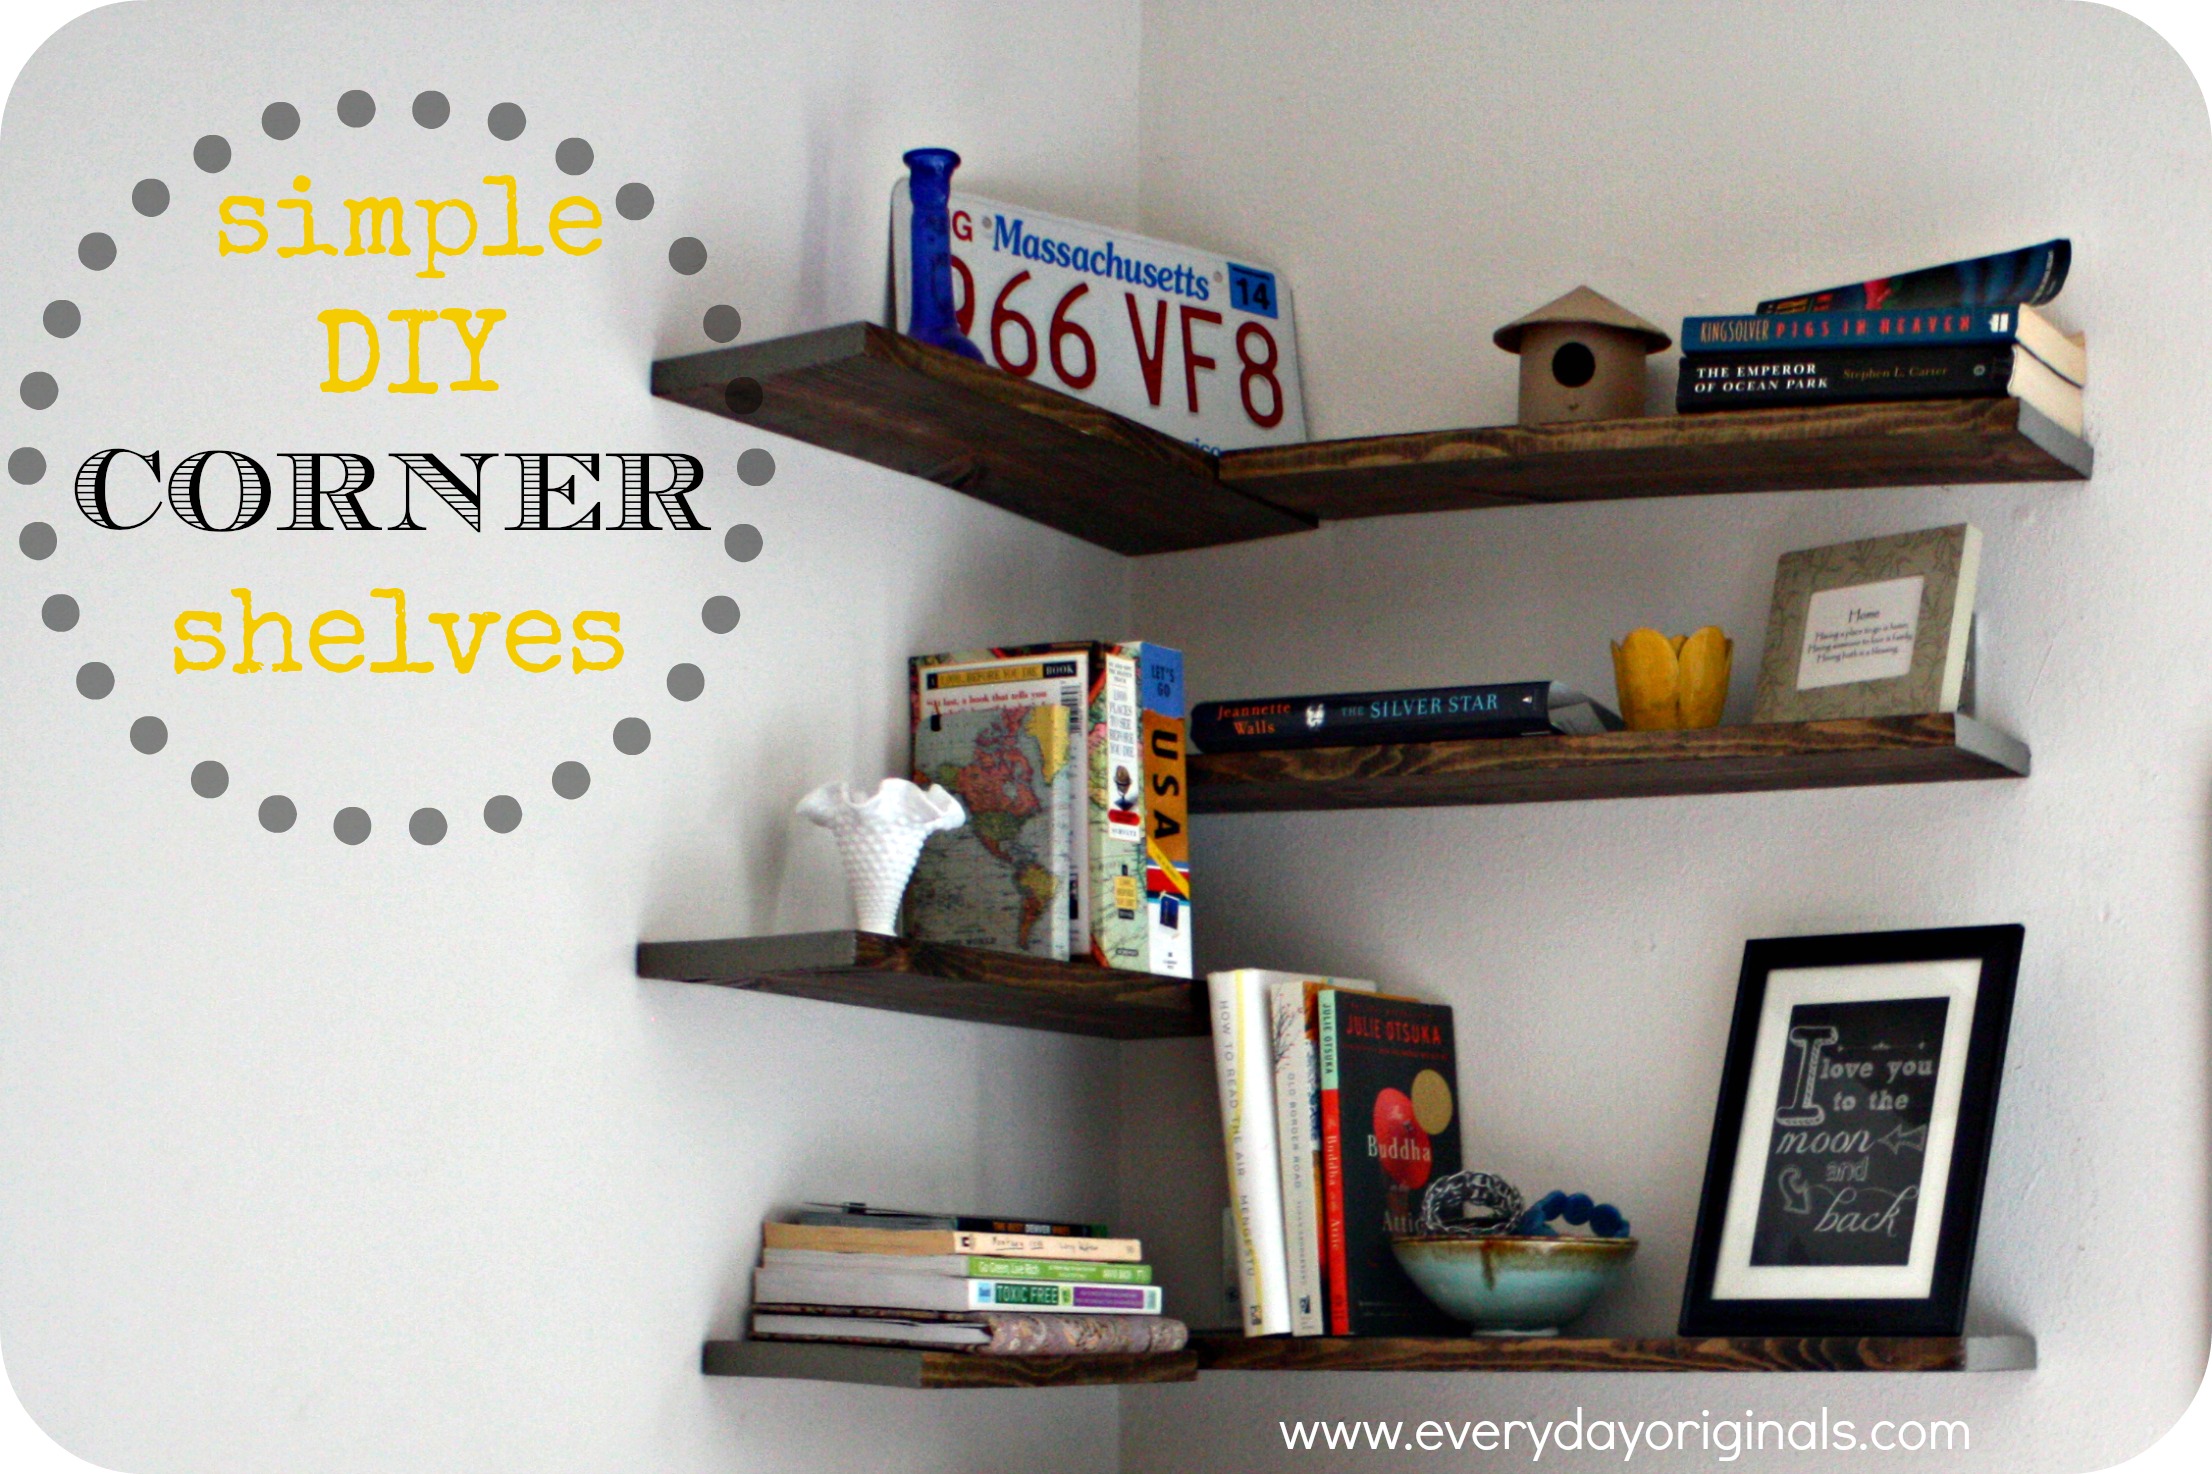
There’s this one corner in our bedroom that was just blank and empty. And while we really didn’t need the added storage of shelves I thought they’d look great in that space. So, one weekend while Al was out-of-town I took it upon myself to build some super simple shelves.
I started with purchasing a 1″x4″x10′ wood board at Home Depot. I had them cut it into six 18″ pieces while I was in the store. When I got home I lightly sanded and stained each board. I used stain that I had leftover, I believe it was Minwax Jacobean. The easiest way to stain the boards was to use a rag and rub the stain right on. It provided even coverage and wiped up any excess.

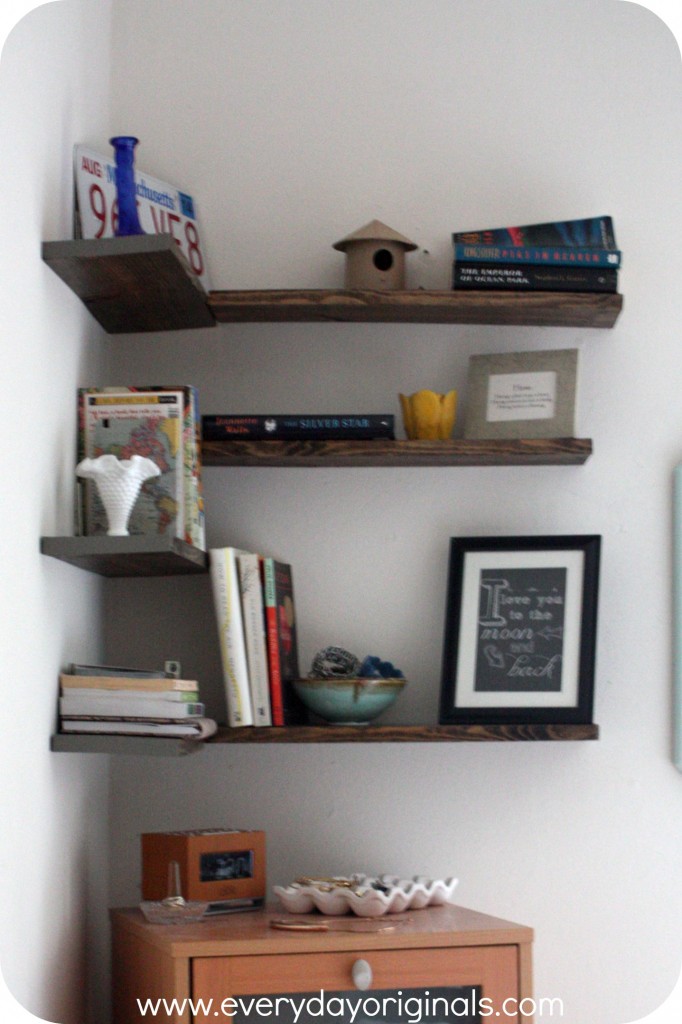
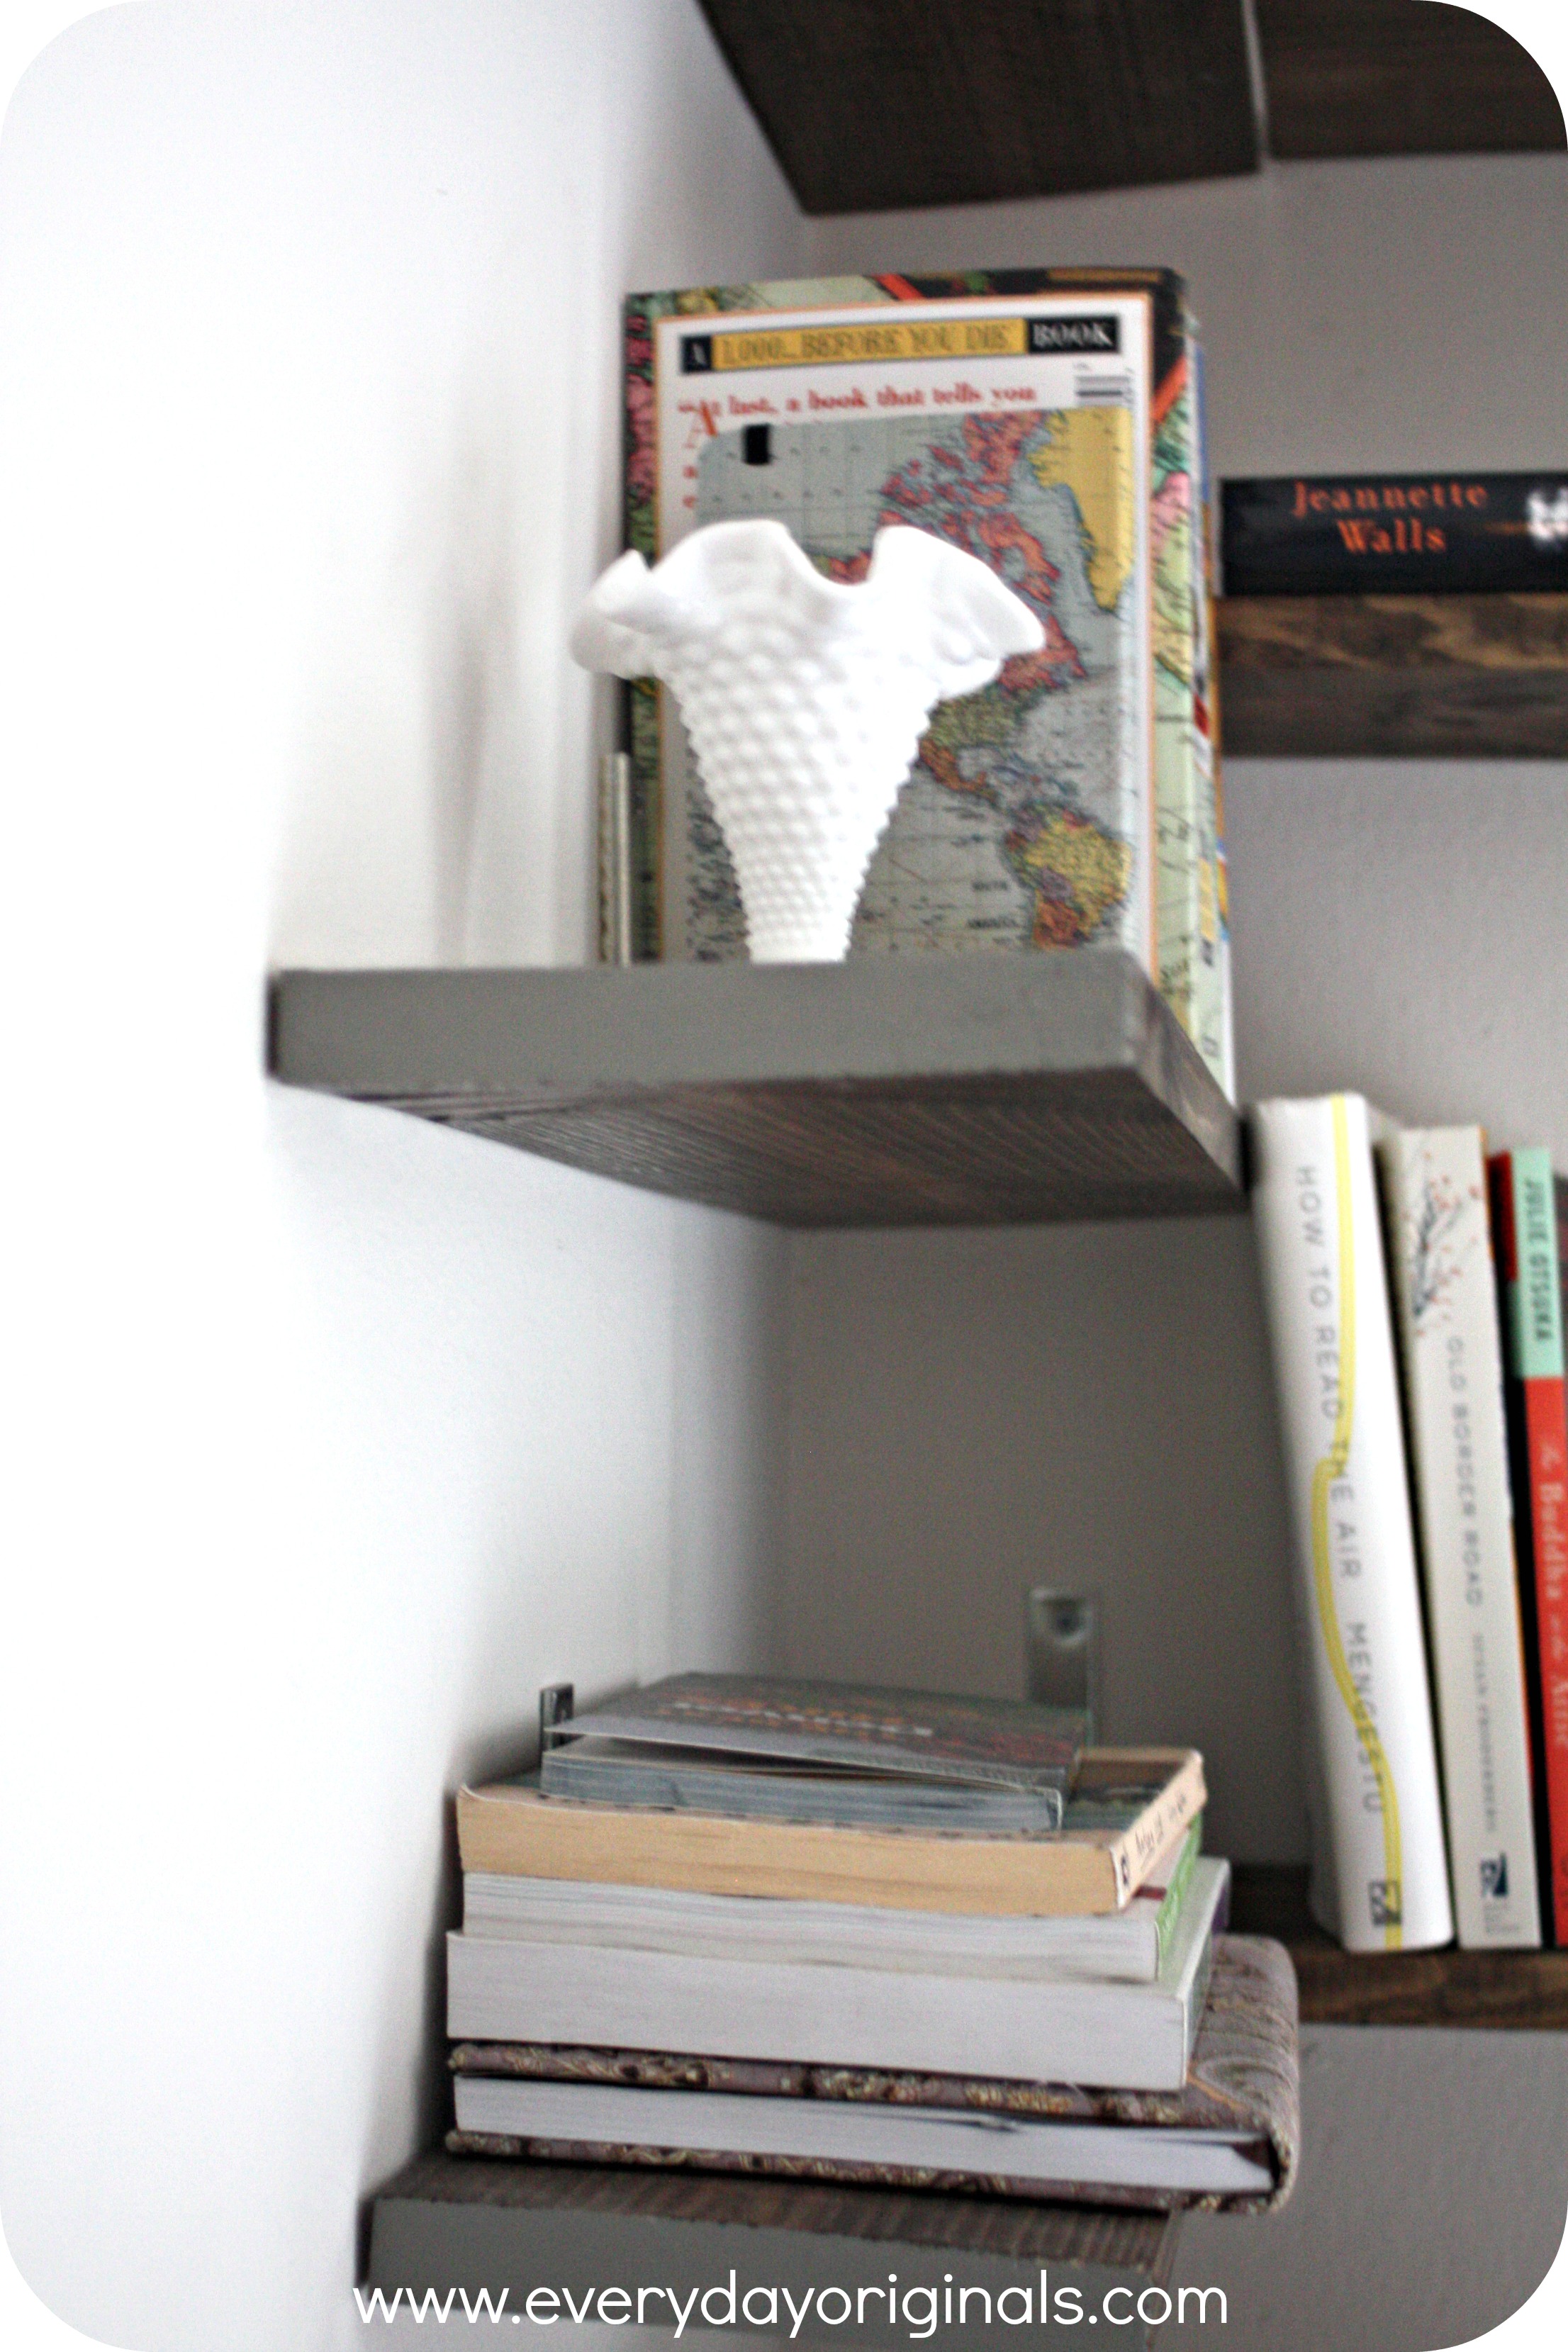
I did two coats of stain, following the instructions on the can. I let the wood dry completely over about 36-48 hours before hanging. To hang, I simply used corner braces or L brackets. You could use decorative ones if you choose, but I wanted them to be hidden. I didn’t mind using corner braces because I knew what I displayed on the shelves would be hidden. Though, if your brackets are going to be visible you may want to choose something more aesthetically pleasing.
I secured one side of the bracket into the shelf and then the other into the wall. Each shelf piece used two brackets. I aligned the bottom two and the top two so they were flush, but for the middle two I staggered them a bit just to make it a little interesting.
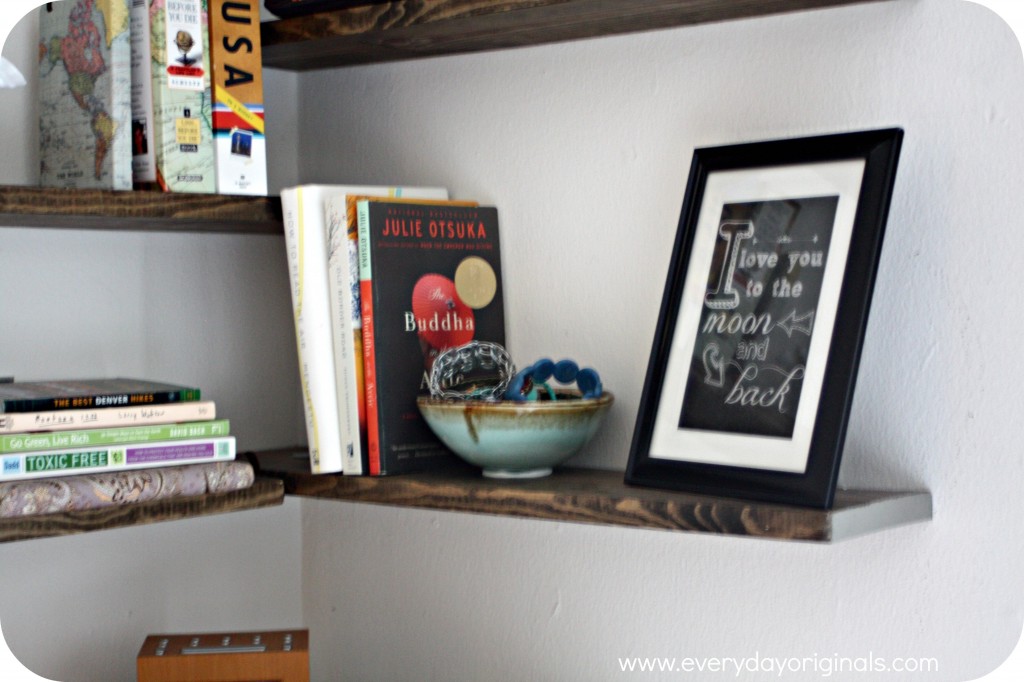
I knew I wanted to paint the ends of the shelves a different color. I started with gold and it looked horrific. So then I tried a light blue and it looks like a nursery. Lastly I tried this greyish brown color (all of these colors were free paint samples that I already had) and it was the best out of all of them. I liked how it was still visible but wasn’t what your eye was specifically drawn to.
As for how they fill the space – it’s perfect. I tossed some things up on them for now, nothing permanent. I don’t want to clutter them up too much and I’ll likely swap things out every so often. We’re not really book-keeper type of people, we read and we donate, unless it’s something we think we’ll reference or read again. Many of those books are from the book drop at my office so once I’m done with them I’ll donate them back there.
All in all I think I spent about $12-15 on these. I only needed to purchase the wood and the brackets. I did this back in July so I can’t even remember…way to go with the timely posts, eh?!

Nice! That’s a creative method for dealing with unsightly end grain.
I made some of these at our house using 5″ x 3/8″ lag bolts and some left over scrap wood of varying species. I screwed the bolts into the studs of the wall and then sawed off the heads of the bolts. Then I drilled corresponding 3/8″ holes in the edge of the shelves and slid them on to the bolts. This way it hides the brackets completely. You just have to make sure you are using shelves longer than your stud spacing, which is usually 16″.