I love the way this lip balm turned out, but I’ll say up front that it’s not going to be for everyone. It’s definitely firmer than what you’re likely used to. However, the tiniest bit stays on your lips for hours and I truly felt like my lips were being moisturized, not just masked with something pretending to moisturize. And since I live in the driest climate ever I think I can speak to dry skin and lips. 
The one thing I didn’t do was add enough peppermint extract. You can definitely smell the peppermint but it’s very light. You can scent the batch however you’d like or you can also leave it plain. I did peppermint because it’s holidayish. Real word right there.
I purchased the containers in the jewelry section of Michael’s. They came in a pack of 24 for $10. I had a coupon so they were $6 and some change. But I also had a gift card so I really paid nothing! I wanted glass containers but I could find any that were small enough. I had ordered some on Amazon but they were too large and they were all chipped around the edges. And I really didn’t want people slicing their fingers open for some peppermint lip balm.

I ordered the beeswax on Amazon for around $15 total with S&H. Got the peppermint extract, surprisingly, at Home Goods. I checked every grocery store in my area and stumbled upon it there. I had the remaining ingredients in my kitchen.
Ingredients
- 1/3 cup solid beeswax
- 1/4 cup coconut oil
- 2 tsp. honey
- 1/2 tsp. olive oil
- 1/2 peppermint extract (optional)
Method
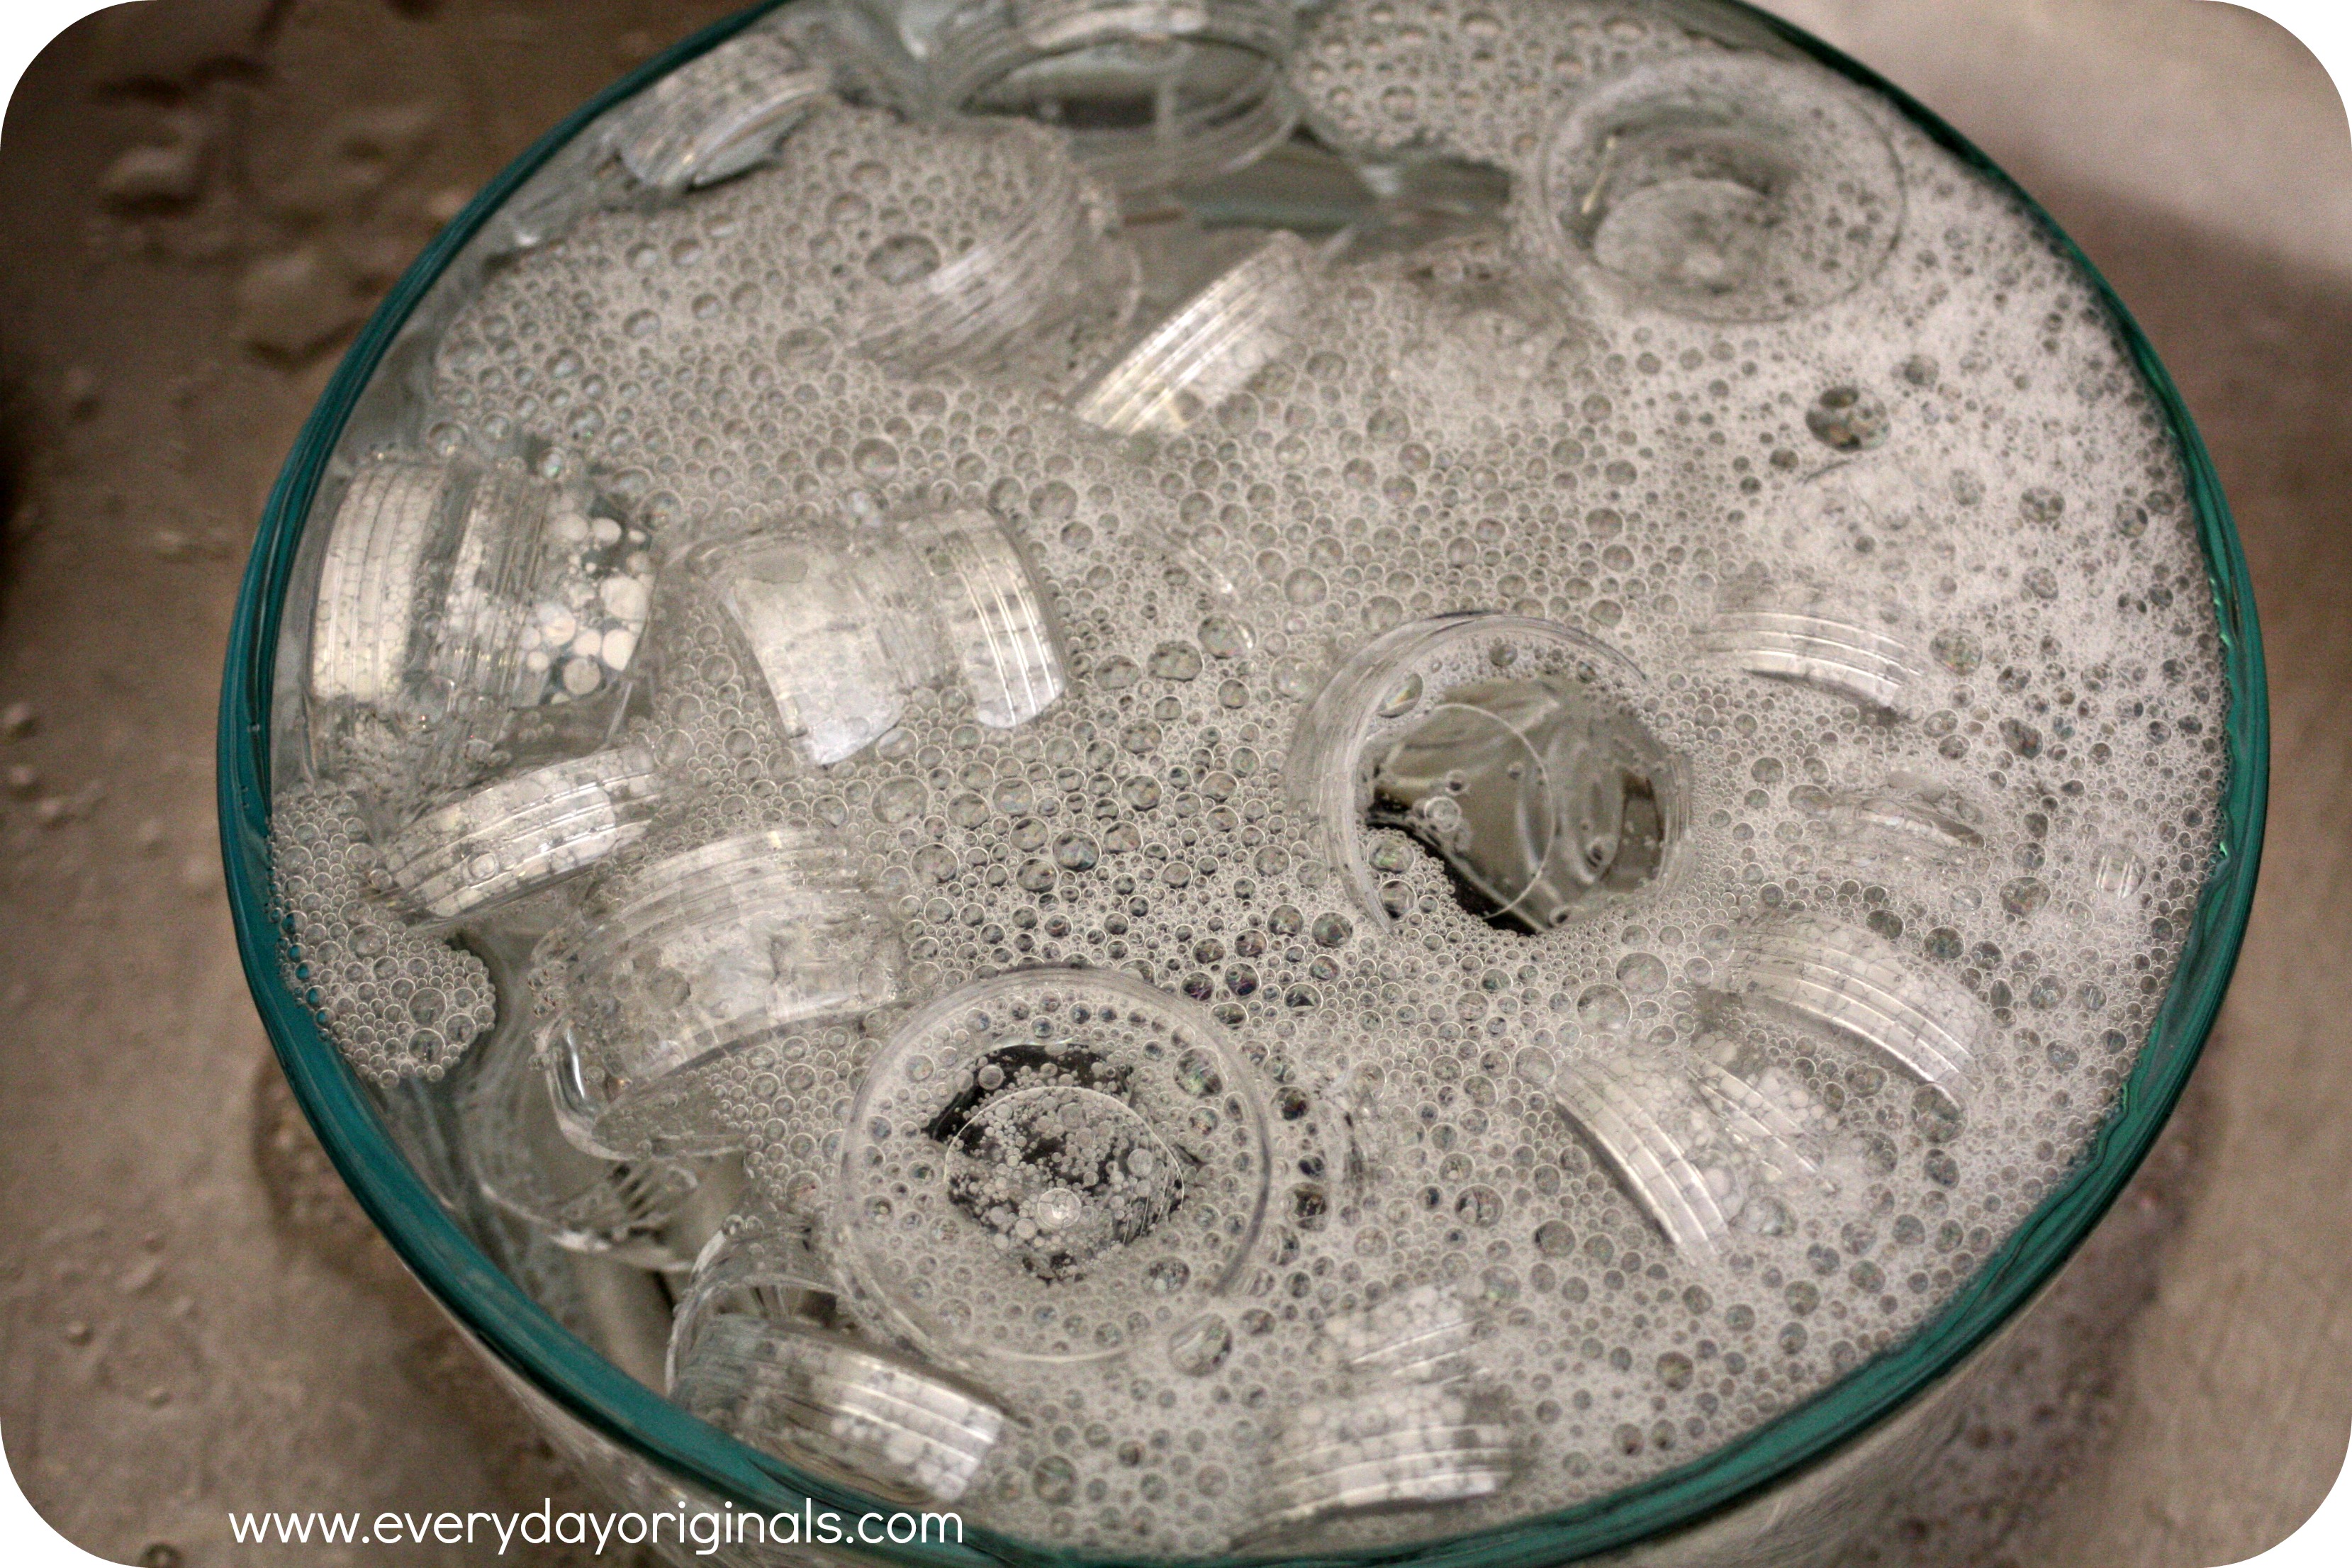
Start by sterilizing your containers. Since mine were plastic I soaked them in very hot water and dish soap. Gave a quick scrub, rinsed and let air dry. If you use glass you can put them through the dishwasher or soak in boiling water.
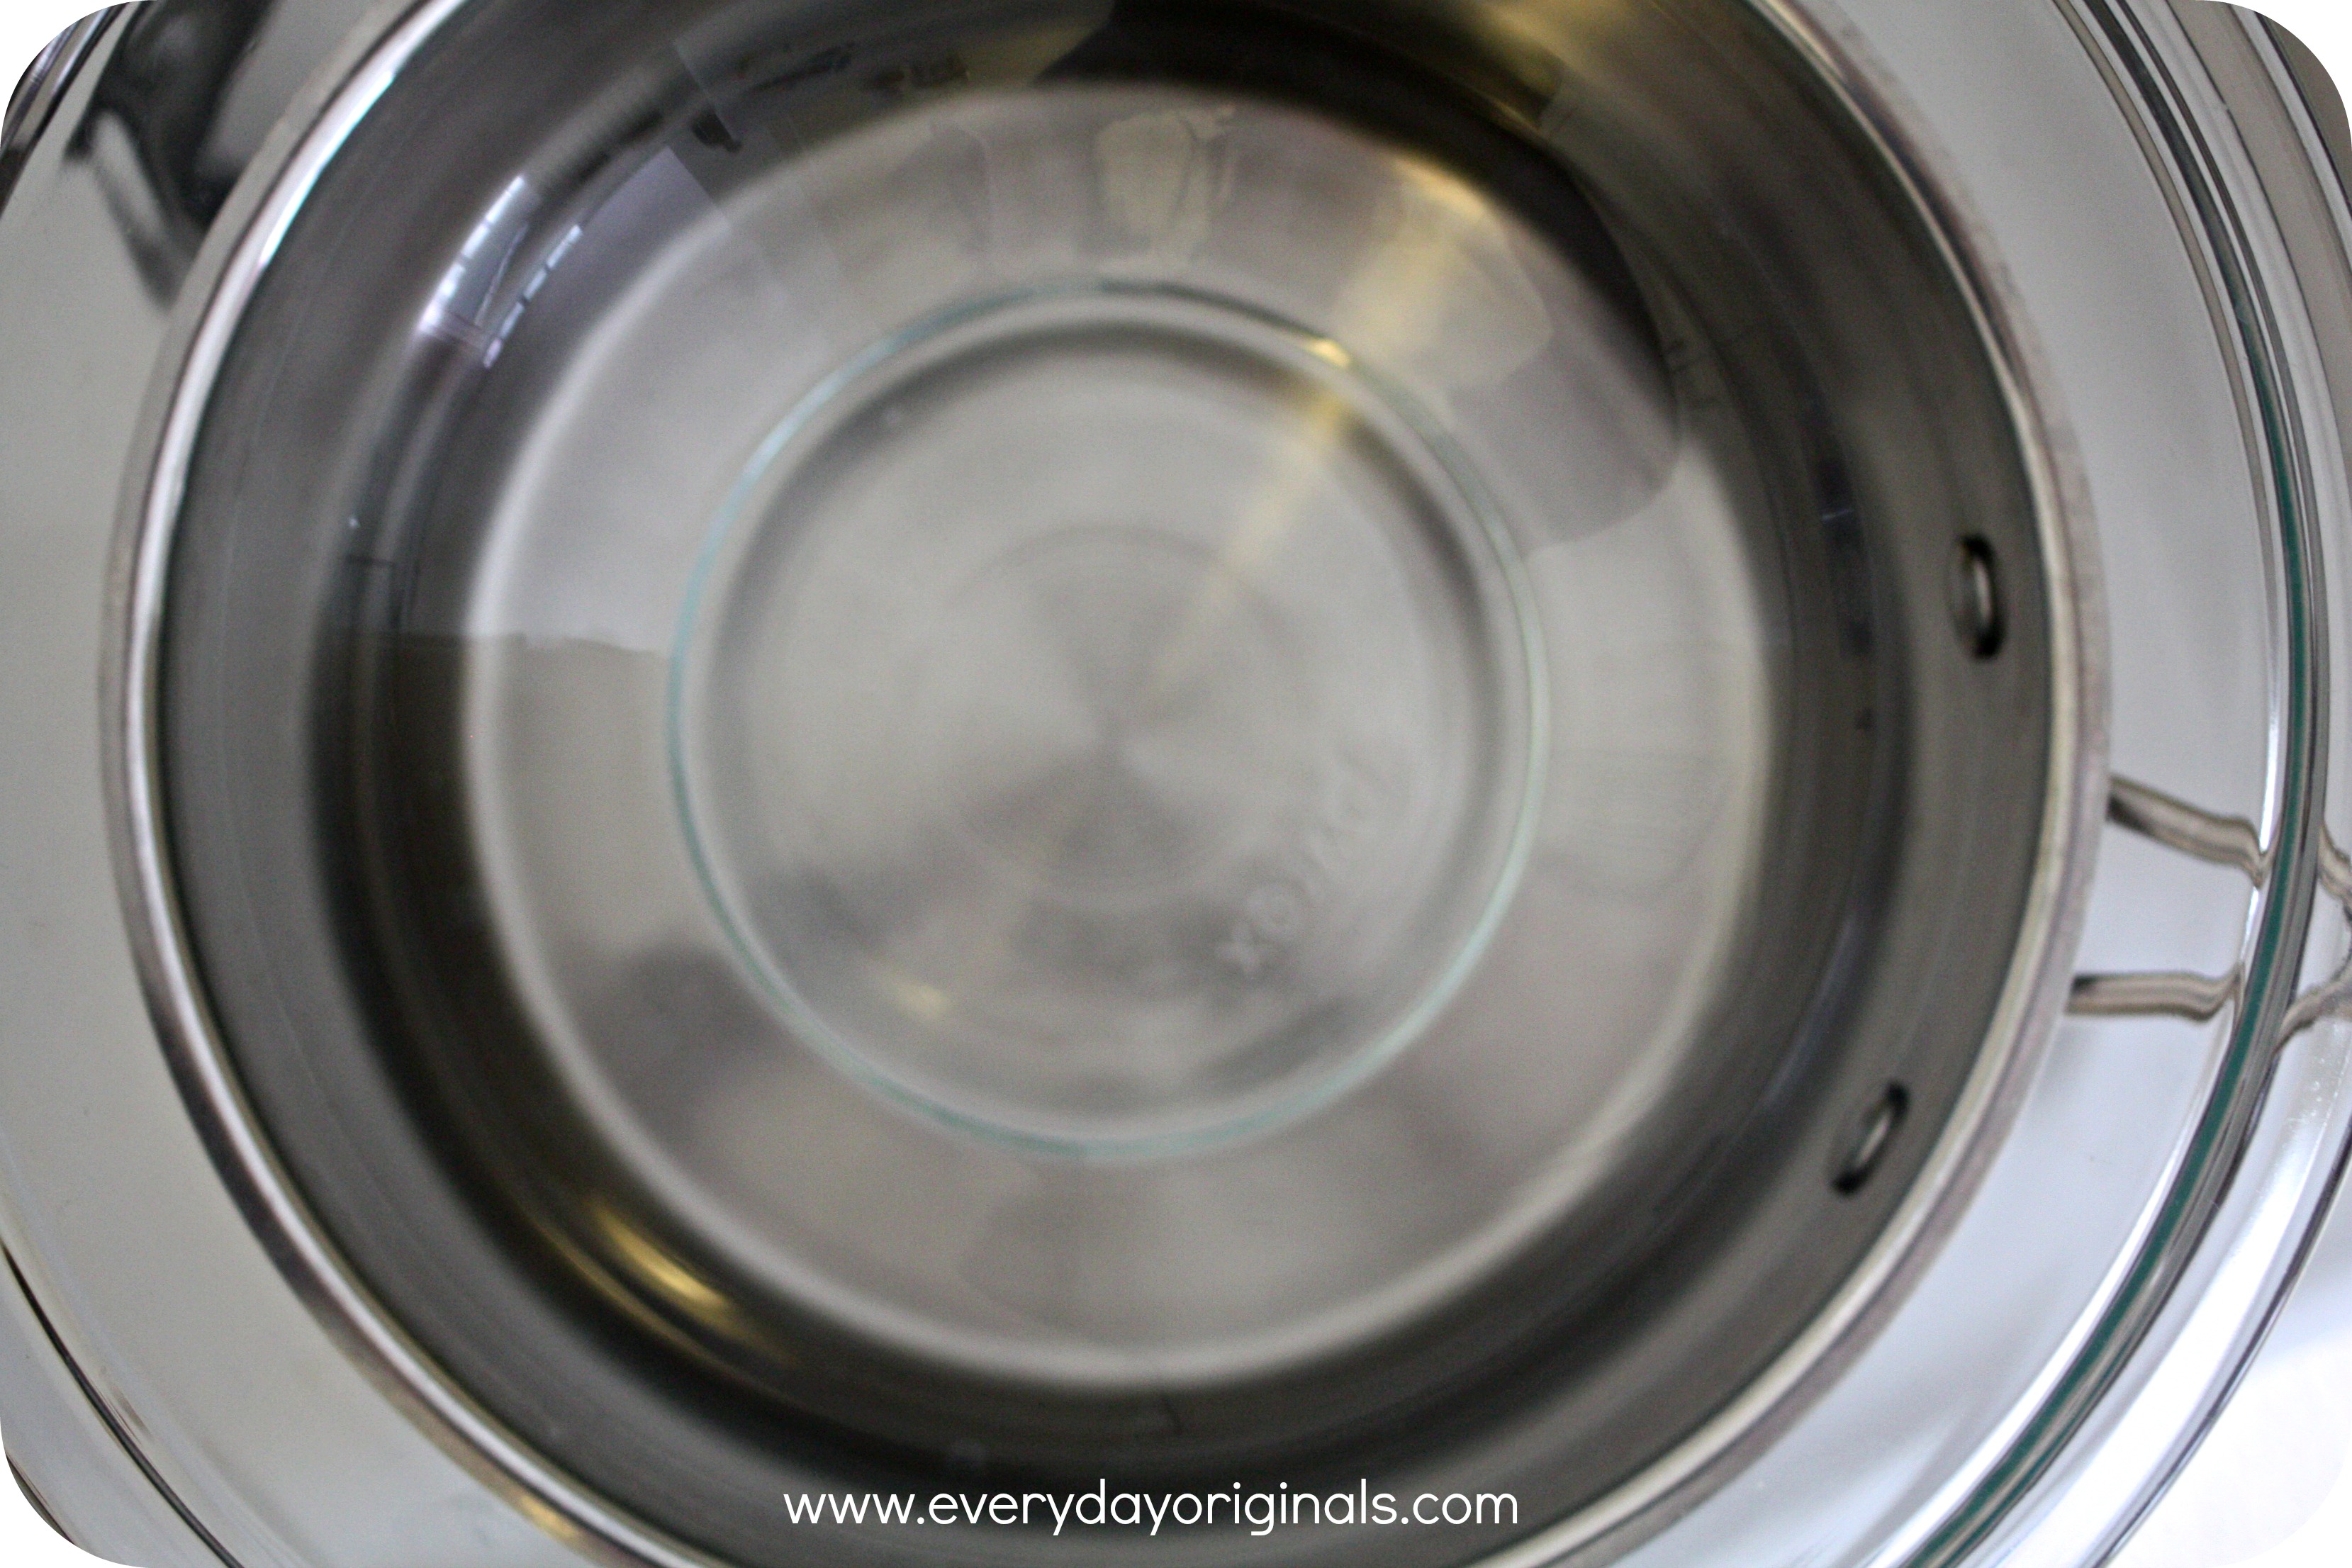
Start the process with a double boiler. If you don’t have one simply use a saucepan with either a glass or steel bowl. Make sure the bowl fits snuggly in the saucepan. Add about one inch of water to the saucepan and place the bowl on top. Bring to a boil and then lower to medium heat.
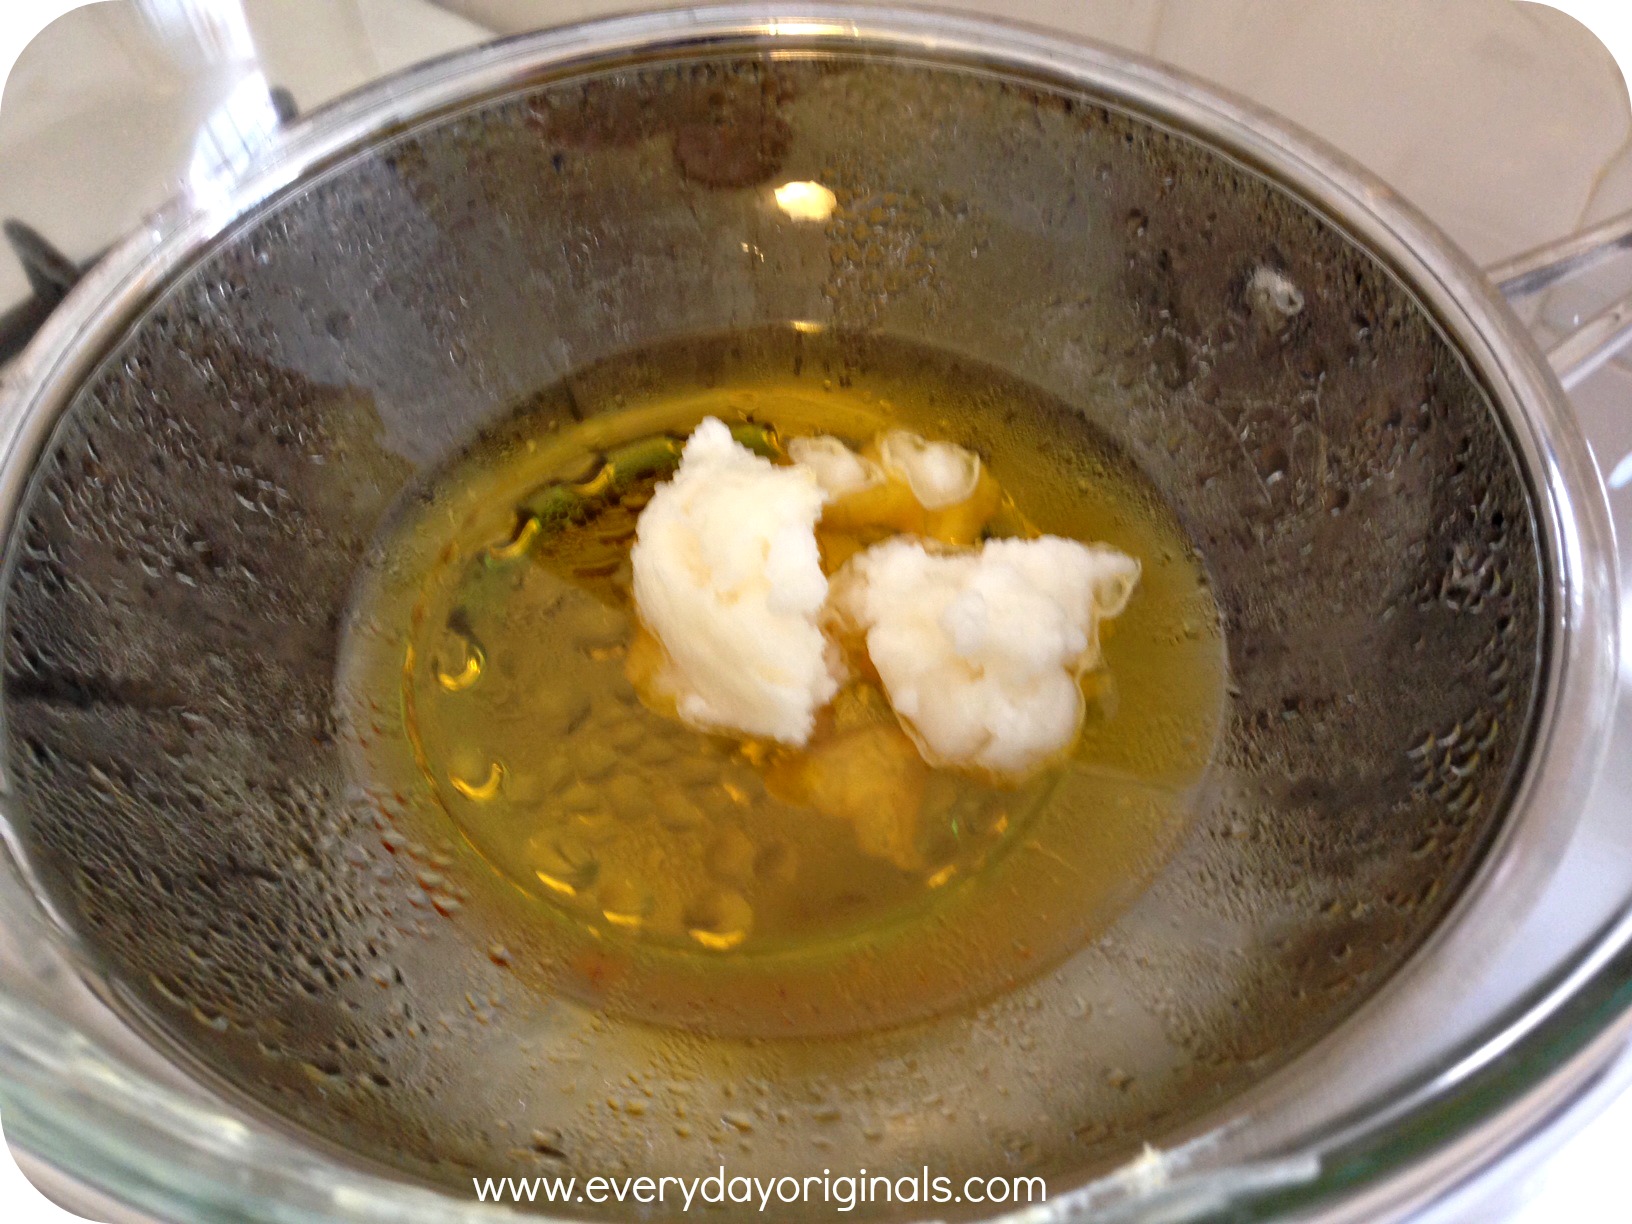
Add the beeswax and let melt, stirring occasionally. Once melted add the coconut oil and honey. Continue stirring until melted. Once entirely melted add the olive oil and peppermint extract. Stir until all is combined well.
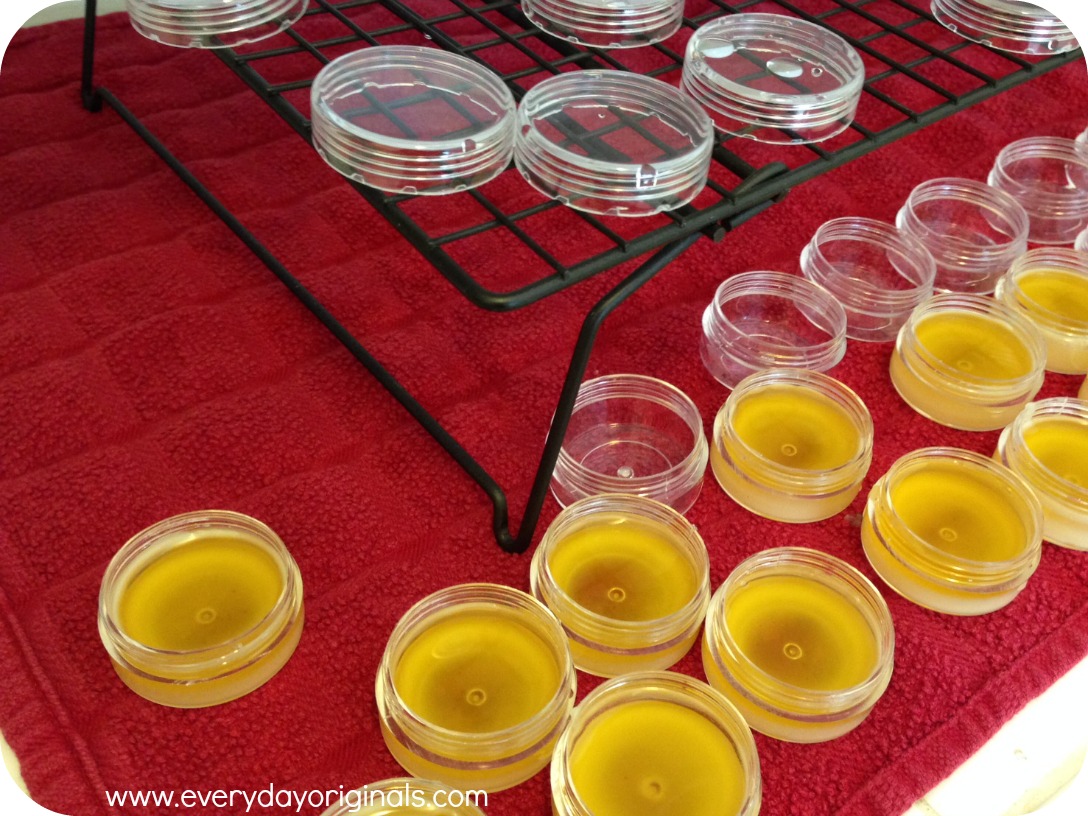
Prepare your containers. Make sure they’re entirely dry and line them up so you can easily pour into them. This next step you have to act quick with as the mixture begins to solidify immediately after removed from heat.
Pour the mixture into a glass-measuring cup and quickly fill each container. The mixture will begin to harden in the glass cup but just keep pouring. Let the containers sit for 15 minutes to completely solidify. Add the lids, wrap up all cute and gift away!
To clean the glass bowl and measuring cup: allow the remaining wax to harden. You can either place in the freezer for a few hours and the wax will pop right off. Or, you can scrape all the hardened wax with a disposable knife or spoon. Using dish soap and a splash of olive oil begin scrubbing. It takes a while, but eventually all the wax melts and loosens and you can wash normally. DO NOT put them in a dishwasher. The wax will cover everything in the dishwasher!

I love love this idea lindsey! Turned out so cute! Now I’m wanting to make some in a citrus scent!!
oooooo citrus would be delicious too Jenica!