This dot painted bag was really quite easy, just took time and patience.
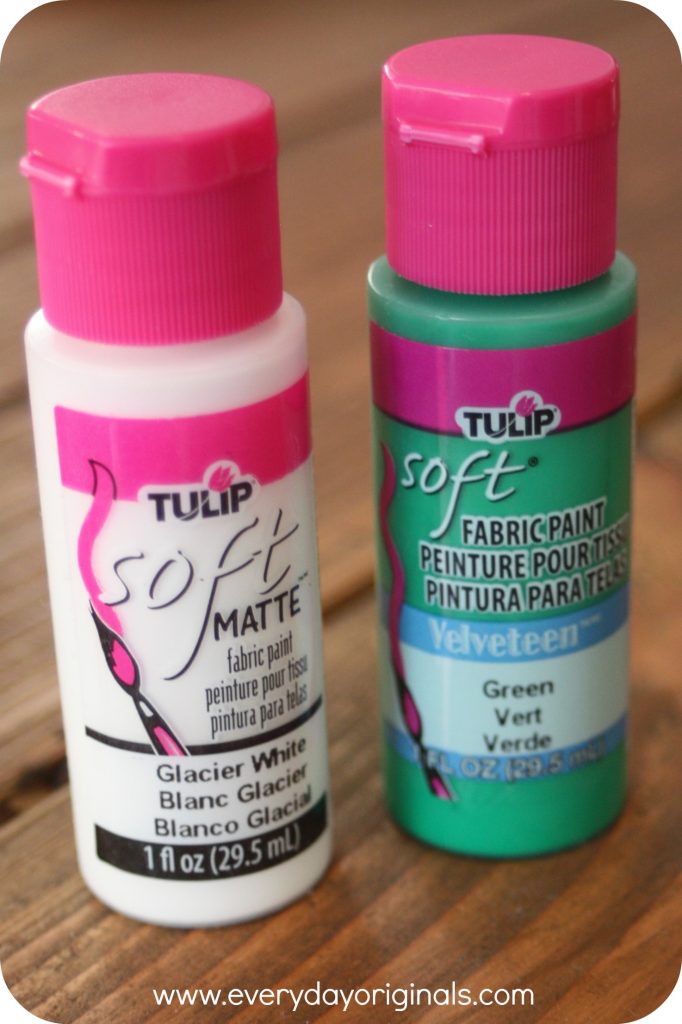
I started by choosing the fabric paint colors I wanted to use. I wanted the colors to fade out a little so I grabbed a solid color and then white so I could lighten up the green.
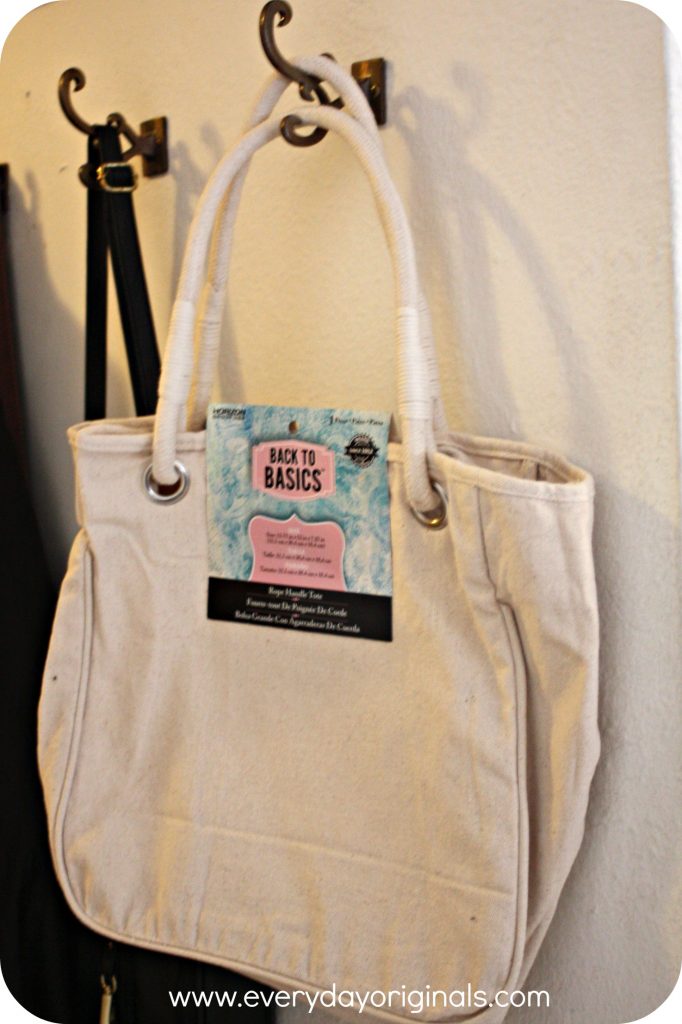
I purchased the bag and the paint at Michael’s with a coupon for just a few dollars.
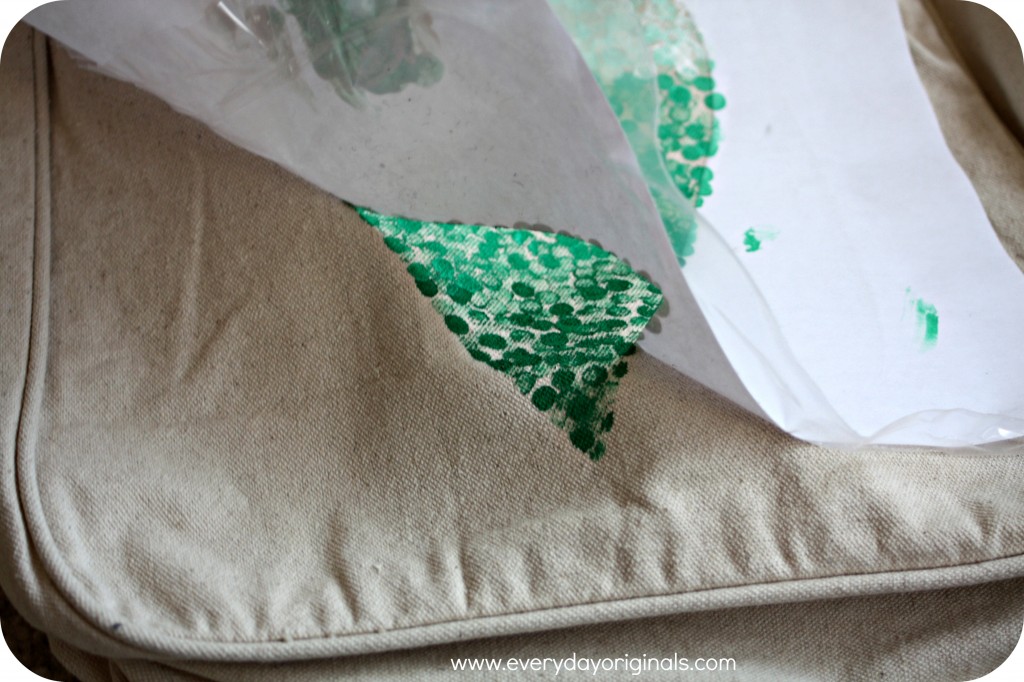
I used the same method that I used for my DIY home state t-shirt I shared a while back. I ironed the pattern onto a plastic bag and then ironed the whole thing onto the bag.
I mixed up a few different colors and got to dot painting. I had started with a mechanical pencil eraser but realized quickly that it was much too soft and wasn’t giving the dots I wanted. I searched through the desk and found a golf pencil from Al and that was perfect. It definitely worked better with a firmer, unused eraser.
I just started dipping the eraser in the paint and dotting all around within the pattern. I started with the bottom first, with the darker color. I continued to add a tad more white paint to lighten the color as I went.
I followed the instructions on the fabric paint bottle for how to care for the bag once the paint is dry. I’m very pleased with how it turned out seeing as though this was the first time I’ve attempted this! I do wish that the top colors blended a bit more, but hey can’t win em all.
Only other downside was that my colors were supposed to be more of a lime green and that didn’t quite happen. I’m hoping that a special little eight year old will still love it and get use out of it bouncing to all her activities!


Leave a Reply