Our dining table is now complete! I’ve already shared the building of it and staining of it, and now I’m back to show you the awesome hair pin legs we built for it. And by we I mean our friend Joe and Al. After realizing how terrible the original legs were (as seen in the staining post) we decided to go with some solid hairpin legs.
Get ready for a photo heavy post! The process of making them was really cool and it was fun to see them come to fruition. Here’s a very high level version of the process. If you want more depth feel free to email me directly.
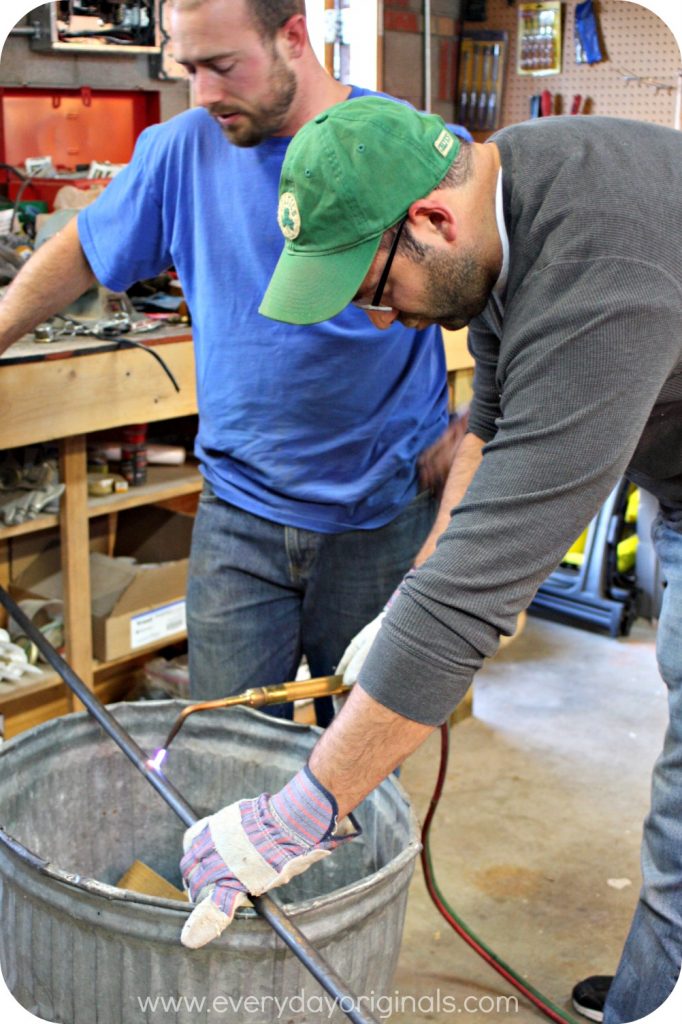
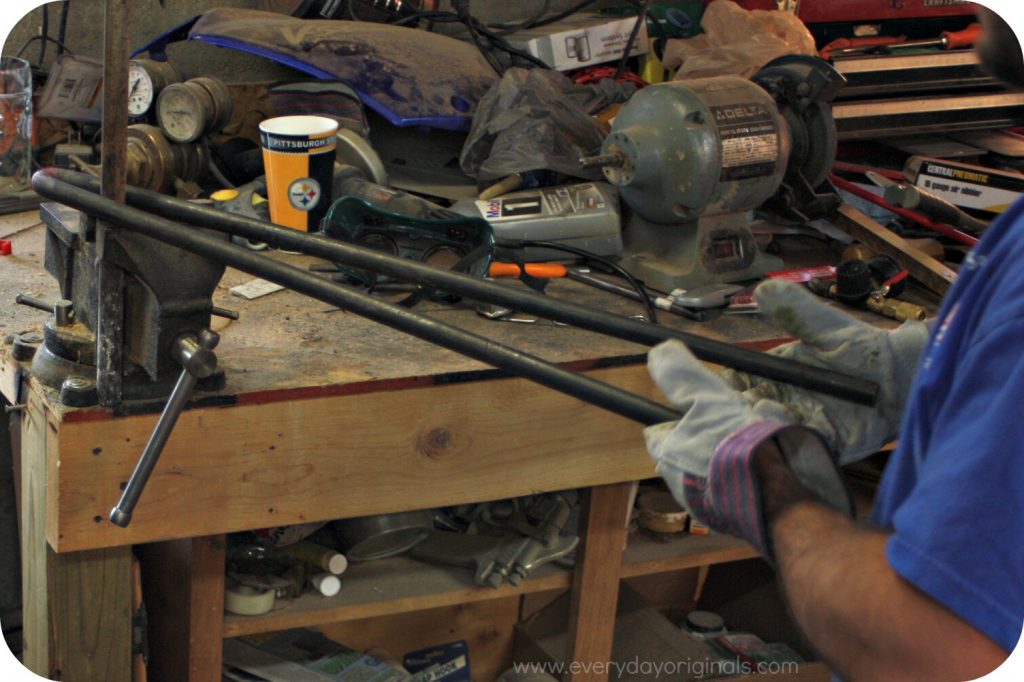
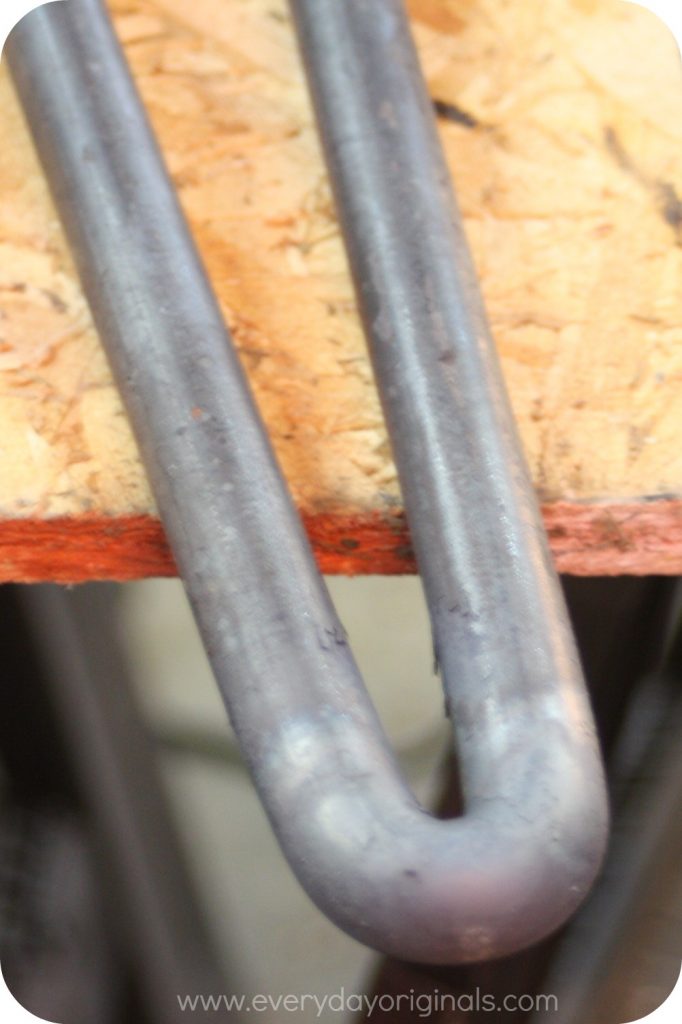
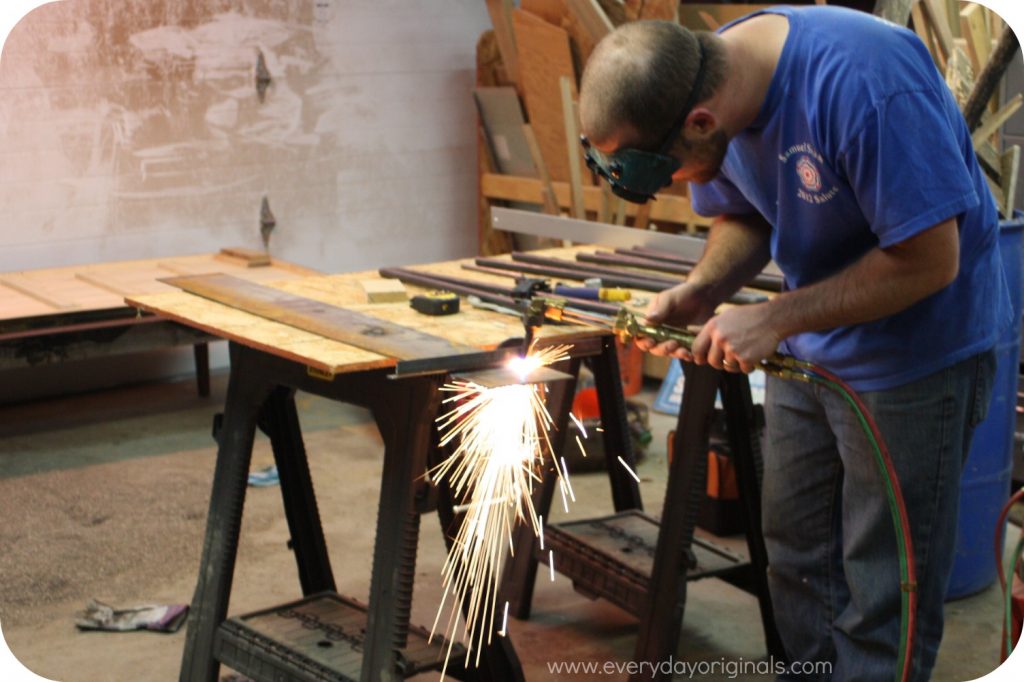
We cut the iron rods into four, five foot pieces, so that when bent each leg would be 30″. We marked the middle of each rod and heated that spot long enough to allow the rod to bend – about five minutes.
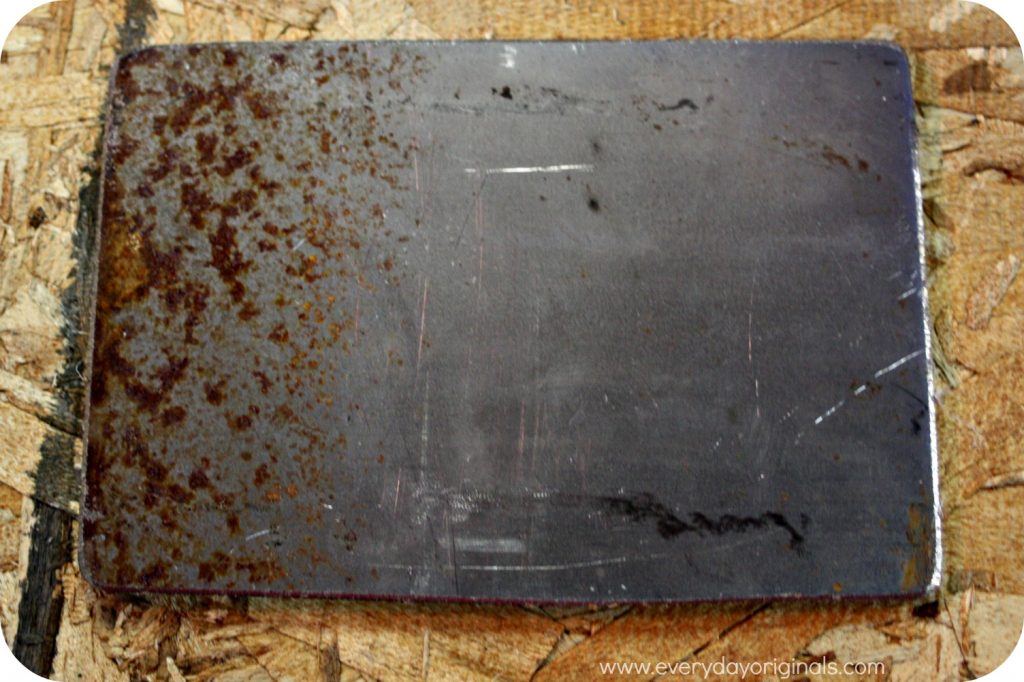
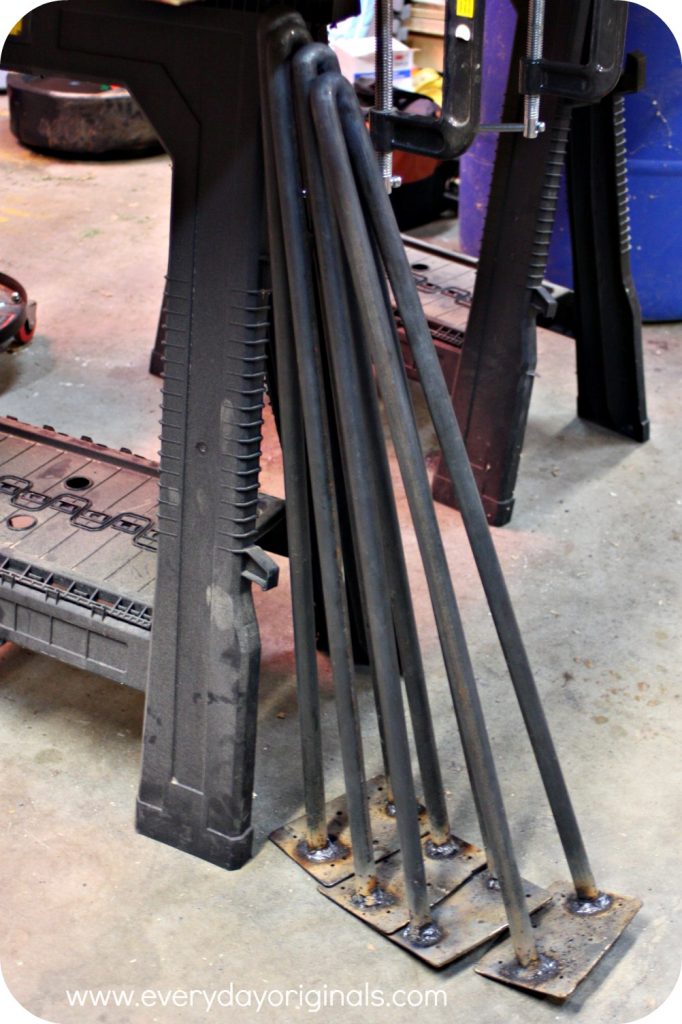
Once all were heated and bent we then cut four plates to attach the legs to. We drilled holes in the plates so we could eventually screw the legs onto the table base.
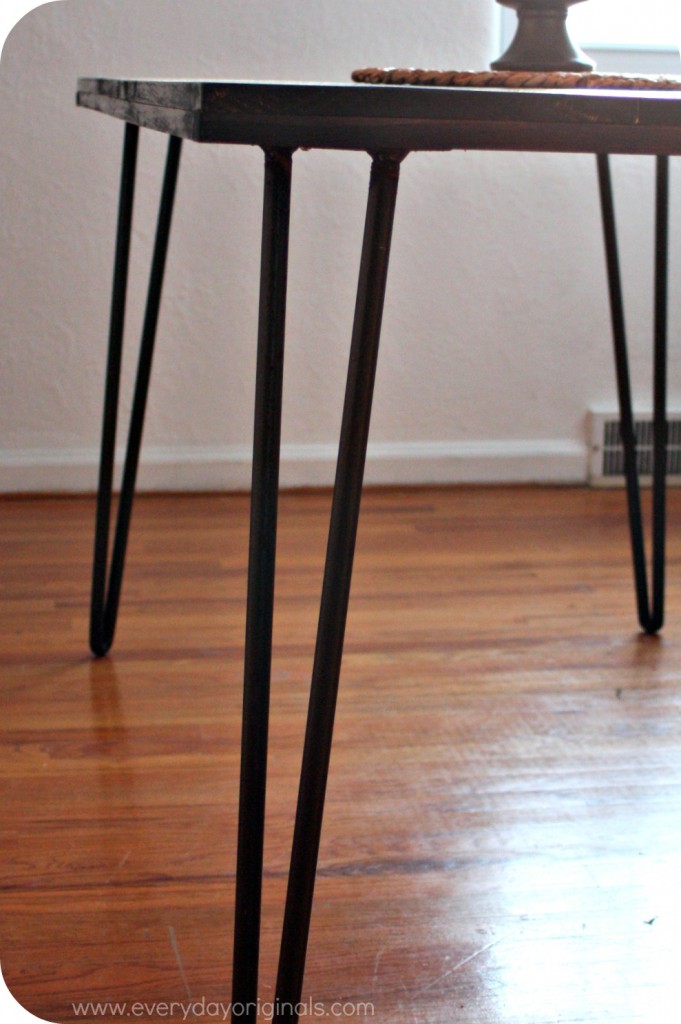
Joe then welded the legs to the plates and voila! Just like that we had four amazing custom-made hair pin legs. The next day we sprayed each leg with multiple coats of clear wheel protectant – the same product used on vehicle rims.
It gave a nice finish to the legs without altering the color of the iron. I love the look of the raw iron with the rustic looking table.
Not sure why our floors look orange in these photos, but I promise, our floors aren’t orange. We still need to get dining chairs, a rug and some art on the walls, but we’re one step closer to a finished dining room and hey, I’m just happy to have a place to eat!

I love it!!. Hairpin legs were the perfect choice and making your own..awesome.
Agreed! They were the best choice!