Thanks so much for all the support on yesterday’s post, it truly meant a whole lot to me. On to other (less serious) things, I’m psyched to finally start sharing our bathroom progress! We started two weeks ago and it has kind of consumed us since then. We’re still working away with hopes of being done this weekend. You can see a little peek of the wall color in some of these photos. It’s Behr’s Lime Light and it came out perfect.

We tackled tiling the floor ourselves and I won’t lie, it. was. hard. Mostly because we had no clue what we were doing and really had to learn as we went. I figured it was best to start small with our first tiling project, so the 25 square foot floor was perfect.
 First things first though we had to remove the linoleum. I’m fairly certain the people before us SUPER GLUED it to the plywood. It was SO hard to remove.
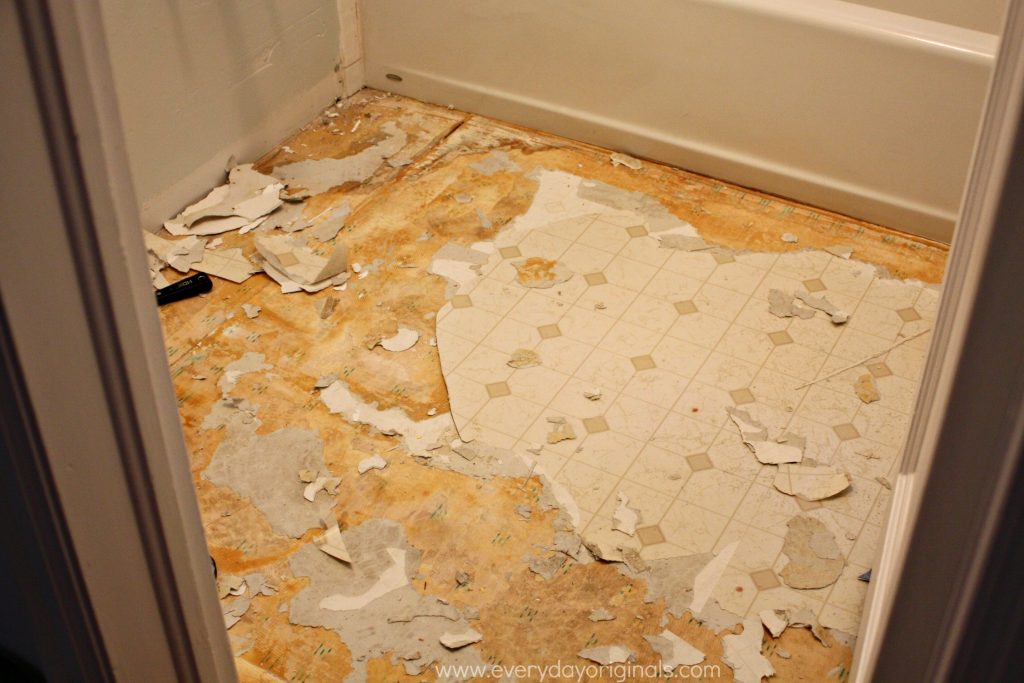 It took the two of us with two razor blades cutting away at the glue to loosen the linoleum. We finally were able to remove it and get moving on the floor.

The tutorial we found the most helpful was this one from Family Handyman. We also got a lot of good info from talking with a few guys in the tile aisle of Home Depot. It’s amazing what you can learn from other customers in that store! In addition to those resources, we followed the instructions closely on each product we were using.

We adjusted the tutorial to our situation as needed. For instance, we didn’t need a tile cutter since we used small tiles that came on a sheet. Instead of cutting the tiles we could just tear them off of the sheet to adjust for around the toilet and against the tub and doorway. That made the project a tad easier.
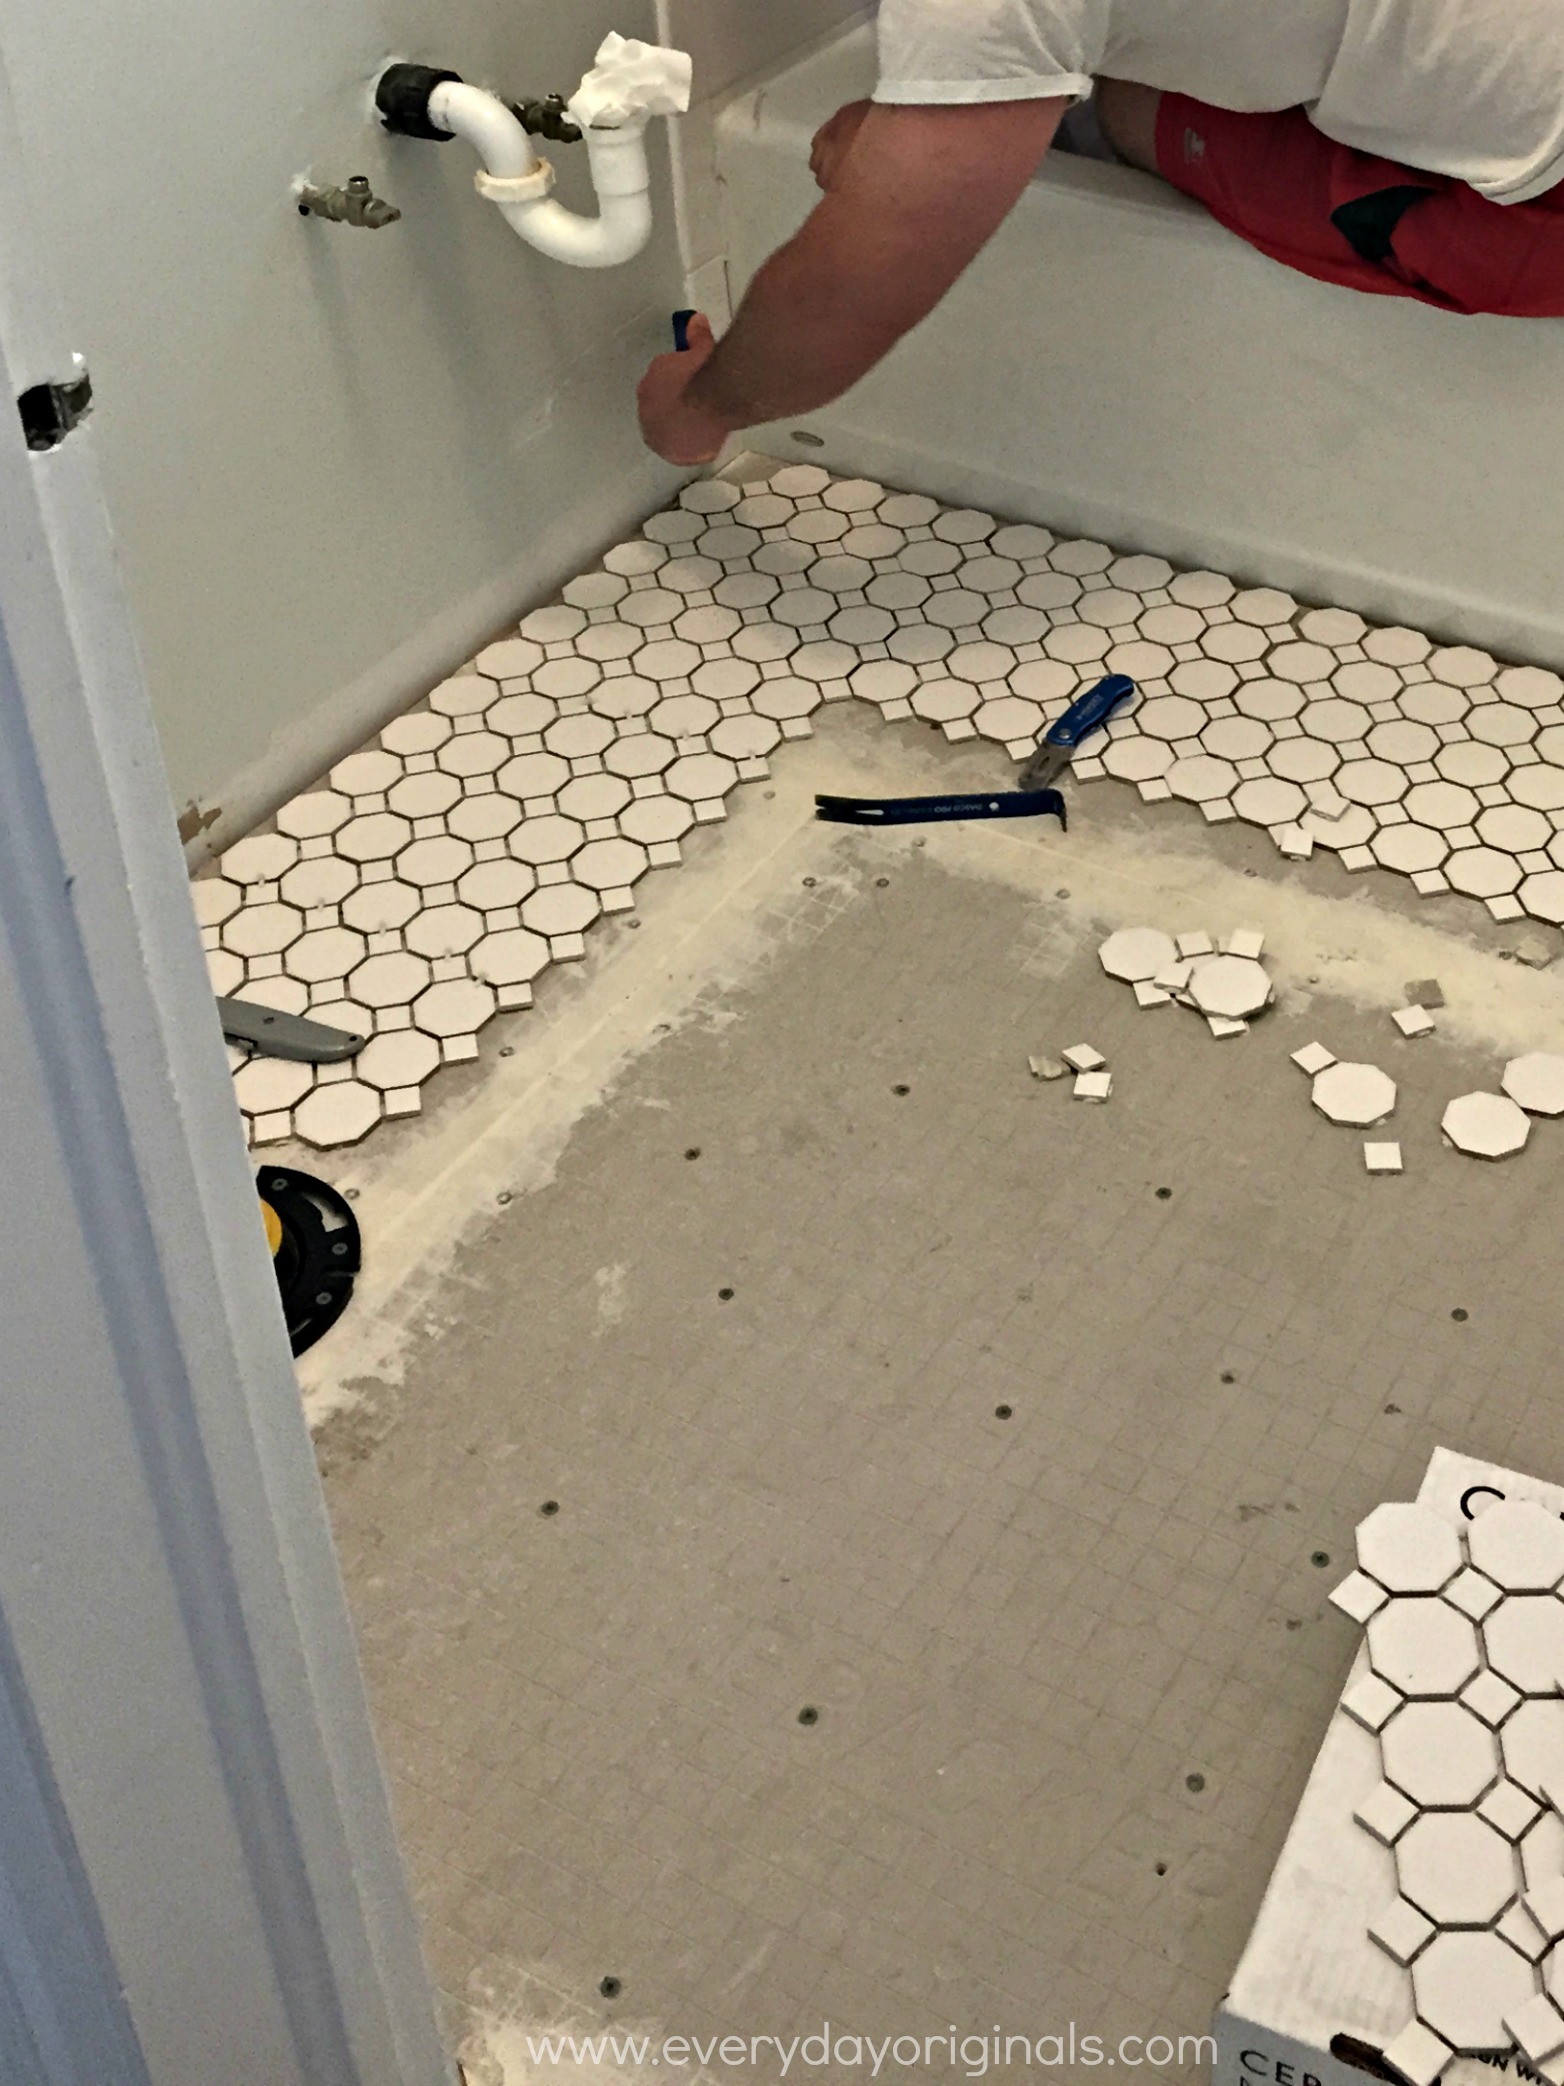
Once we had secured our backer board we laid out the tile on top to easily move them around to see what fit best. This step is crucial as it’s really hard to move the tiles once you lay them over the Thinset. We laid the tile, tore the few off around the toilet and made other adjustments where needed.

We then laid all the tiles out on our bedroom floor so that we wouldn’t lose the pattern and process.

The mission in choosing tiles was to find something that would modernize the space, while still keeping the character of the 1940s house, while not breaking the bank. I think we were successful.
We got to work on spreading the Thinset, laying the tiles and waiting. There’s a lot of waiting in tiling. A LOT of waiting.

Once the tiles were set we began the grouting process. I think grouting was the easiest of all the steps. We used gray grout so it was easy to see if there were any gaps between tiles missing grout.
After a few days of letting that set we sealed the grout. We used a spray on sealer which was quick and didn’t waste time sealing with a small brush by hand.

After that we sat back and admired it every time we walked past the bathroom. Again, we found this tutorial to be the most helpful. I said in the beginning of this post that it was a hard project. And truthfully, I don’t think it was all that hard it was just so time-consuming. And it seemed like it took forever since we didn’t have the use of our main bath, just the nasty basement bathroom.

Which as a side note, and hopefully not TMI, I never get up to pee in the middle of the night (NEVER. Like I’ll hold it for 6 hours until it’s time to get up.), but the first night without our bathroom I had to go so bad because I likely had too many beers while working on the bathroom. I totally made Al lead the way down stairs. No way in hell was I going to that dungeon alone at 2am.
As for the cost of the floor, the actual tiles were a bargain, but we did spend a good amount in supplies. The breakdown looked like this:
Tiles: $55
Backer Board & Supplies: $36
Grout, Thinset & Supplies: $93
Our grand total for just the floor was roughly $185, which I feel is very reasonable compared to what you would pay someone to do the same job. Also, as a good to know, when you buy tiles by the sheet at Home Depot they charge you per sheet, so even though we bought three boxes we were able to return any sheets left over that we didn’t need or use. Other tile stores we visited didn’t offer this perk and it saved us about $25 because we only needed two sheets from the third box.
So, what do you guys think? Love it? Hate it? Be honest you won’t offend me. I personally love it and can’t stop looking at it. I love the vintage charm of the shapes and size but the modern feel of the bright white. Stay tuned for more bathroom updates!

Leave a Reply