• About
    • Contact
    • Disclosure
  • Home
    • Organizing
    • Food
    • DIY
    • Holidays & Gifts
  • Life
    • Motherhood
    • Career
  • Family
    • Travel & Fun
    • Kids
  • Blog
↑

Lindsey Thomason

Simple Life + Working Mom

  • About
    • Contact
    • Disclosure
  • Home
    • Organizing
    • Food
    • DIY
    • Holidays & Gifts
  • Life
    • Motherhood
    • Career
  • Family
    • Travel & Fun
    • Kids
  • Blog
  • About
    • Contact
    • Disclosure
  • Home
    • Organizing
    • Food
    • DIY
    • Holidays & Gifts
  • Life
    • Motherhood
    • Career
  • Family
    • Travel & Fun
    • Kids
  • Blog

armchair makeover: phase 1

June 20, 2013 by Lindsey Leave a Comment

I’ve already shared a few times about these amazing chairs Al happened to find in our back alleyway one night when he was taking out the trash. Despite their age they were in phenomenal condition.

I’ve gone back and forth a million times on how to make them over and finally settled on a dark base color with blue and green fabric. Thing is I would have loved to paint them white, since let’s be honest I love all things white. But with the walls and carpet in our apartment a very white/neutral color I know the chairs would seem lost if they were white too.

chairs

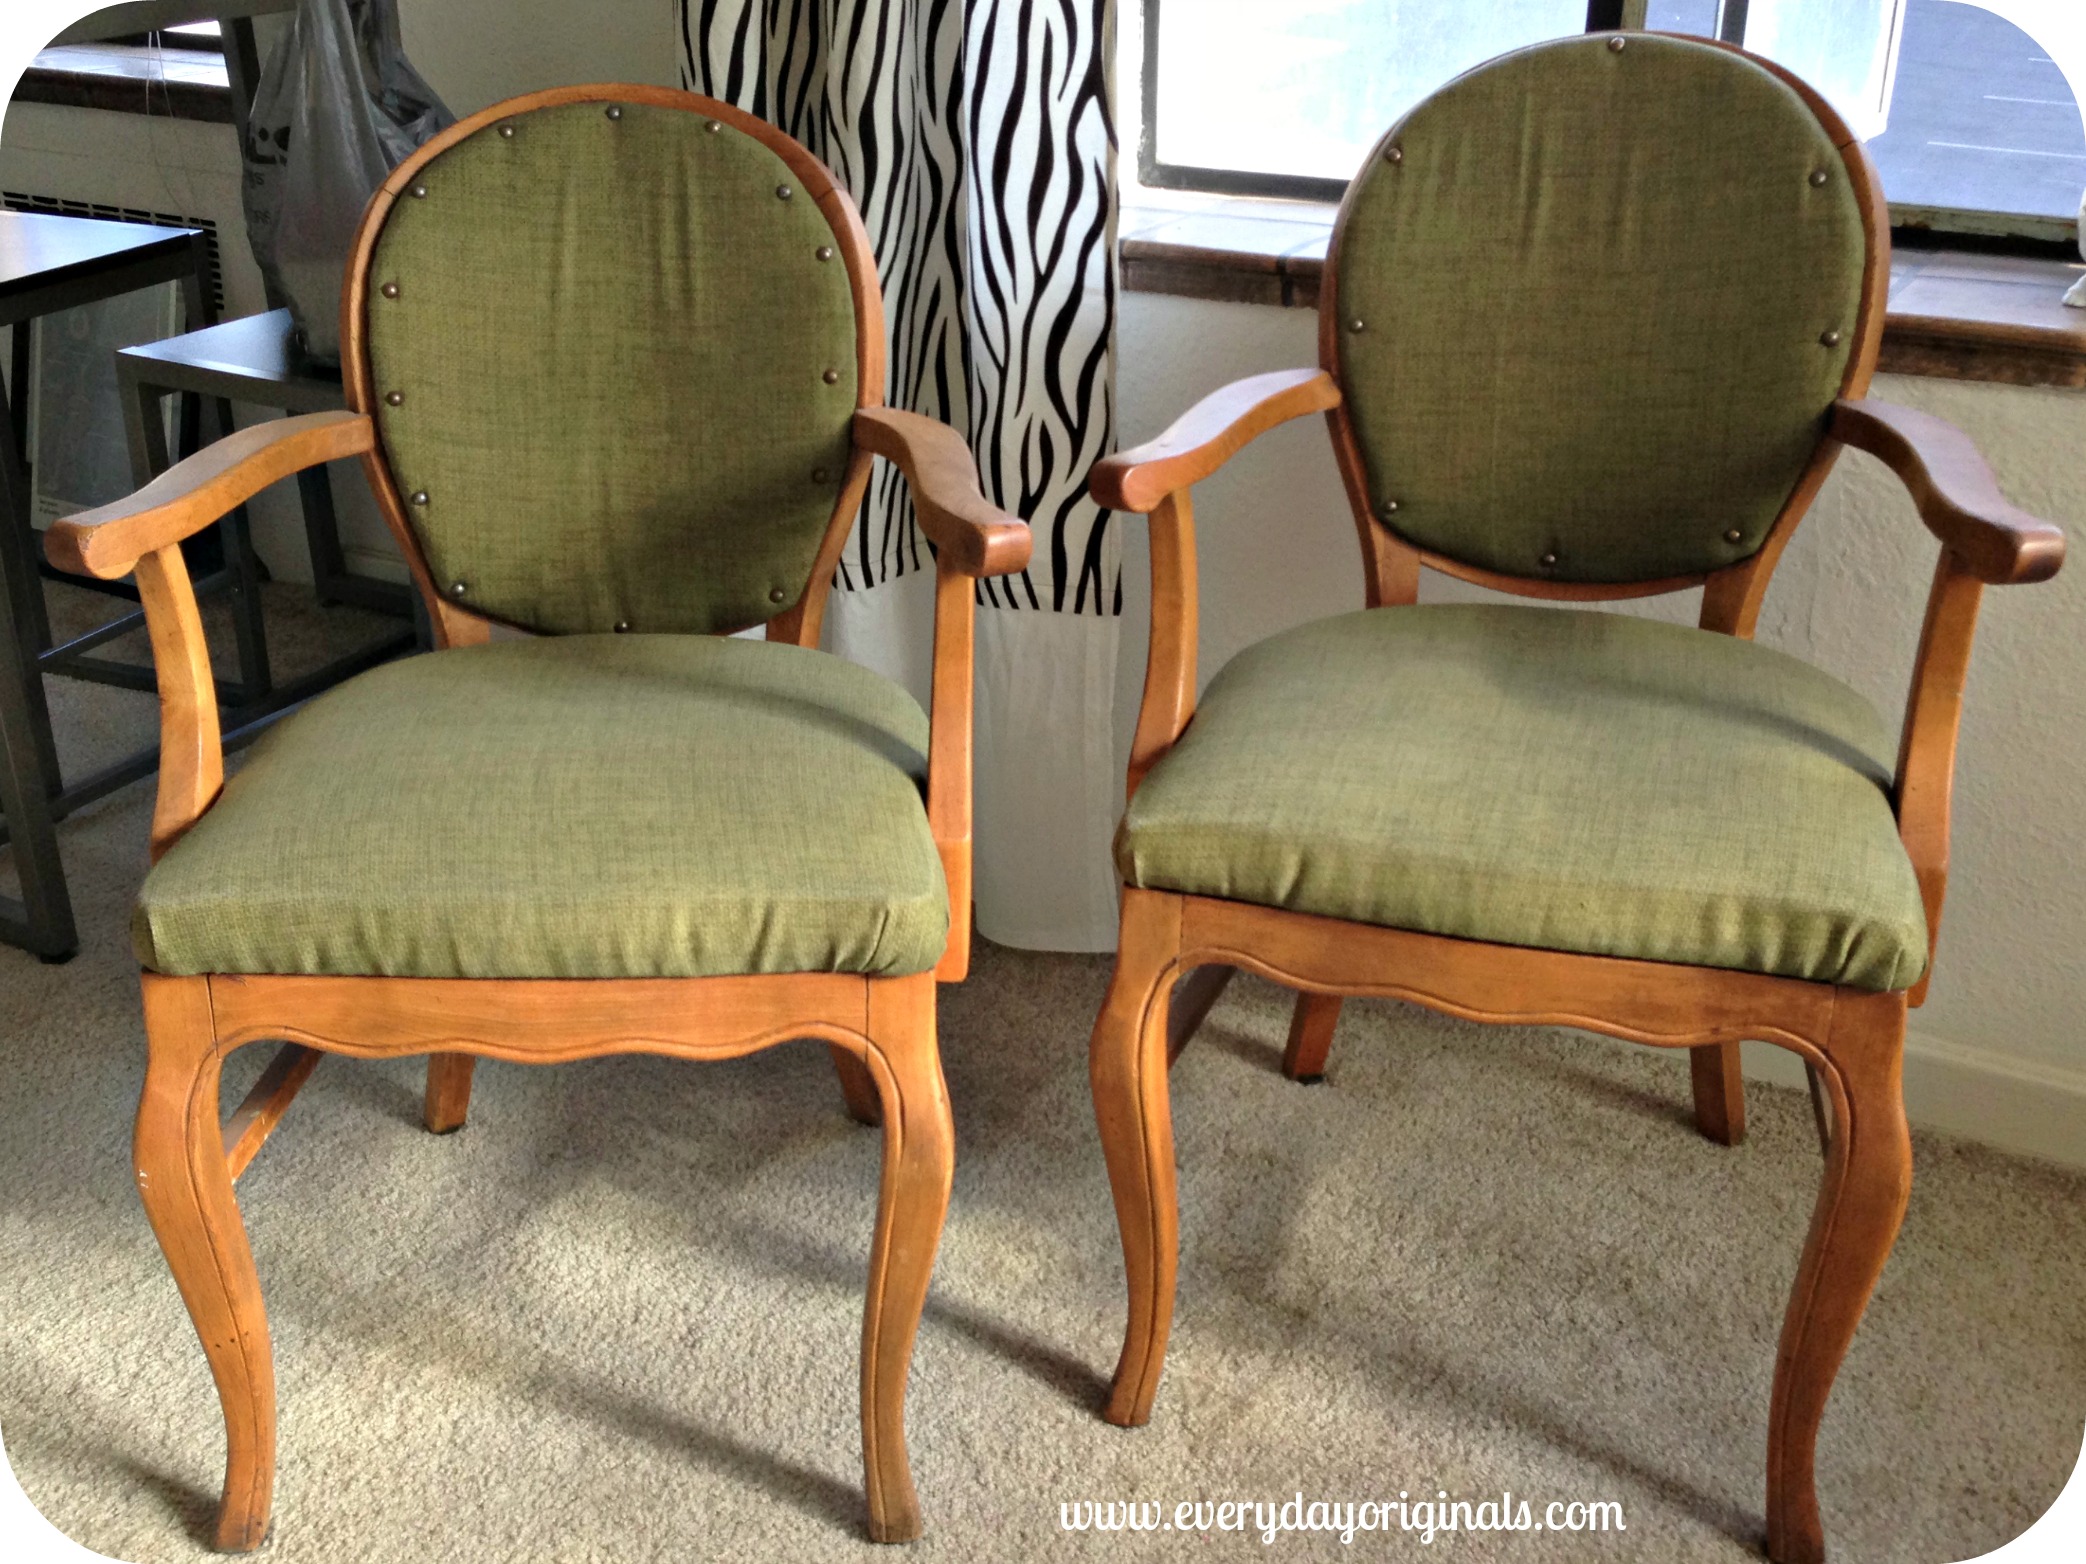
So we went dark! Today I’m sharing phase one of the chairs. I love chair makeovers, that’s also no surprise since I’ve done them here, here, here, here and here. They’re just so easy and inexpensive and I always feel so accomplished when they’re complete.

I started by taking the chair apart. I unscrewed the seat bottom, there were three screws on each seat. The seat backs were trickier.

tacks

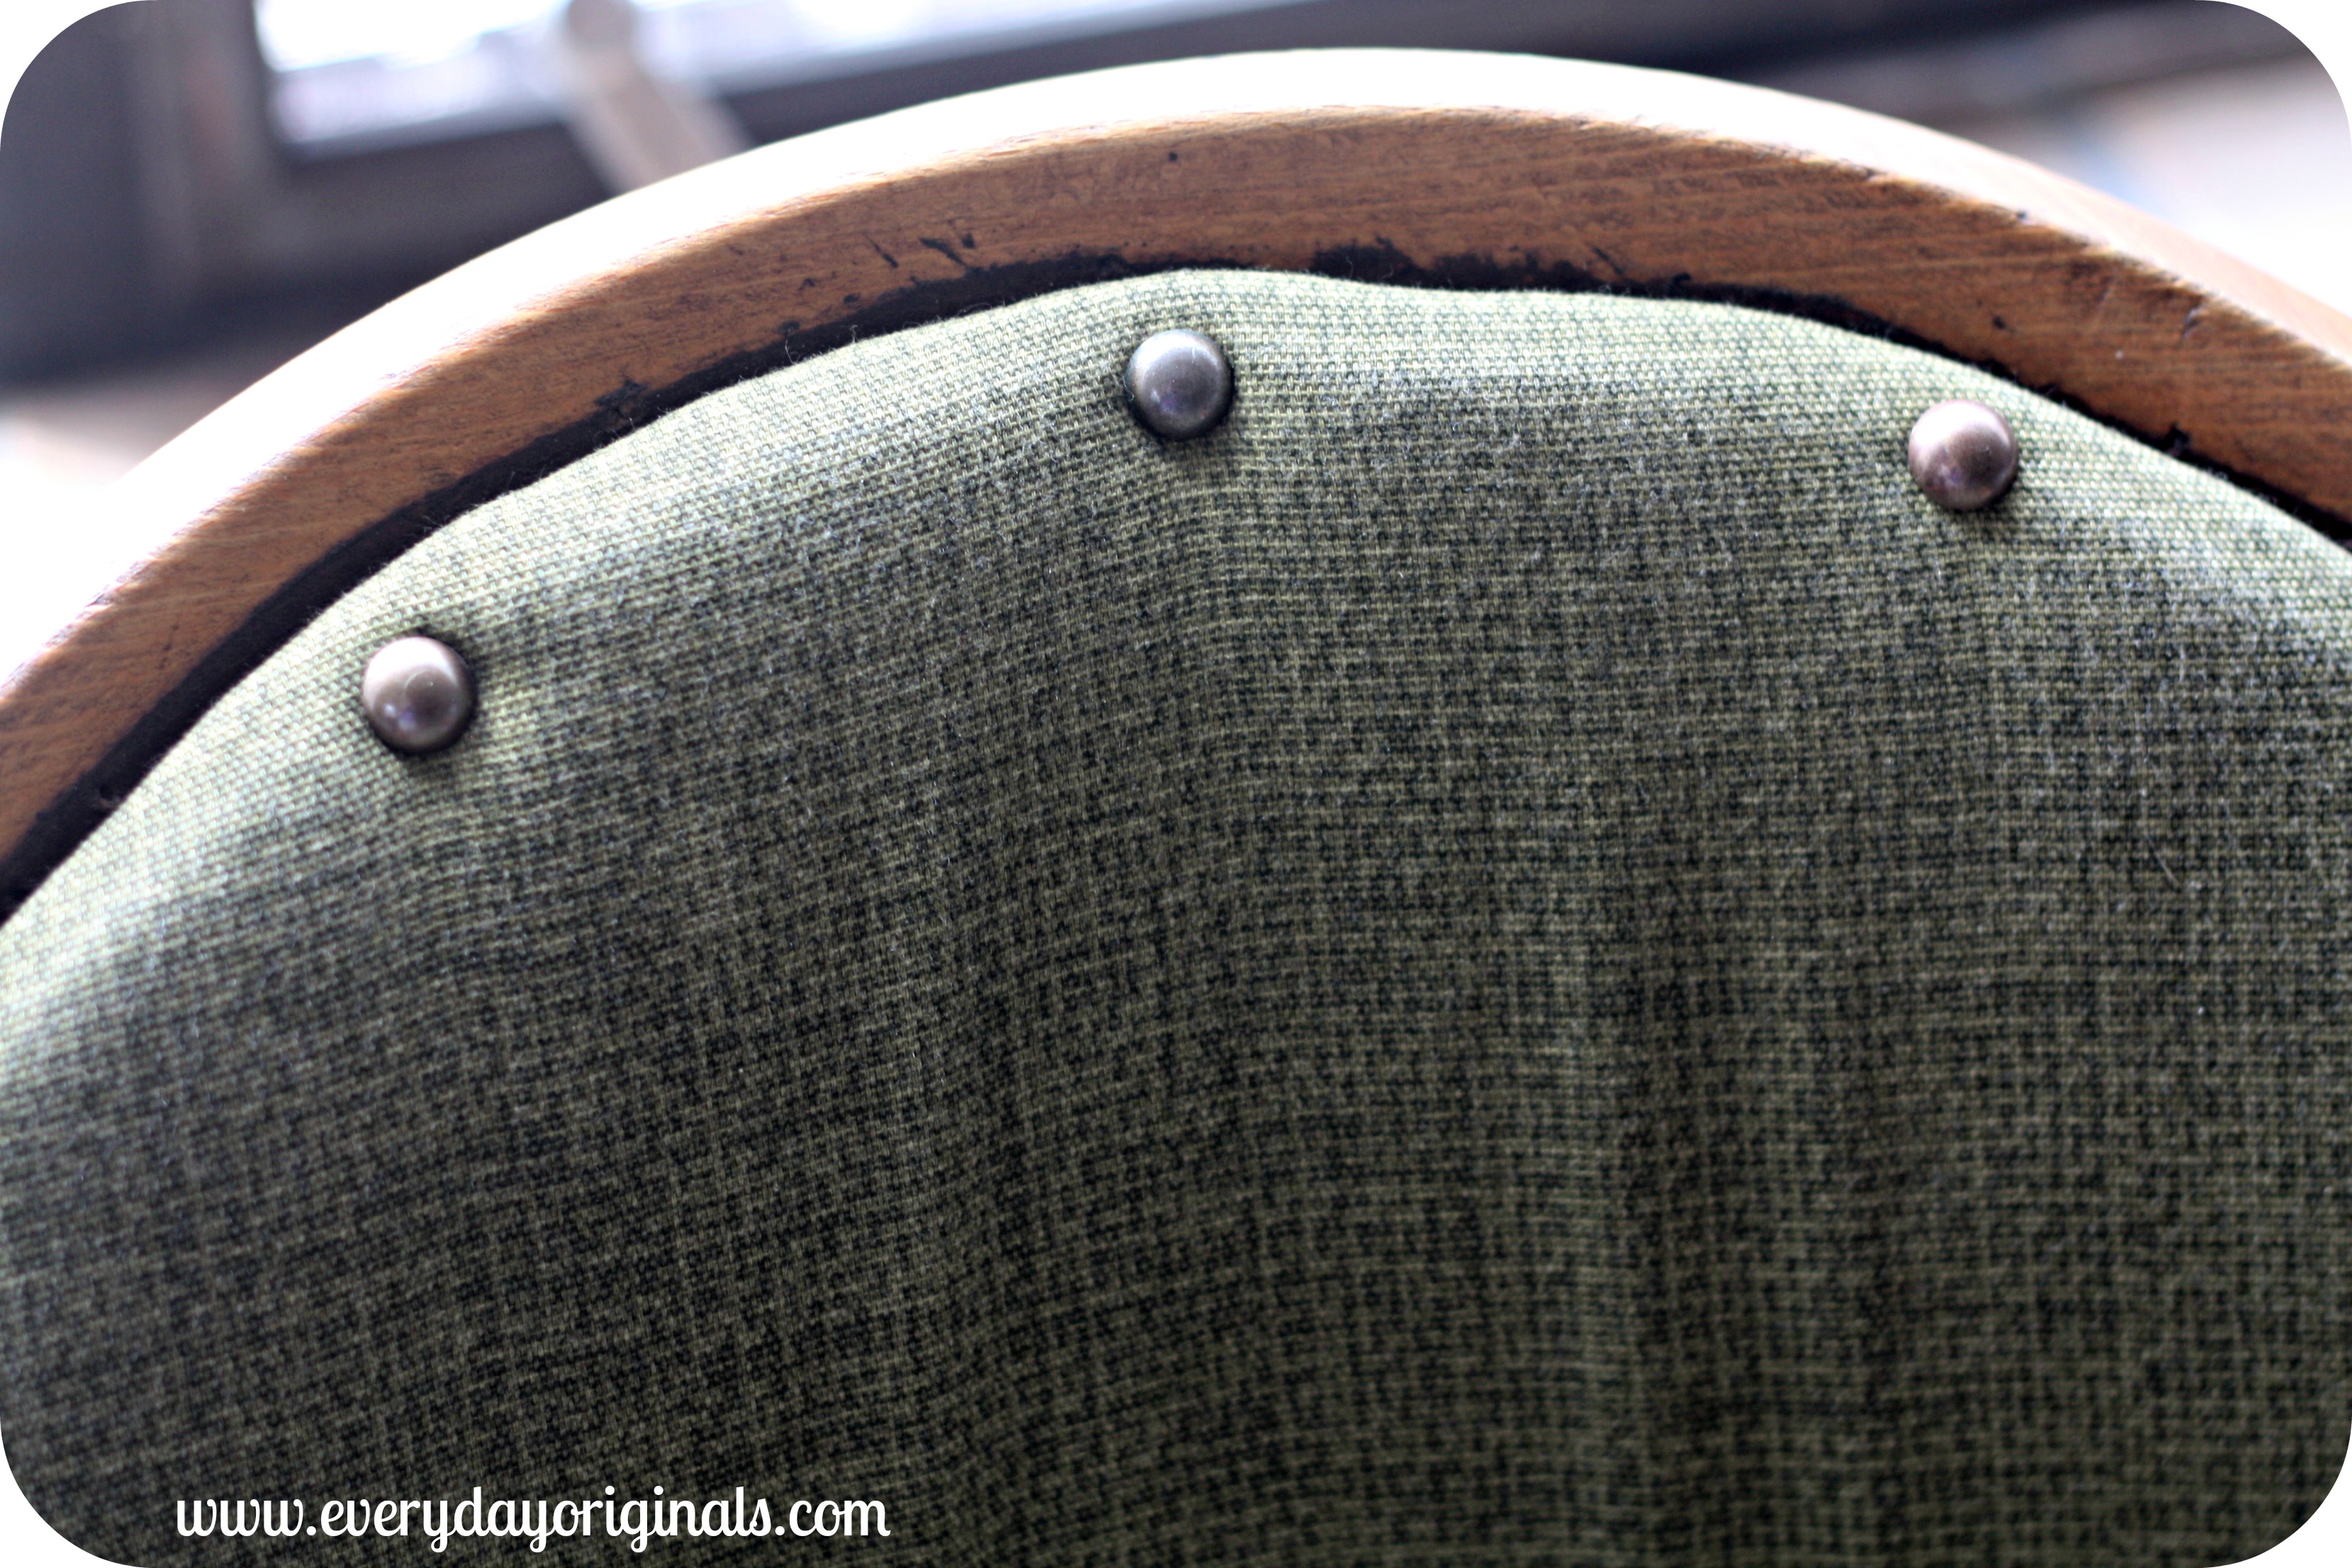
They had loads of tacks and underneath every tack was a nail, that was half nailed into the wood and then half bent.

nails

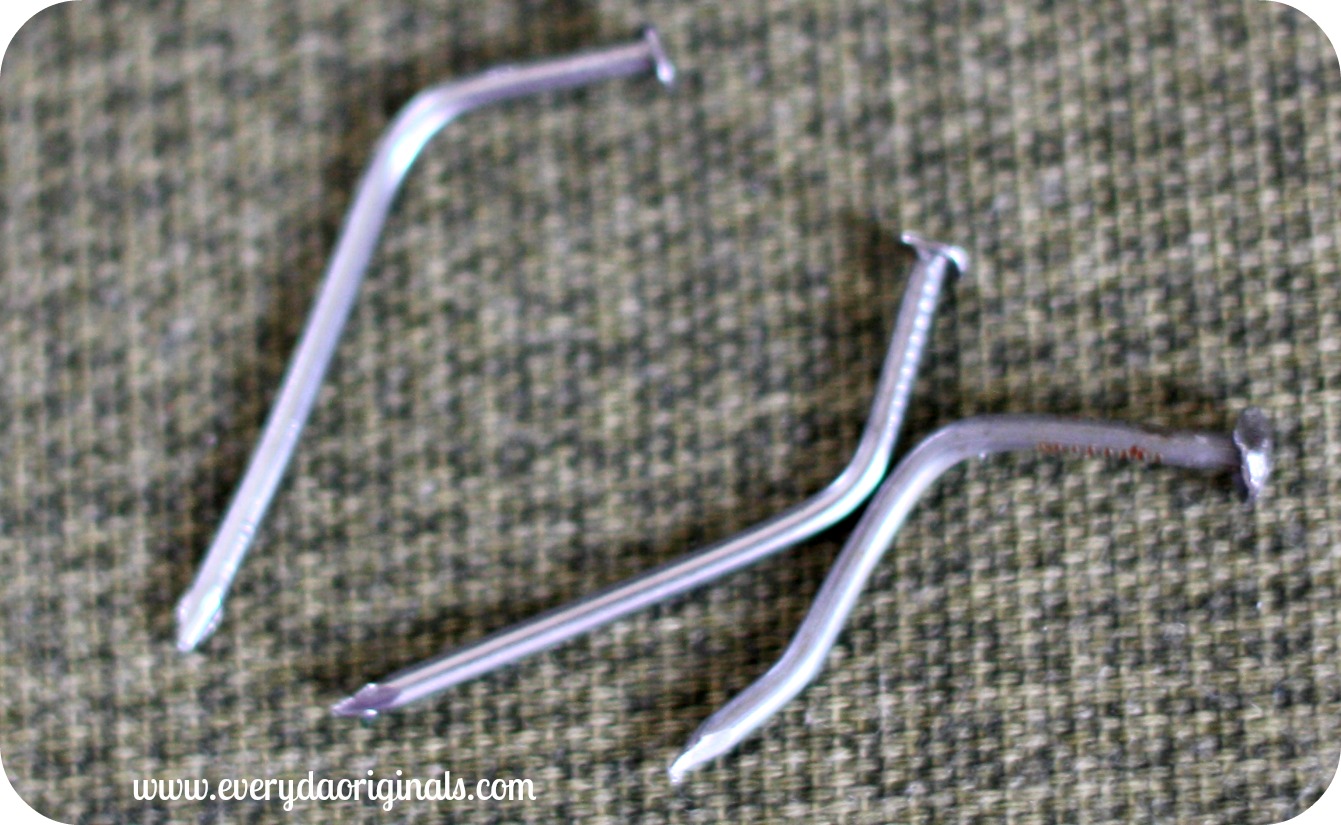
Using a flat head screw driver and pliers I removed all of the tacks and nails. Once I had the seat back off there were loads of old staples in the wood.

chair

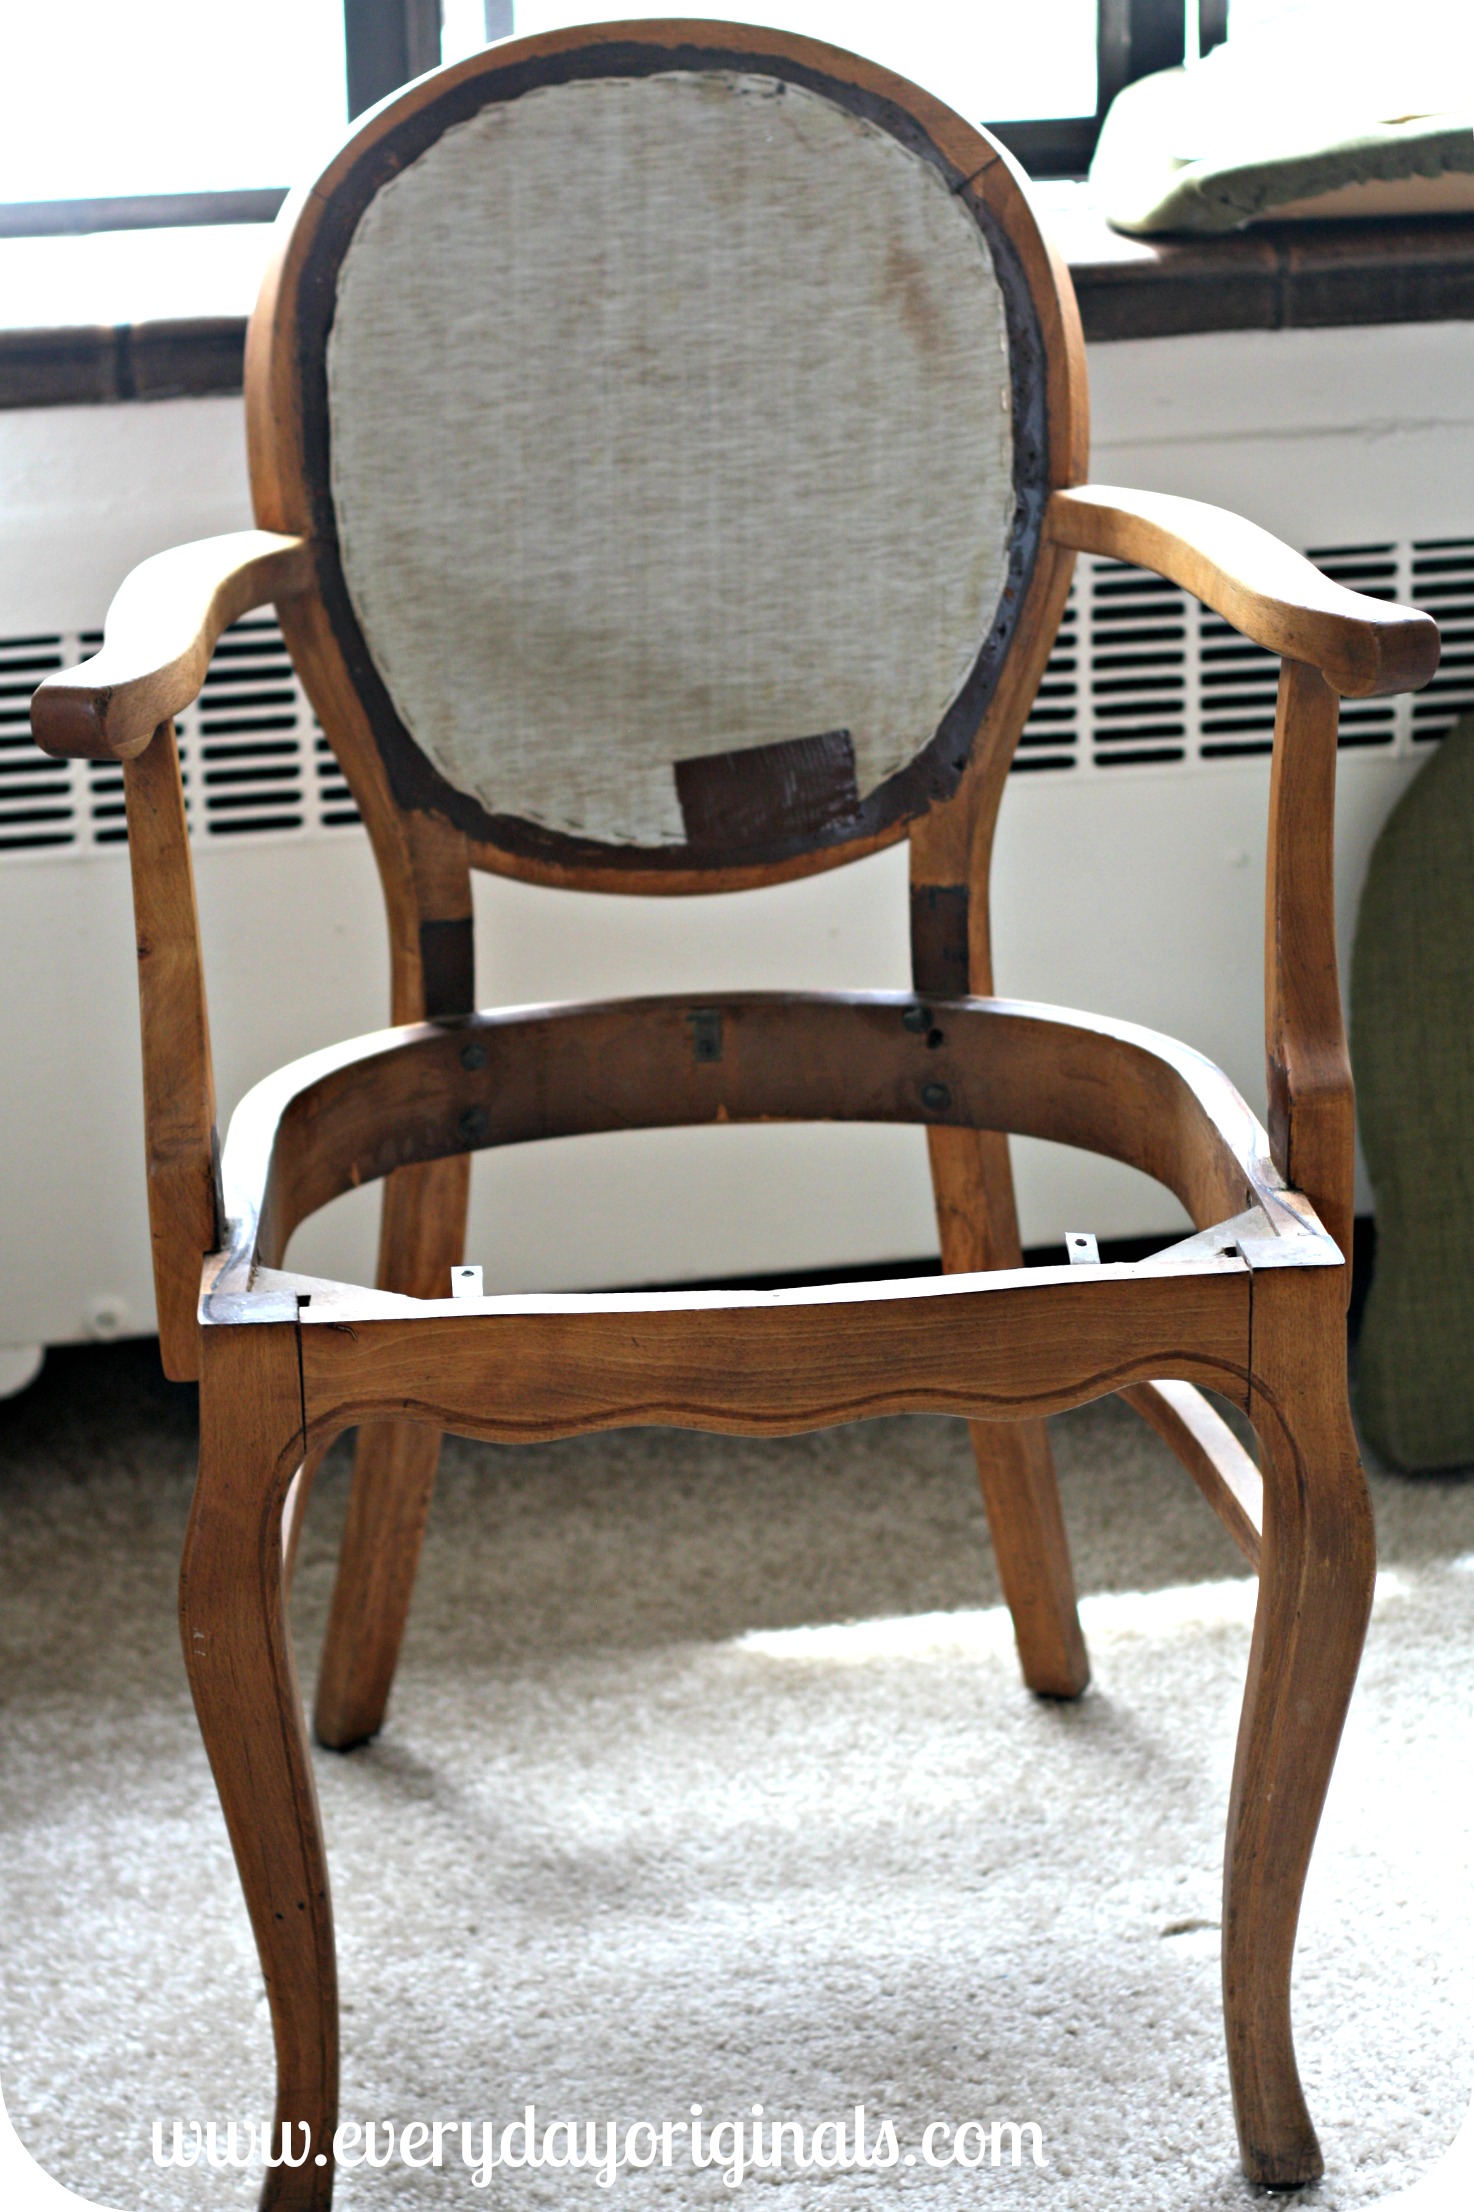
Using the pliers I removed all of those as well. I then removed the fabric from the seat back using the same pliers and screw driver.

layers

There were many layers of old fabric on them but I only removed the latest one. Once removed, I traced the seat bottom and back on my new fabric so I had my pieces all ready to secure.

PicMonkey Collage

This part of the process definitely took me the longest and my arms certainly got a workout pulling all those nails and staples out. Though, once this part was complete the rest was pretty easy. Stay tuned!

Share this:

  • Click to share on Facebook (Opens in new window)
  • Click to share on Pinterest (Opens in new window)
  • Click to share on Twitter (Opens in new window)
  • Click to print (Opens in new window)
  • Click to email a link to a friend (Opens in new window)

Filed Under: DIY Tagged With: armchair makeover, chair makeover, diy chair makeover, simple chair makeover

Leave a Reply Cancel reply

Your email address will not be published. Required fields are marked *

HELLO!

Welcome to this journey of - simplifying life, finding shortcuts, keeping sane and staying happy as a working mom - all while focusing your energy where you want to. Was that a run on sentence? An almost missed swim class and appendicitis got me here... Read More

Join me!
Subscribe to the Newsletter

search this blog

Primary_Kids_Clothing_20_Percent_Off

Posts by Category

  • Archive
  • DIY
  • Food
  • Holidays & Gifts
  • Home
  • Kids
  • Life
  • Organizing
  • Travel & Fun

archives

Categories

Search

Copyright © 2025 · Custom Theme by PixelMeDesigns.com on Genesis Framework · WordPress · Log in