With the whole bathroom reno going on we found ourselves in a pickle with the medicine cabinet situation. The medicine cabinet was original to the house and in a size that’s no longer standard. We would have had to get a custom one made or do some wall repair to fit a smaller, standard sized one. Both seemed like a hassle, costly and a tad unnecessary.

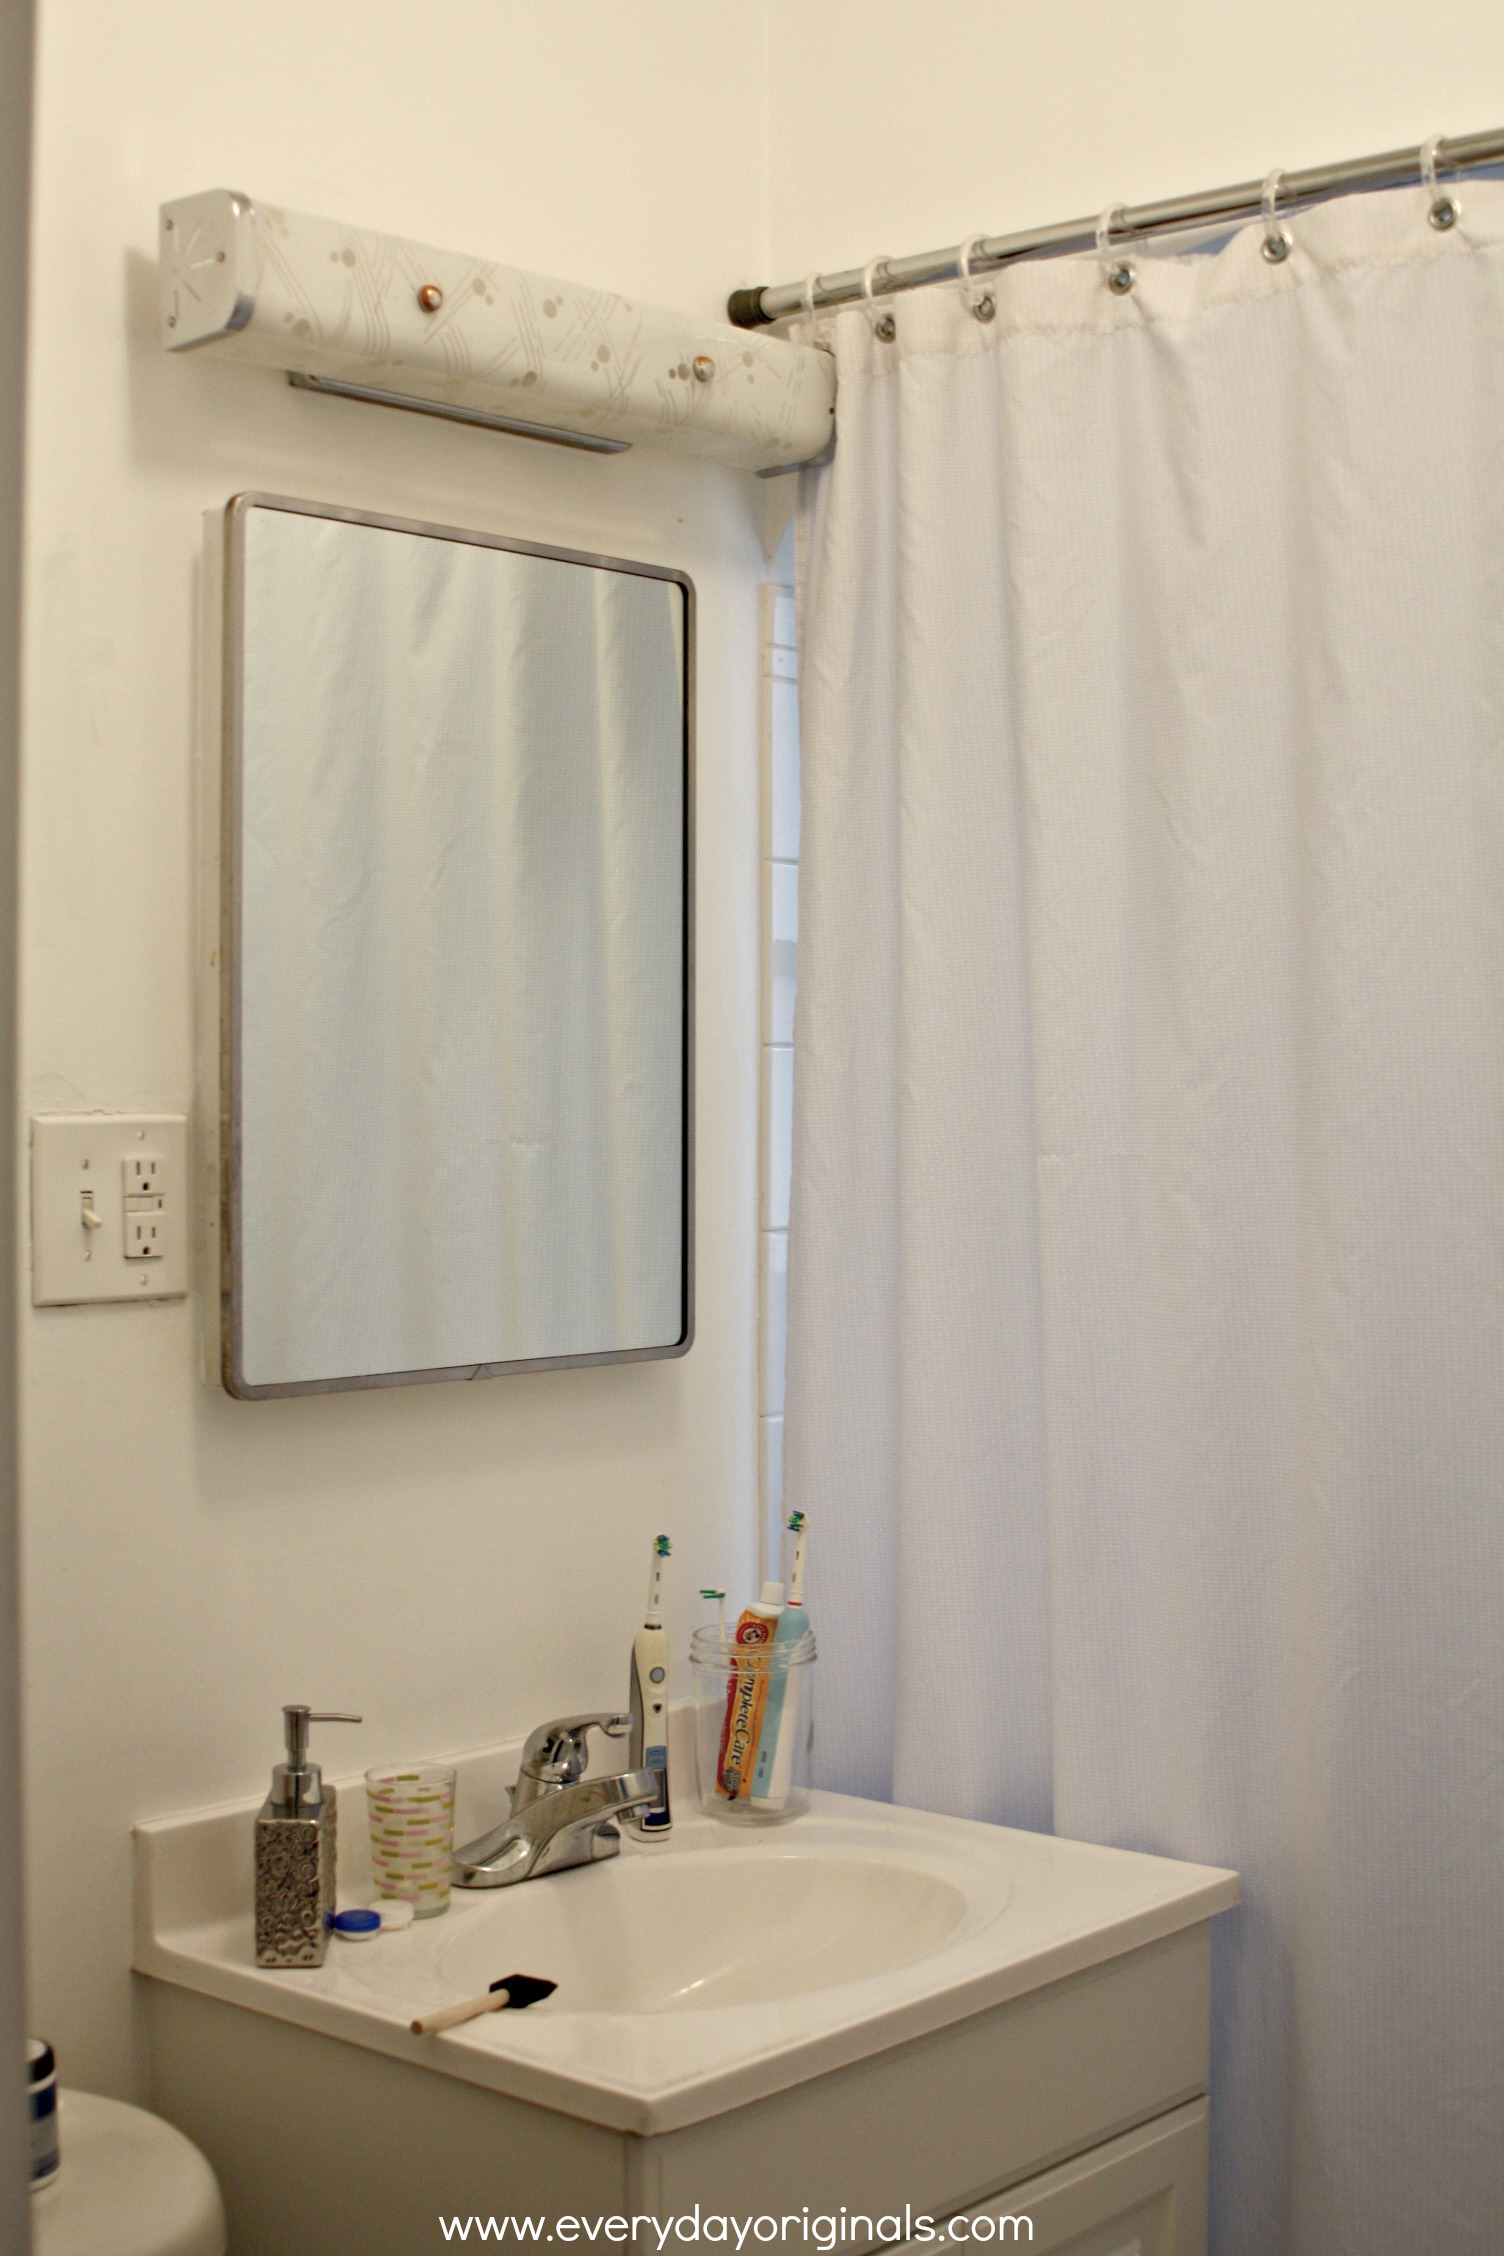
So instead we decided to keep the medicine cabinet put and update it to make it fit our style. Look at that hideous bathroom!
The one that was there even had a slot for used razors. I love that charm and no we didn’t go taking the thing apart to see if there are actually razors in there. But I kind of feel like there are!

I started by cleaning the whole thing really well. It took a few rounds of cleaning it because I mean its 70+ years old and we all know the formers owners didn’t clean. Ever.

I wanted this to be an inexpensive project so I used paint we already had on hand. I went with Country Chic’s Pebble Beach which is a grey color that’s neutral and didn’t clash with the wall color.
It took three coats to get full coverage and then a few rounds of touch ups. Every time the paint dried I feel like we would find another spot that wasn’t covered fully.

Once we put it back together it looked so fresh and new again. I cleaned the glass shelves and lined them with that rubbery liner stuff so things wouldn’t slide around.
For the front of the cabinet, we wanted to get a frame for it, but again it’s a custom size, so I couldn’t just go down to the Hobby Lobby and pick up a frame.
Instead I picked up two, 45 cent shims at Home Depot. They’re found in the lumber section with the dowels. Al cut them with 45 degree angles and wood glued them together. We let it dry for a few days – only because we were preoccupied with other projects – before staining. We used a stain that we had left over from other projects, Minwax’s Jacobean. We did stain both sides of the frame because once it was on the mirror you could see the back of the wood that was unstained, ya know, because it’s a mirror so it reflected.

To secure the frame to the mirror Al used liquid nails to glue it on. He clamped it to ensure it would stay put while drying. I was out of town on a work trip during this process. Those are the best projects, you leave, you come back, it’s done!
Once it was fully dried it was secure and we had an entirely different medicine cabinet. I’m happy to report that our bathroom is officially done. Photos to come this week!

The cost breakdown of the medicine cabinet upgrade looked like this:
- Paint: already had
- Stain: already had
- Wood glue: already had
- Wood shims: $0.90 + tax
Total: $0.90ish
I mean you can’t complain about that price at all! Even if you had to buy paint, stain and glue all in you’d be spending $15-20 max. Which is a steal for a complete transformation.

How well did the paint adhere to the inside metal? We have a similar old one and I didn’t think about painting it. But we’re trying to figure out what to do with ours as well!
Funny you should ask that, as I was just inspecting the paint this week as I was cleaning out the inside of the cabinet! It has held up surprisingly well. There were no scratches or chips of paint anywhere. I don’t know if it’s because I used the chalk paint and it adheres better or what. I will say that we are not careful with it, ha! We’re usually grabbing things quickly and tossing them back in the cabinet so it’s not that. Only other though, if you’re using regular paint, would be to seal it with poly or something similar. That would definitely protect the paint from any chips/scratches. Good luck!
I used oil based paint so that it can stick and sand before you paint.
Such a great idea!! Do you have any other pics of the shim you used or how many cuts were made? Sorry I’m a newbie to DIY?
Hi Meka – I don’t have a photo of the original shim, but the cuts are going to depend on the size of your medicine cabinet. We purchased two shims and each had 1 cut to make 4 pieces. All the cuts were 45 degree angles. Good luck!
How well does the glued frame hold up considering I assume this is what you hrs to open and close the cabinet
Hi Melissa! It has held up phenomenally well. We haven’t had an issue with it at all – and yes, we open the cabinet by pulling the wood frame. Good luck!
Looks great! I love it!! Did you remove the metal frame around the mirror before installing the wood frame?? Or did you glue the frame on the metal? If so what kind of glue did you use?
Hi Linda – we used liquid nails to glue the wood frame directly to the metal frame. We did not remove the metal frame first. Hope this helps!
I’m so glad I found this! I have an almost identical mirror in our own farmhouse. As you mentioned it needs an upgrade but isn’t worth the money to remove and patch or to replace. I knew I would need to go with shims or other thin wood, cut to size but I was unsure of the best method to attach it! Thanks for sharing your process!
Sure thing! Good luck Kayla!
Hi
Do you have any tips on how to fix the frame to the mirror in a rental where you can not glue it to the mirror???
Hi Katherine! I’ve been thinking about this for a whole day now and I keep coming back to 3M strips – http://amzn.to/2vrK0PP. That’s the only thing I can think of that would be permanent. Let me know how it works out for you!
Hi There,
I have the exact medicine cabinet and have just made my frame. Did you put the glue on the back of the new frame or on the old metal frame of the mirror? I’m afraid the glue might show in the reflection if I put it on the new frame…. Thank You…
Hi Teresa! We put it around the new frame. There are very minimal spots where you can see it in the reflection!
Hi! I have a medicine cabinet too that I want to paint. But it is plastic inside. Is yours plastic as well?
Hi Jamie! Ours was metal inside, but you could definitely paint plastic too, you might just need to protect it with a sealer so the paint won’t chip. Good luck!
What did you use to cut shims?
We used a table saw!
Did you also use liquid nails to make frame or was that just what used to attach to mirror? Also I went to home depot and they only have 6 in shims. I will check with Lowes. I was afraid regular molding would be to heavy. Thank you.
We did use the liquid nails to make the frame too. I agree that regular molding will be too heavy. Good luck!
Your medicine cabinet project is great! I found it looking for ways to spruce up my similar vintage recessed medicine cabinet, which is perfectly fine and even has a used razor slot inside, like yours.
We went to HD, and found lots of trim options with the “lattice board” near the dowels (they had “shims,” too, but they were all too short). I would up getting a piece of pine light trim with a bit of shape to it and a small overlap on one edge that should fit nicely over the outer edges of my cabinet door. After we make the frame, I’m going to paint it with this neat hammered copper effect Rustoleum paint that I use a lot and works on wood.
Thanks for the inspiration and instructions!
Oops, should be “wound up” not “would up” in my comment if you post it. Thanks!
The hammered copper effect sounds awesome! I’m hoping to get the 2nd medicine cabinet done this summer. I’ll have to check out the other trim options!
So can i just take off the frame thats on n just put a frame i already have
Hello, so I see you used chalk paint inside. Did you use a primer and top coat as well, or just left it as is? Also, what brand of chalk paint? Thank you for sharing.